One of the easiest ways to slow down the rate at which deciduous bonsai dry out is to apply a top dressing to the surface of the soil. A top dressing is a thin layer of soil or related material that is applied with the aim of retaining moisture and/or improving the look of the […]
Deciduous
Watering deciduous bonsai – part 1
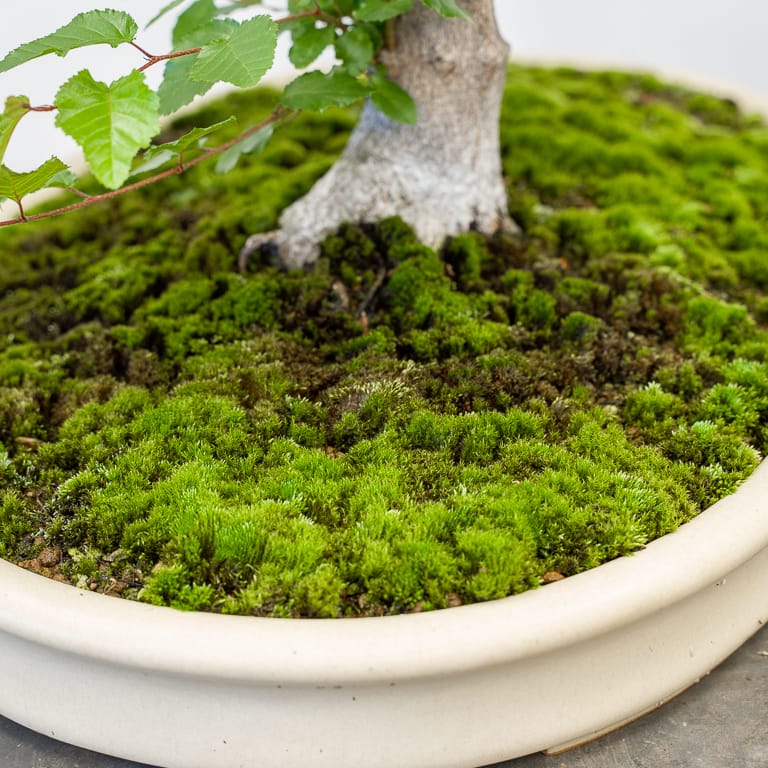
The easiest way to tell if a deciduous tree needs watering is to look at the soil. For most deciduous species, I want the soil to start drying out before watering. Here’s what this looks like. Moss covering the surface of the soil Wet soil – no need to water Later the same day Soil […]
Kokufu 101: deciduous bonsai
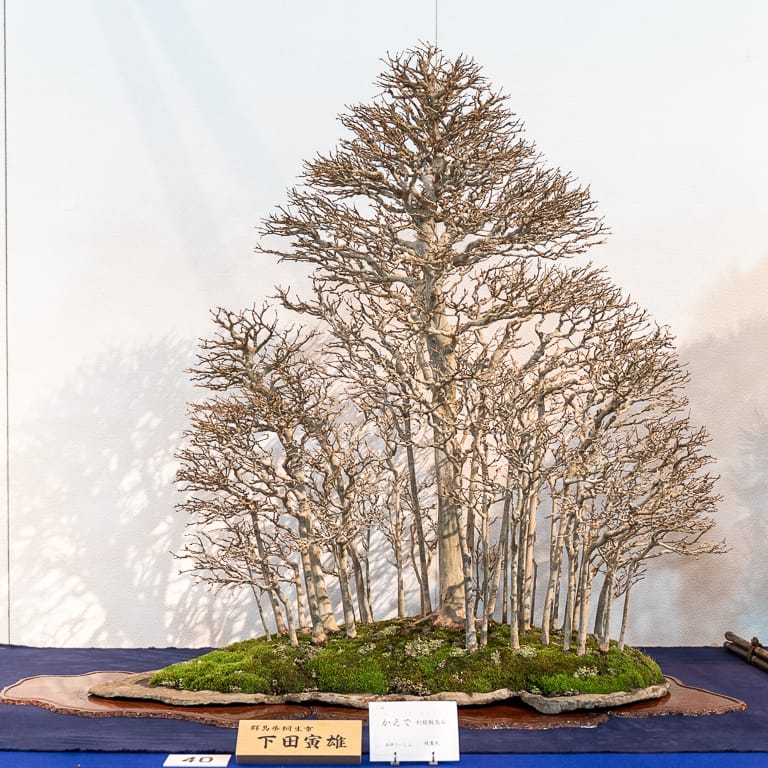
When designing deciduous bonsai, one of the biggest decisions is how to form the branches. Some of the key considerations are the angle at which the branches emerge from the trunk (do they go up, down, or out), the basic movement (curvy or straight), and the silhouette or outline (pointy or round) of the tree. […]