
I had the opportunity to visit Ryan Neil's garden, Bonsai Mirai, last week. It was a perfectly beautiful day and the trees looked fantastic with fresh spring growth. Visiting gardens like Mirai gives me the opportunity to study trees that don't …
Main Content
Make Beautiful Bonsai
Shohin redwood creation
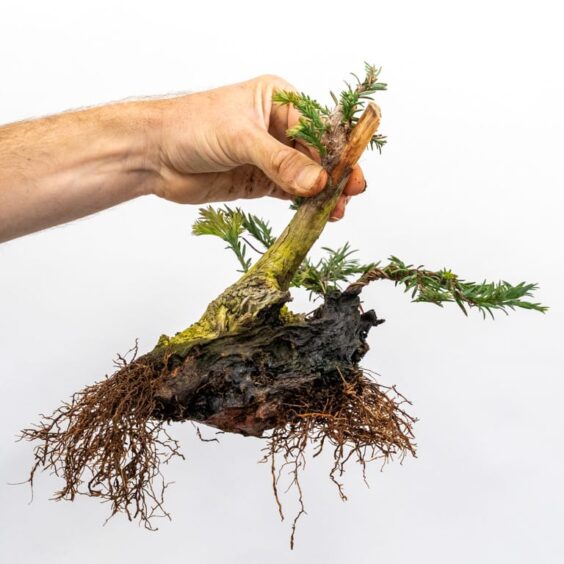
I follow a similar approach when I acquire coast redwood pre-bonsai. First I repot, then I let the tree grow for a year, then I can get to work. In this case I let Adam Toth get to work. Adam helps me keep up with the work in the garden and he …