I don’t know a lot about taking care of bonsai tools. I sharpen them when they dull and I occasionally oil them to prevent rust. Here’s my basic set-up:

Sharpening stones
I’ve been using the same sharpening stone holder since I started bonsai. It’s great for keeping the sharpening stones in place.
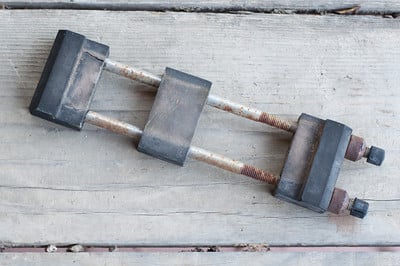
Sharpening stone holder
As for the stones themselves, I use water stones. There are many great alternatives to water stones including oil stones and diamond stones. I’ve stuck with water stones because they are simple and easy to use.
If I break a tip, bend, or otherwise disrespect my tools I start with a fairly rough stone (somewhere between 400 and 600 grit).
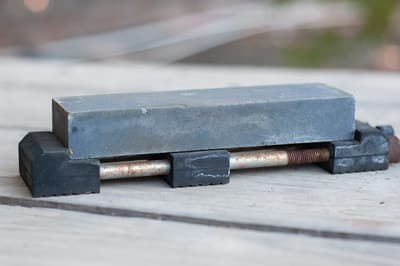
Rough water stone
I use the rough stone as a starting point – the real sharpening happens with a higher grit stone. I use a combination water stone that’s about 1000-1200 grit on the sharpening side, 6000-8000 on the polishing side.
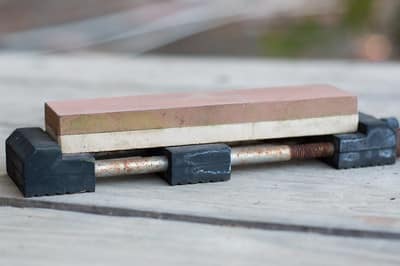
Combination water stone – sharpening side
I do most of my sharpening with this stone. Once I get a good edge, I turn the stone over and use the polishing surface.
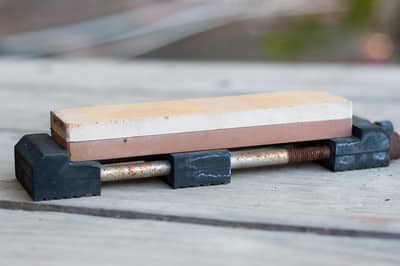
Combination water stone – polishing side
I don’t always polish the blade after sharpening, but I find the edge holds better when I use the polishing stone. It also makes for a very sharp edge.
When sharpening scissors, I begin with the beveled edge. I try to keep the scissors flat against the stone at this point or I risk ruining the edge – or hurting myself. I’m always surprised how much practice it takes to get the sharpening motion right.
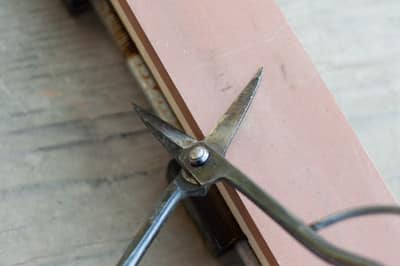
Positioning the scissors on the stone
Do note, water stones require water! I only use these stones when they are completely wet and I drizzle water over the tool and stone throughout the sharpening process so the water can wash the loose grit away. The photos below show the dry set up so it’s easy to see how I line up the tool and the stone.
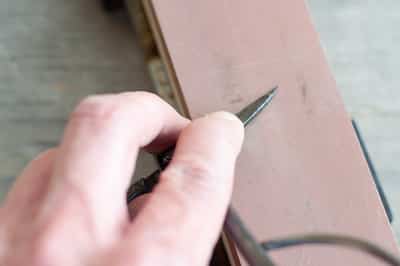
Ready to sharpen – don’t try without water!
I don’t expect this process to make much sense from the photos here. The best I can recommend is finding someone in your bonsai community who loves their tools and asking them for advice.
I stop and check the blade frequently while I work to avoid grinding away more metal than is necessary. Once the blade is sharp, I turn the scissors over and gently rub away some of the built up grime on the inside of the blade.
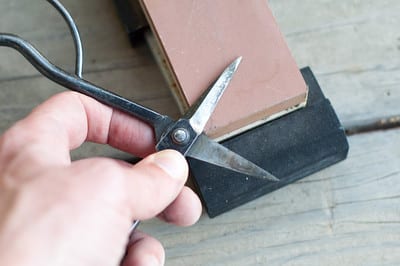
Gently removing grime
Concave and other branch cutters pose a variety of challenges. Cylinders, blocks with gouges, and small stones like the one pictured below make the work possible, but not easy. I tend to work slowly when I sharpen these tools.
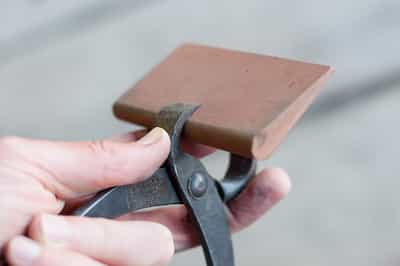
Small sharpening stone
After sharpening my tools I use tool oil to keep rust away. It’s a good idea to lightly oil tools after each use, but I’ll admit I don’t always make the time for this step. I do wipe my tools down after every use, and I only store my tools dry. If some rust accumulates, I use steel wool and a lightly oiled rag.
I’ve been using some of my tools for almost 20 years now. I don’t know if they’ll “last a lifetime” with the care I’m providing, but they’re off to a decent start. Ask me how it’s going another 20 years from now and I’ll be happy to share the results.
Subscribe to Bonsai Tonight
New Posts Delivered Every Tuesday and Friday
Mac says
Thanks for the tips Jonas. Mac
Zack Clayton says
I dont usually use an oiled rag, but I do spray lightly with WD40. it also removes any built up sap if you need to wipe that off. and I agree about the 6000-8000 grit side of the stone, it not only gives a mirror finish, but a razor edge, literally, I used to use a strait razor and sharpened it on this.
CJ says
I used these years ago until I found an easier and more costly alternative in kitchenware shop – diamond coated files of various grades. CJ