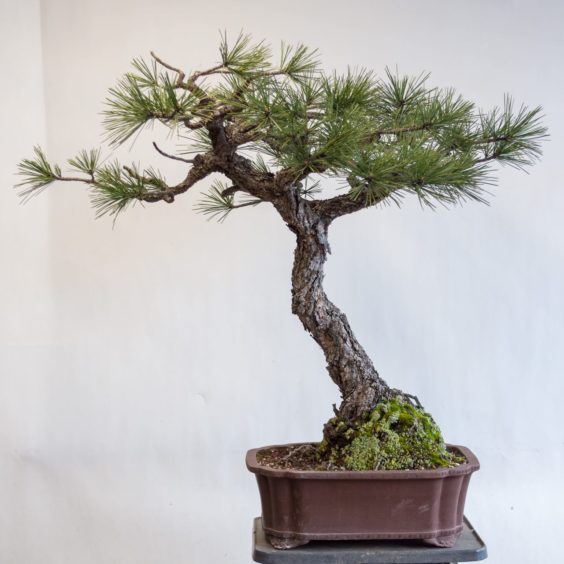
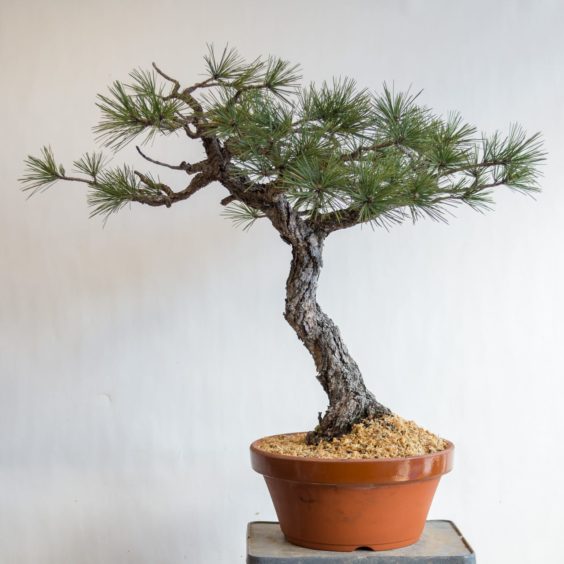
One of the newest trees in my garden is a Jeffrey pine.
Jeffrey Pine
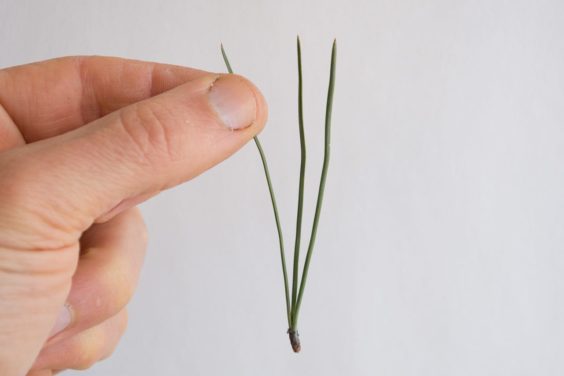
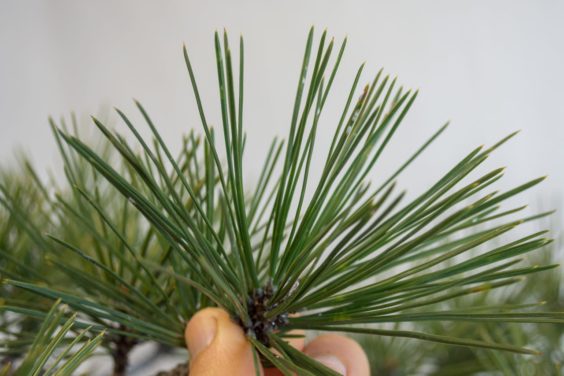
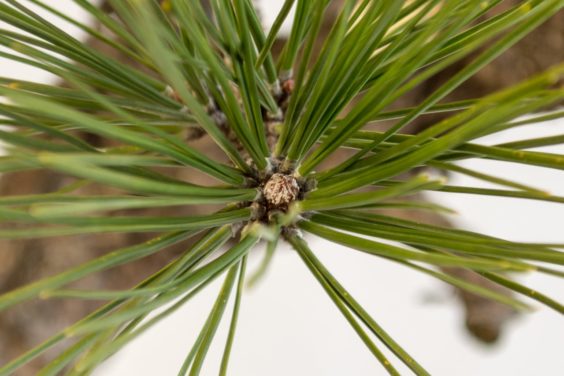
Jeffrey pines are high-altitude trees native to California. Like the Ponderosa pine, the needles grow in sets of three.
Jeffrey pine needle-bundle
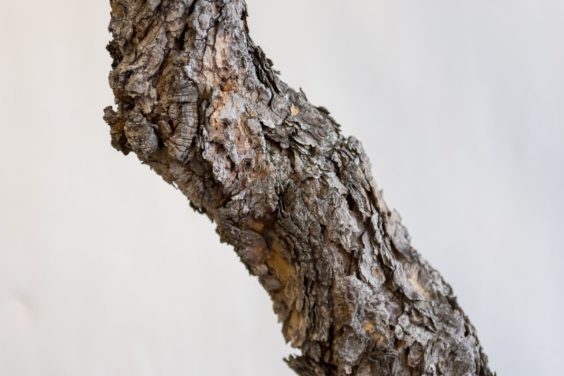
Unlike Ponderosa pine, which have bright green needles, Jeffrey pine needles are grey-green. Both have interesting bark.
Trunk detail – Jeffrey pine bark
When the tree came into the garden last month, I put it on a bench with other pines. A few days ago, I gave the tree a closer look.
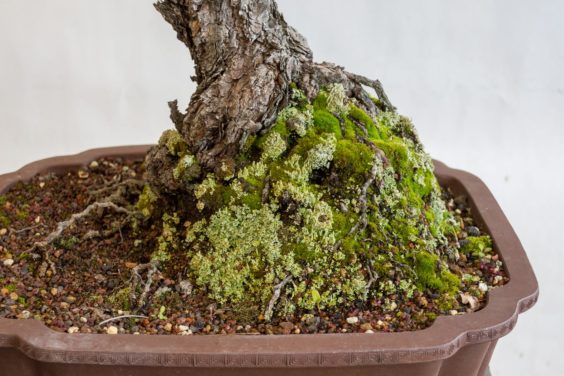
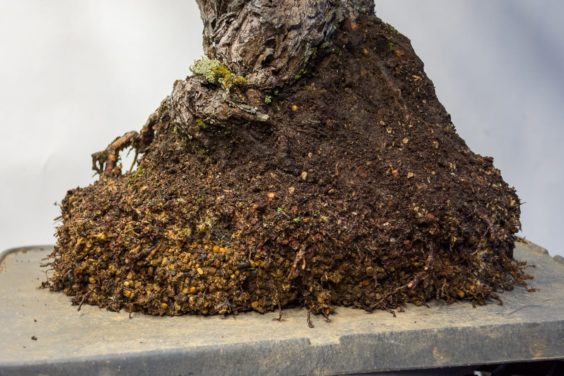
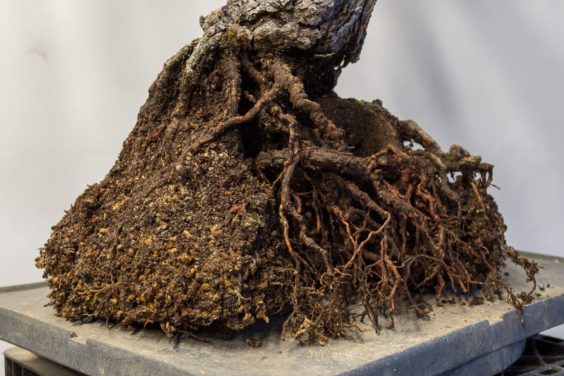
A few things struck me about the tree. I was curious why it had been planted so high in the pot. There is a large mound of soil at the base of the trunk but it didn’t look like there were heavy roots in the area.
Mound of soil at the base of the trunk
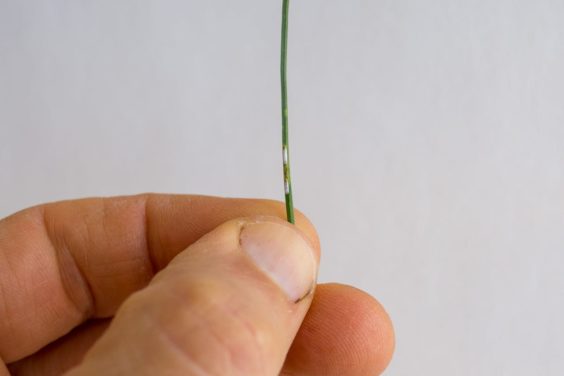
Looking closer at the foliage, I saw that a number of branches had pine needle scale.
Infested needles
Pine needle scale
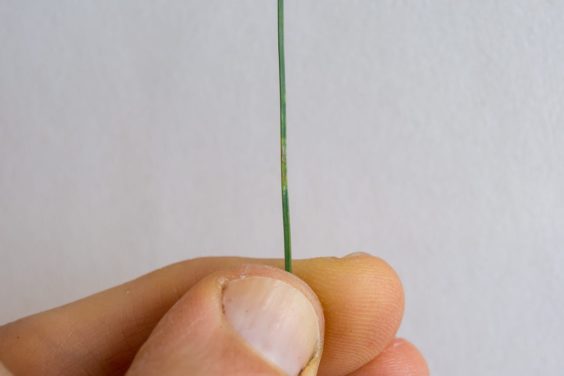
When there aren’t too many scale, I scrape them off with a fingernail. This leaves the needles pest-free, but signs of the damage – typically yellow and brown patches – remain.
After removing the pests – needle showing scale damage
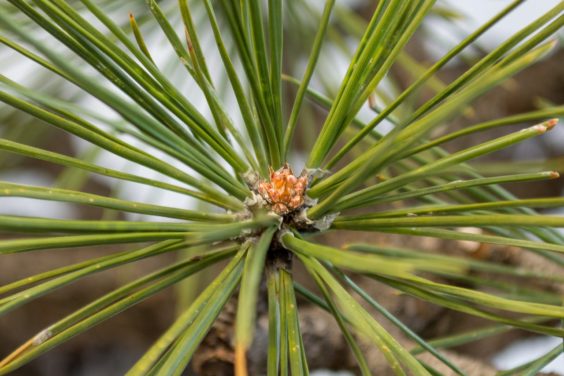
In light of the infestation and the strange potting level, I decided to repot the tree. Some of the buds had started to open but most had yet to wake up so it looked like a good time to repot.
New needles forming at the bud
Dormant bud
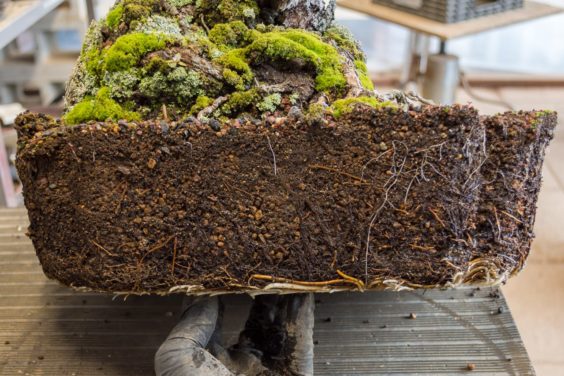
When I first took the tree out of the pot, the roots looked pretty good with just a few signs of new growth.
Soil and roots look good
Looking at the bottom of the rootball gave a different impression. Lots of roots had started to grow and there were large patches of fungus – hopefully beneficial mycorrhiza. The only area of the rootball with no roots was behind the drainage screen.
The bottom of the rootball
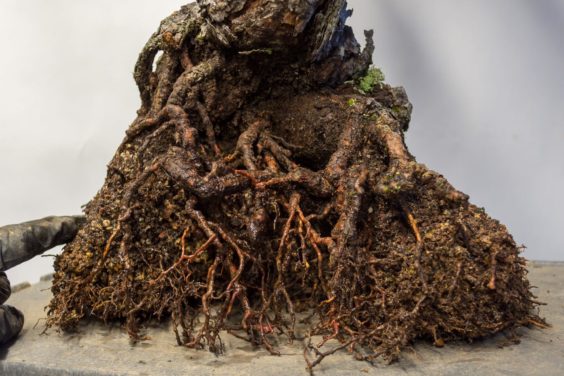
I removed the bottom inch of the rootball and started poking at the large mound of soil at the base of the trunk. It appeared to be field soil. Unsurprisingly, I found no roots growing in it. I finally found some roots in the bonsai soil below but there weren’t many.
After bare-rooting about one-third of the rootball
Original soil intact
Side view showing the structure of the roots
I decided to plant the tree lower in the pot in a mix of akadama, lava and pumice. I hope to develop roots closer to the trunk which will give me more options when it’s time to select a bonsai pot. In the meantime, the tree will grow in a training pot.
After repotting
As this is my first Jeffrey pine, I’m excited to learn how it grows in my garden. For the time being, however, I’ll let it grow for a year or two to regain its strength before working on it.
Subscribe to Bonsai Tonight
New Posts Delivered Every Tuesday and Friday

Don Erickson says
I like the trunk movement this tree has! Can hardly wait to see it’s forever pot. 💝
Jonas Dupuich says
Thanks, Don – I’m curious about the pot too!
Greg Brenden says
Thanks for posting Jonas…motivates me to repot mine…
Jack Earley says
Hi Jonas, thank you for your thoughtful and thorough presentation of the work on your trees.
Jonas Dupuich says
Thanks, Jack!
William Lee Kohler says
Inspired by Jeffrey in Master Nakas Techniques II I got a nursery tree of about 7 years in ’97’ to develop. Not as nice trunk as yours but is getting better. Will be doing some training work this year, possibly repot and cut down sacrifice trunks 2019. Your tree is nice tree, nice inspiration. Good to see Yamadori Jeffrey.
Jonas Dupuich says
Thanks, William – will look forward to seeing the progress on your Jeffrey pine!
Sergio Gapski says
Hi Jonas.
I know it is off toppic, but Is there an update about the post “A cutback-decandling technique” from JUNE 22, 2012 ?
Thanks.
Jonas Dupuich says
Hi Sergio – thanks for the note! I can’t find a follow-up post so I’ll see about addressing the topic the next time I can get good pics of the process. In the meantime, I can say that I’ve been using the technique regularly for years now and it works great when you need to generate buds behind the current year’s growth.