Part 5 of 5
The hard part is over. After Removing the tree from the pot and Preparing the pot; after Working on the roots and Securing the tree in the pot, we’re left with the finishing touches. The first is adding more soil to the pot. I like using bonsai scoops.
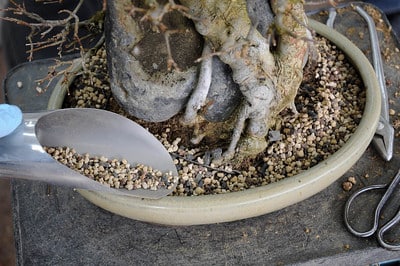

Pouring in the soil
To make sure the soil gets where it needs to go – between the roots – chopsticks come in handy. I usually jab lightly at the soil with one hand while holding the pot and soil in place with the other. Skipping this step can result in air pockets that make it tough for the roots to take hold in their new environment.
It’s fun, at this stage, to wiggle the chopsticks about. Wiggling really works the soil into place and is especially effective at filling in pockets between large roots or cavities beneath the trunk. Over-wiggling, however, is epidemic. Unless there is a big gap to fill, it doesn’t take much.
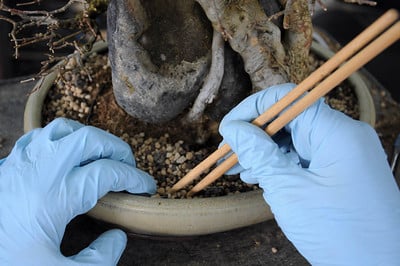
Working the soil between the roots with chopsticks.
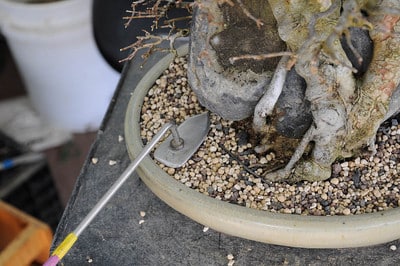
Before getting a final level on the amount of soil in the pot, a careful bump can settle things a bit. When doing this, I very carefully hold the tree and pot in place with one hand while bumping – just once or twice – with the other. Careles bumping can upset the soil and occasion a do-over. I usually find the soil settles just a bit during the bump. If the soil drops dramatically, it’s a sign that I didn’t use chopsticks enough to work the soil into place.
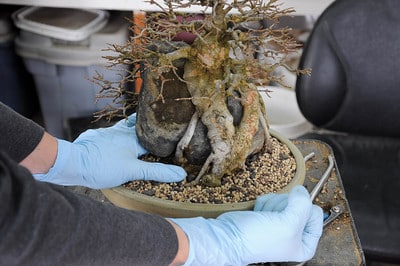
Bumping the pot
A small broom can help get the soil to the proper level. Of broom-technique: holding the broom at a high angle makes it hard to level the surface of the soil and can easily gouge out additional soil. Holding the broom close to parallel to the surface of the soil pulls the largest soil particles out of the mix and makes for a nice level.
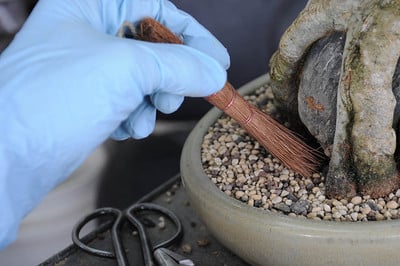
Leveling the soil in the pot – improper broom-technique
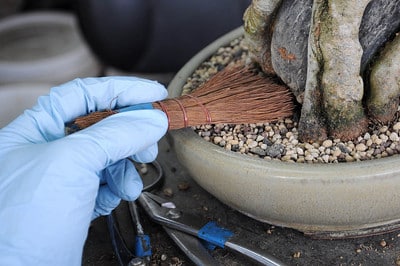
Proper broom-technique – the broom is nearly parallel with the surface of the soil
A trowel can make the surface neat and tidy. I’ve seen long trowels and short trowels, custom trowels and mass productions. I have two, but I rarely use them. I like patting the surface of the soil with my hands instead. It works almost as well and is much faster.
Tamping the soil with a trowel
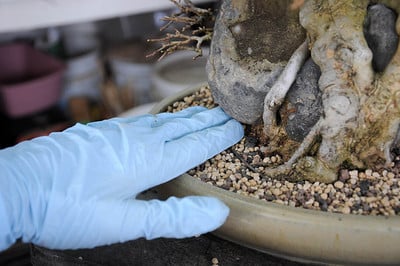
Tamping the soil with my fingers
As soon as this is done I run out and water the tree. The rule about watering until the drainage runs clear is sound. The more particles you can wash from the soil, the better the soil will drain. It’s at this point that I gauge the effectiveness of the work. If the drainage is inexplicably poor, I need to start over.
Watering the tree
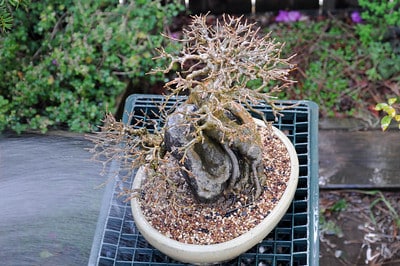
The tree is now set for this year. Soon I’ll add moss to the surface of the soil for exhibit. Once the exhibit has passed, I can sit back and wait for the new shoots. In the meantime, my main job is to protect the roots from hard freezes – a rarity around here.
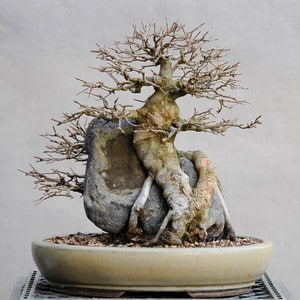
Repotting complete – front
The above covers many of the repotting basics. But as with so many bonsai techniques, there is a lot more to say on the topic, and pictures only go so far. Video can fill some of the gaps. I highly recommend Boon’s video, Repotting, Japanese Black Pine, for the task. It’s far easier to learn good chopstick technique by watching rather than reading. It’s the next best thing to being there.
Return to the beginning: Part 1 – Repotting a trident maple
Subscribe to Bonsai Tonight
New Posts Delivered Every Tuesday and Friday
Janet Roth says
Jonas, this was a really great series. Well done!
Scott Straley says
Jonas,
As Janet said, wonderful job on the series. I wish this had been available to me when I got started in bonsai, it would have saved me a lot of shoddy work. Nice photography, too.
Scott
Graham Hues says
A great article along with the many others you have on your blog.
Cheers Graham
John Kirby says
Jonas, Don’t let Boon see you using your fingers to tamp down the soil….
Very, very, nice series. I am ready to stat repotting. John
Boon says
Jonas,
it is wonderful to see your series,
Happy Holidays,
Scott Roxburgh says
Jonas,
From the dates on the posts, it appears that you are doing this in December (early Winter?), is that correct?
Do you repot all maples at this time or just well established ones?
xwires says
Hi Scott – I typically repot maples in late winter, but repotted this specimen early to get it ready for a show in January. Northern California weather is pretty forgiving when it comes to repotting. I feel safe repotting most trees December through March. Tridents in particular can be repotted fairly late among deciduous trees. They can be repotted even after they leaf out as long as the leaves are ruddy.