Last weekend I had the opportunity to attend a Bay Island Bonsai workshop run by Daisaku Nomoto. I selected a tree I’ve been working on for the past 15 years – a hinoki. The tree improves every year, but slowly, as hinokis are notoriously slow growing. A year and a half ago, Boon and I performed some heavy bending to get the main branches closer to where we wanted them. This year the work really paid off. Here are some before and after pictures:
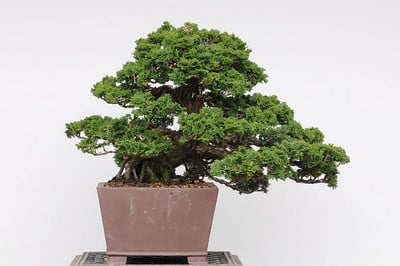
Front – before
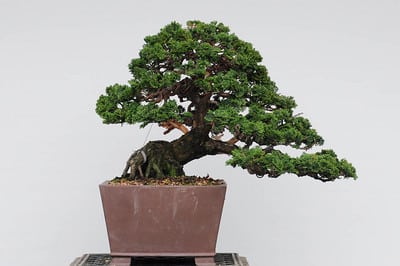
Front – after
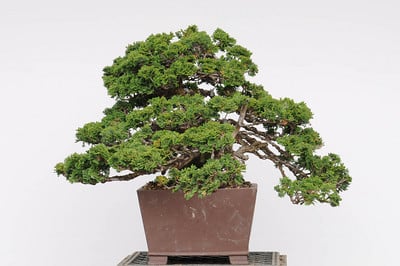
Right – before
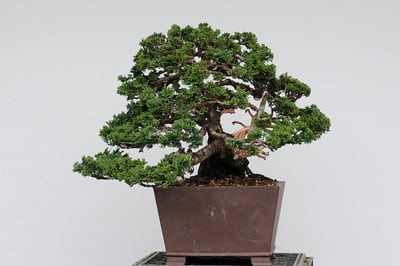
Right – after
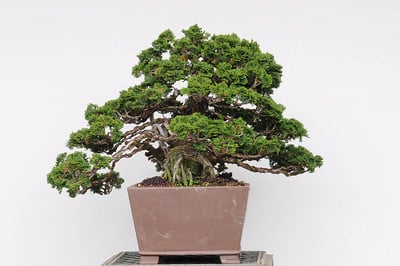
Left side – before
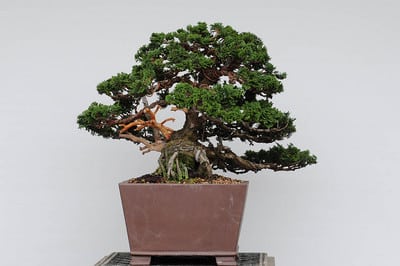
Left side – after
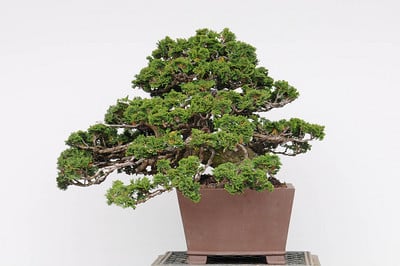
Back – before
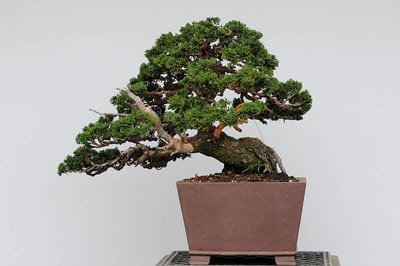
Back – after
The biggest change came when Nomoto removed the first cluster of branches on the left. We discussed this ahead of the workshop and I assented to the cutting. Here’s the branch as it appeared before the workshop with guy wires holding it in place.
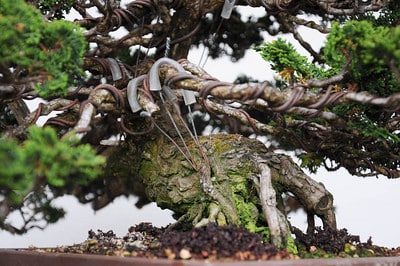
Before – guy-wires are doing most of the work
There were two good reasons for removing these branches. First, they blocked the view of the trunk. Second, by replacing branches that grew low on the trunk with branches that emerged higher up, we could bend these branches at a steeper angle. The idea is that older branches tend to hang lower than younger branches.
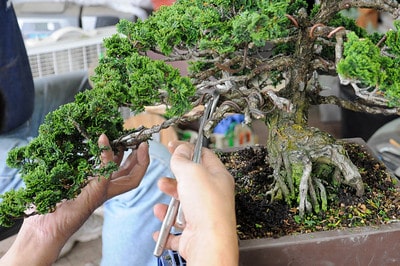
Removing the branches – stubs will be used for jins
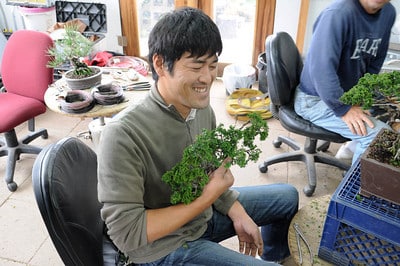
Nomoto removed enough foliage to make a hinoki fan.
Minor cutback and wiring filled the rest of the day. Nomoto moved between workshop participants, cutting, wiring, and offering advice as appropriate. When he got back to me, he typically set a few branches and told me to continue wiring.
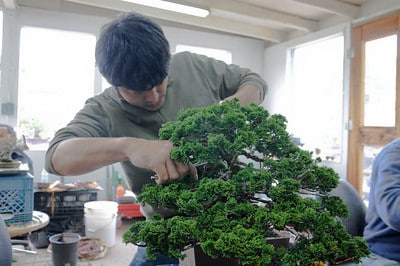
Nomoto setting a branch – note use of pliers
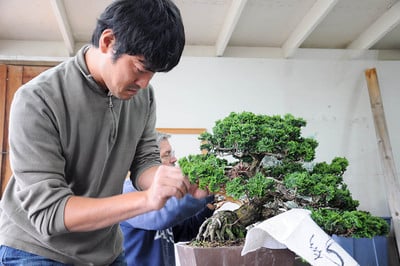
Nomoto applying wire
I occasionally looked up from my work to see what else was going on in the workshop. At one point, Nomoto was performing heavy bending with rebar. With a branch in one hand and pliers in another, he kept the rebar in place with his knee.
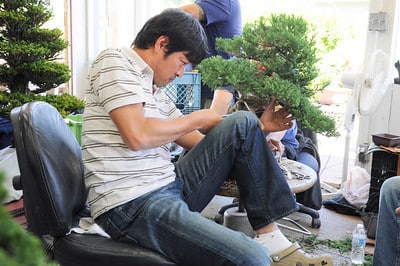
Heavy bending – prostrata juniper
Fortunately for me, the hinoki needed far less dramatic work, like the plucking of unnecessary foliage.
After setting a branch, Nomoto took care to remove any downward growing foliage. This creates well-defined pads and reveals the age of the tree by exposing the branches that comprise the pads.
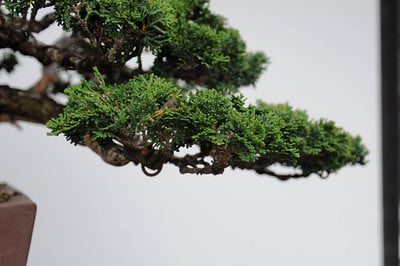
Hinoki branch pad
As is often the case in re-stylings, the trick is getting the apex right. While the current silhouette is close to where I want it, some shoots weren’t long enough to fill in where I need them. It’s easy to see this from above.
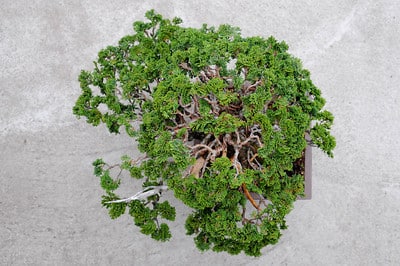
Seen from above – after re-styling
I’m really happy with the way the tree turned out. For one, it finally approximates the design I had in mind for it 15 years ago. Even better, I now have a tree I can show in Bay Island Bonsai’s upcoming exhibit next January.
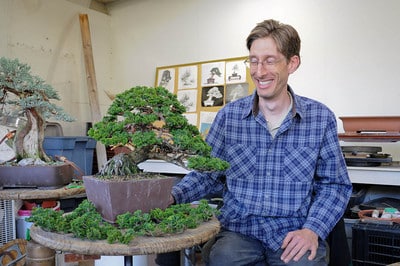
Happy with the results – excess foliage cover the turntable
Now 15 years in, I feel like I’m half-way there, and it’s a great feeling.
Subscribe to Bonsai Tonight
New Posts Delivered Every Tuesday and Friday
Janet says
You’re Dad must be pleased 🙂
Janet says
I mean “your”
Peter Tea says
Very nice looking tree Jonas. I’ve longed for a nice Hinoki.
Bruce winter says
Thanks for showing this, not many good Hinoki around. Will it stay in the same pot for the show?
Fr. Tom Davis says
Very nice!
I’ve been looking for ideas for my Hinoki that I purchased this past spring from the Bonsaimonk monastery in Conyers, GA. This article has given me some wonderful insights.
Many thanks for sharing!
Munezo says
I smiled like that when who’s now my wife agreed to a date with me!
Munezo says
My work has been keeping me sooo busy that I missed EVERYTHING. After seeing what I missed, I’m not going to feel right coming back to workshops.