I have been growing Japanese black pine bonsai from seed for the past 17 years. During this time, I’ve done a lot of repotting. This past January, it dawned on me that I had to repot almost 50 young pines. Very few needed repotting last year, but this year all but a handful needed it. It seemed, at first, like more than I’d have time to complete. But instead contemplating the scope of the project, I simply picked up the first tree and got started.
Actually, I drove to Chinatown to pick up all of the colanders I could find. I’ve grown pines in both colanders and terra cotta pots. There are plusses and minuses to each approach. Although the terra cotta pots retain moisture better than the colanders, repotting with colanders is fast. This year I opted for speed.
About half way through I noticed the repotting was going quickly. I’d pick up a tree, cut back unnecessary growth, apply a wire or two and then repot. Here’s a breakdown of the process in two parts with special attention to the tools that make the work possible.

Colander
Colanders offer superb drainage. This is great because they allow me to water and feed the tree heavily. The downside is that the tree won’t develop quickly if I fail to water and feed heavily. As my goal is to thicken the trunks of my pines fast, the colanders will work well.
They’re also simple to wire.
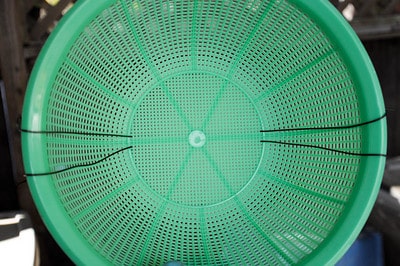
Tie-down wires
Two wires will hold the tree in place. Number 2 aluminium is the typical choice for the job, but from experience I know that 1.5 mm aluminum will work well for me. Once the wire is in place, I add the drainage layer.
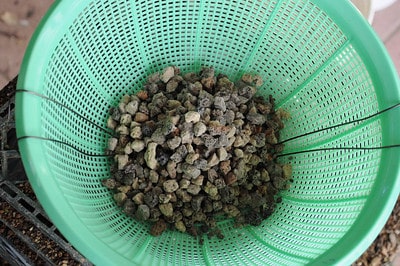
Drainage layer
One of the themes of this repotting season has been the attempt to use up all of the odds and ends of bonsai soil I’ve collected over the years. It felt great to go through so many buckets of bonsai soil – not because I like paying for it, but because I freed up a lot of space in my “workshop” (read: glorified patio). Above the lava drainage layer I added a small mound of medium sized bonsai soil – akadama with some pumice and lava.
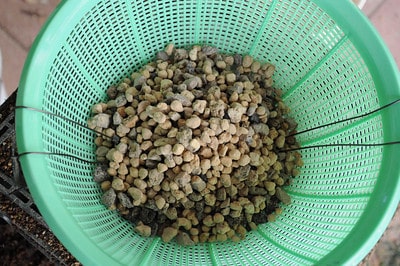
Mound of bonsai soil – the pot is ready for the tree
I set the pot aside and turned to the tree. The pine seven is years old this spring from seedling cutting. I’m planning to make it into a small bonsai.
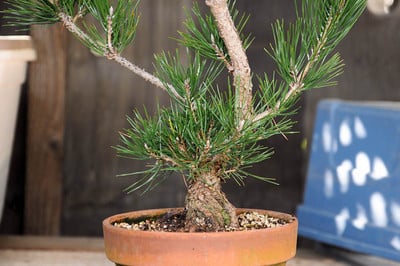
Japanese black pine – 7 years old
Some of the benefits of growing seedling cuttings is that they produce great roots and plenty of branches just perfect for small bonsai. To encourage the trunk to thicken, I’ve let the apex grow. The tree is over three feet tall.
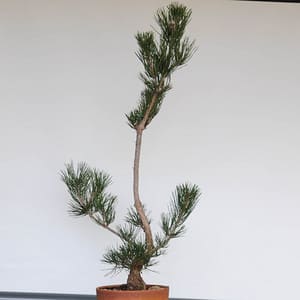
Japanese black pine with escape branch
The steps I follow when repotting have been learned through years of workshops with Boon Manakitivipart and repeated lectures at Bay Island Bonsai meetings. For a live action version of the process, I highly recommend Boon’s videos on the topic.
The first step is removing the wires that hold the tree in the pot. This is made possible by the wire cutter.
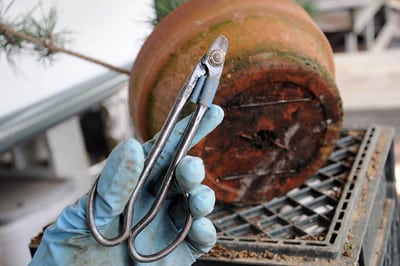
Wire cutter for bonsai
I’ve used a number of wire cutters over the years. Any make or model that’s easy to work with will suffice. When removing the wires, I’m careful to cut very close to point where the wires emerge to ensure a nib doesn’t catch the edge of the pot and make it difficult to remove the tree.
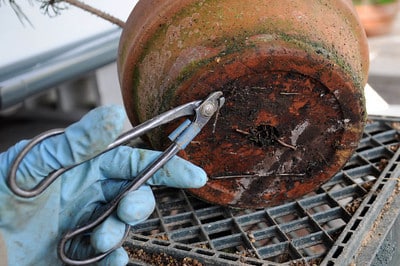
Removing the tie-down wires
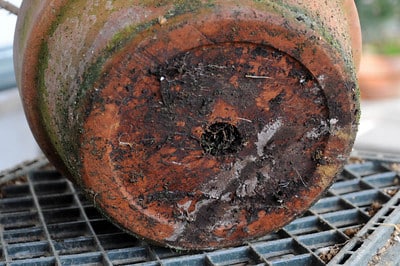
Tie-down wires removed
Once the wires are out of the way, I ease the tree out of the pot. Fortunately this didn’t take much work and the rootball came out intact.
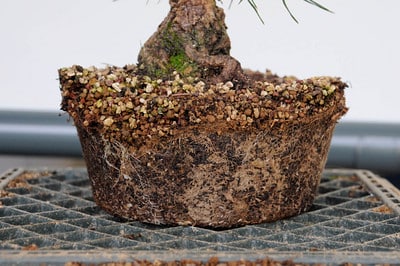
The rootball out of the pot
The soil is moist – not too wet or too dry. Repotting when the soil is dry is hard on the tree. Repotting when the soil is too wet increases the odds that roots will tear and makes it hard to comb out the roots effectively. I begin the rootwork by combing out the roots at the bottom of the rootball. First, I turn the tree on its side so the bottom of the rootball is perpendicular to the turntable.
Upon turning this tree on its side, I noticed small white tips emerging from the rootball. These roots indicate that the tree is just waking up from winter – the perfect time to repot. Repotting when there are lots of new roots can slow the tree down. Repotting before the tree is active delays healing cut roots. This isn’t a problem where the winter is mild, but it can weaken trees exposed to hard freezes.
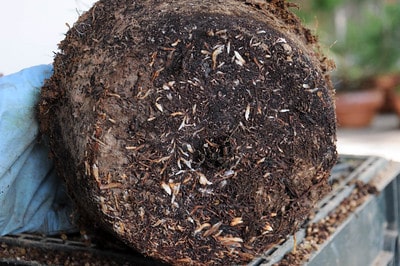
New roots emerging from the rootball – a perfect time to repot
The course root rake is one of my favorite repotting tools. It is the best way to carve through course roots circling in course drainage and makes quick work of the job. I use smaller rakes when the soil and roots are softer. This pine rootball is very firm and requires strong tools.
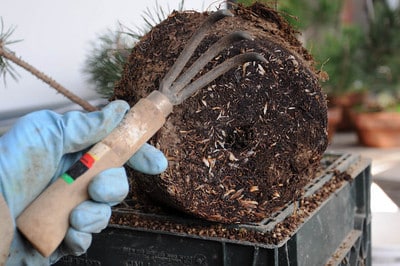
Root rake
It’s important to work at right angles when raking the bottom of the rootball. If I hold the tree or rake at any other angle, I risk removing more roots than I intend to remove, and I create a crater that’s hard to fill with soil when I place the tree in the pot.
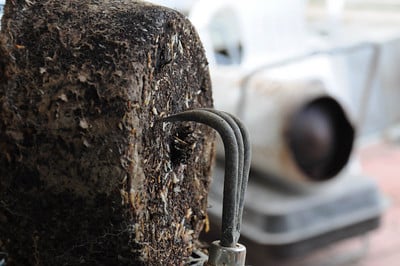
Holding the root rake at the proper angle
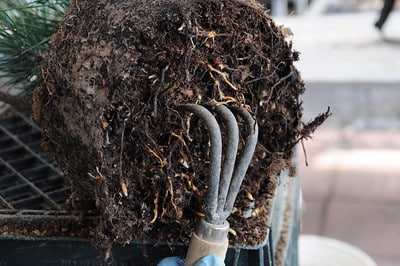
Raking out the roots with a rasping or scraping motion
Once I’ve carved through about an inch of soil, I trim the loose roots with root scissors. This is one of the few indispensable bonsai tools.
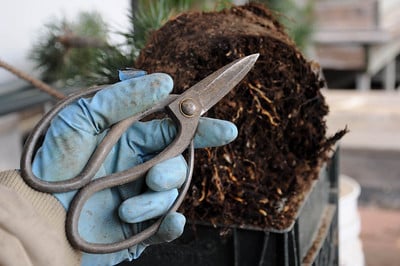
Root scissors
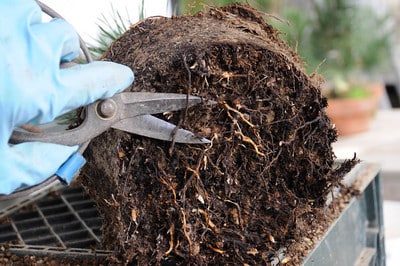
Trimming the roots
When I trim the roots, I’m careful to leave a little bit of each root protruding from the rootbase. Cutting roots flush with the rootbase will make it harder for the tree to send out roots into the new soil.
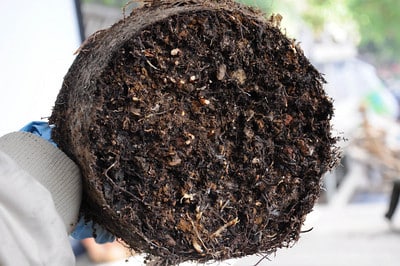
Roots raked and trimmed – ready for the next step
Beginning the rootwork with the bottom of the rootball has one huge advantage over any other approach. Creating a flat surface allows me to set the tree on the workspace without damaging the rootball. Beginning with any of the sides makes it harder to balance the tree and increases the odds that I’ll destabilize the rootball.
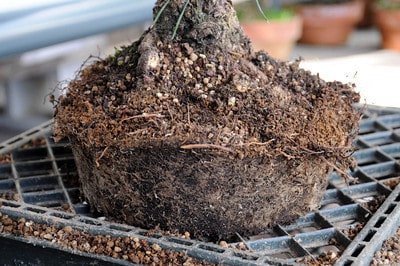
Ready to work on the top and sides of the rootball
I usually work around the trunk of the tree with bent-nose tweezers, another indispensable tool. The fine points let me work carefully around the trunk without damaging the nebari.
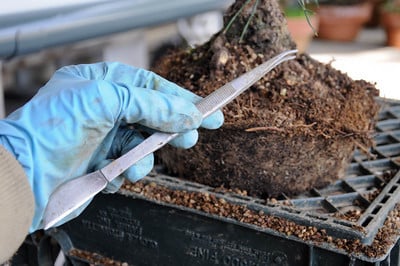
Bent-nose tweezers
I hold the tweezers at a low angle to the rootball so the ends of the tweezers don’t catch and tear stubborn roots.
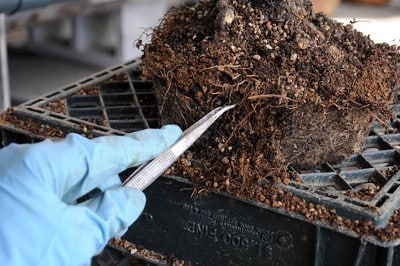
Combing out the roots
When roots prove too stubborn for tweezers, I use a root hook. These come in a number of sizes. The fairly large root hook below is perfect for this job.
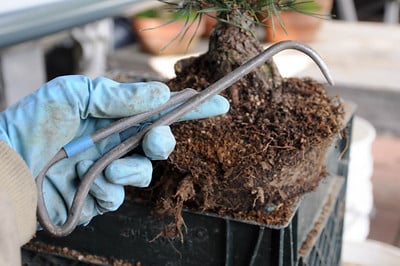
Root hook
Using the root hook requires some care. Because the tool is so much stronger than tweezers and because the tip of the hook is curved more than the tweezers, it’s easy to catch and tear stubborn roots. Working at just the right angle and only scraping through a thin layer of roots with each pass protects delicate roots.
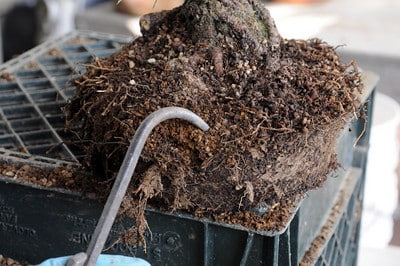
Combing the roots with a root hook
I’ll cover the remaining repotting steps – improving the nebari and tying the tree into the pot – next week. I will, however, mention a final repotting “tool.” I wear gloves when I repot as the soil is hard on my skin.
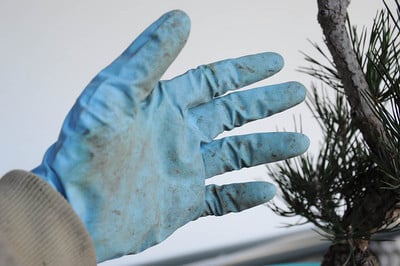
Glove
Subscribe to Bonsai Tonight
New Posts Delivered Every Tuesday and Friday
Tommy Duong says
Do you repot pines in colanders too or up pot them in bigger colanders? I’m in year 3 of my pine project and do you have any recommendation where to get seeds? My internet seed supplier went out of business.
xwires says
Tommy – I have tried the colander within a colander technique but I don’t like it as it’s hard to repot with a colander buried in the rootball. I’d suggest trying a few to see how it goes. As for pine seeds, I have no recommendations. I get mine from a local tree but so few sprout that I’m looking for a new source myself.
Scott Straley says
Jonas,
You do such a good job of showing step by step instructions…something I don’t do. Just a tip for you on the seeds, call Ian or Janet at Lone Pine, they told me their source for seed a few years back. I can’t remember the name they gave me though.