One of my favorite repotting activities is often neglected. After removing the tree from the pot and working with the small roots (see part one of How to repot a young Japanese black pine) it’s time to improve the nebari. “Nebari” refers to the area where the roots emerge from the trunk – it’s the one part of the roots we can see from the outside. Good nebari conveys strength. A weak or unsightly rootbase can detract from the overall look of the tree.
We can improve the nebari by removing roots that don’t fit in for one reason or another, or by arranging roots in a more attractive fashion. For a young pine with lots of roots, I rarely hesitate to remove troublesome roots because I know there are better roots underneath. If the roots to be removed are bigger than what root scissors can handle, I use a concave cutter.

Concave cutter
I have two of these – one for branches and one for roots. I’ve heard that this practice prevents the spread of fungus, though I don’t know how important this is. I like using separate tools for roots and branches because it’s easier to keep the branch-cutting tool sharp – the root tools must cut through soil particles – and I tend to keep my repotting tools separate from my other tools.
Some roots are easy targets. The small root below crosses directly above a root that grows directly away from the trunk.
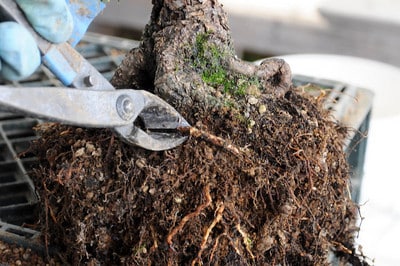
Crossing root
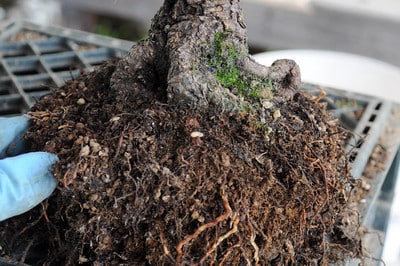
Crossing root removed
Other roots are less likely candidates for removal. The largest root on this tree sits just above the soil line and snakes along the surface before diving below. I don’t like this for several reasons. Large roots that dive into the soil are little better than trunks that dive straight into the soil. In good nebari, we can see the transition from trunk to surface roots that appear to clutch onto the surface of the soil. All along the rootbase of this pine, very small roots emerge from the trunk with the exception of this large root. Removing it will reveal more small roots. As these small roots that emerge from the trunk grow and thicken, they’ll help increase the size of the trunk over time and create taper. For all of these reasons, I think this pine will be better off without the big root.
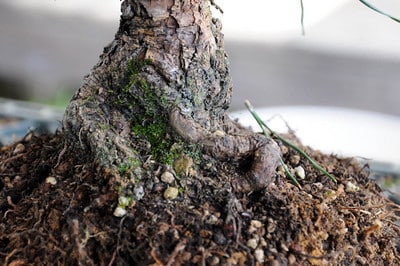
Large root
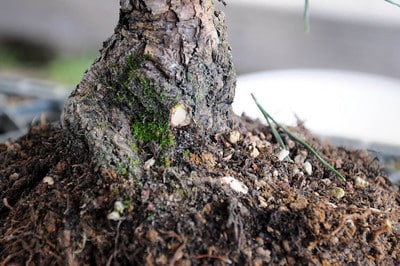
Large root removed
In general, the goal at this stage of development is to thicken the trunk and nothing else. Removing large roots slows this process to some degree. For this reason, I’ve removed some, but not all of the problematic roots – I can remove the others later when the tree is ready for refinement.
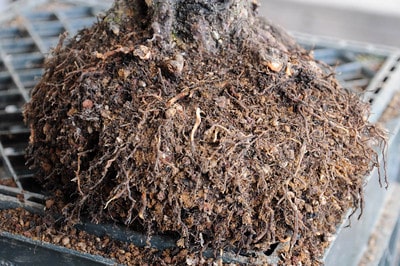
Rootwork complete – ready for the pot
Placing the tree in the pot is fairly straight forward when trees are in development. I don’t need to worry about finding the front of the tree – my main concern is that I plant it at the appropriate level. I begin by setting the tree in the pot on top of the mound of soil.
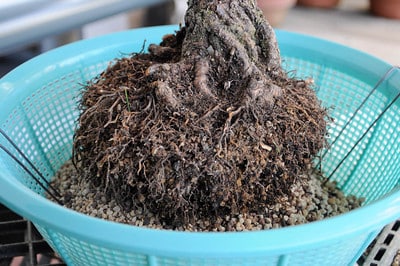
Rootball sitting atop the mound of soil
Next, I nestle the rootball into the soil until the nebari reaches the appropriate depth.
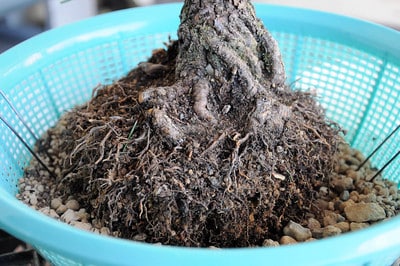
Tree nestled into place
Next come the tie-down wires. I connect the wires together by hand and then tighten them with pliers.
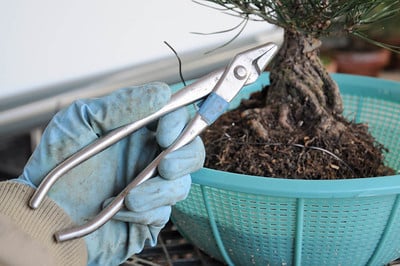
Bonsai pliers – general purpose pliers work well too
Tightening the wires that hold bonsai in place requires surprising care. Simply twisting the pliers in place makes it easy to break wires and difficult to ensure that wire is secure. After pinching the wires with the pliers, I pull the wires tight, and then slowly release the pressure as I twist the wires into place. Or as Boon says, “Pull, then twist!”
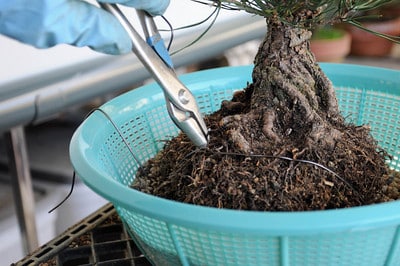
Grabbing the tie-down wires with pliers
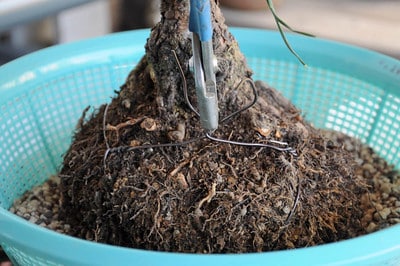
Pull, then twist
Once the tree is secured in the pot, I add soil and work it into place with chopsticks. When the roots are snug in new soil, I fill the pot to the appropriate level and the repotting is complete.
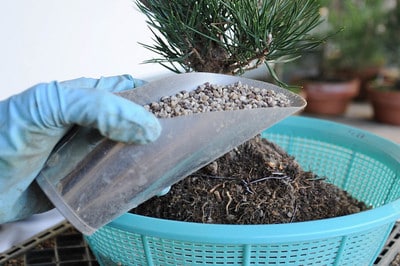
Scoop for bonsai soil
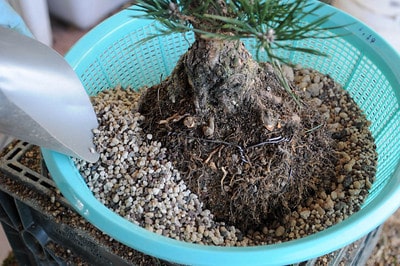
Pouring in bonsai soil
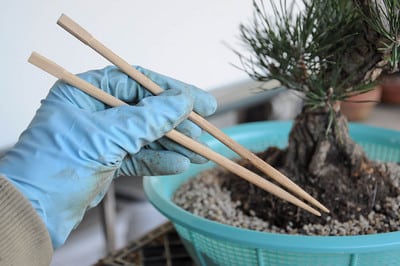
Chopsticks
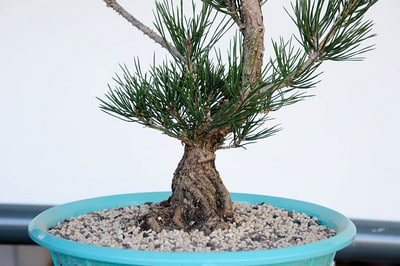
Repotting complete
As soon as the repotting is complete, I water the tree until the water drains clear. Removing the bonsai soil dust encourages good drainage.
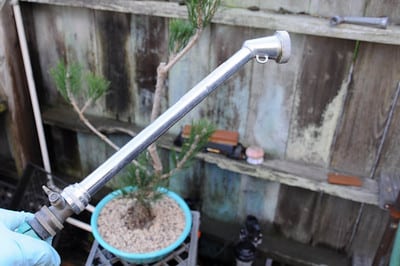
Water wand for bonsai
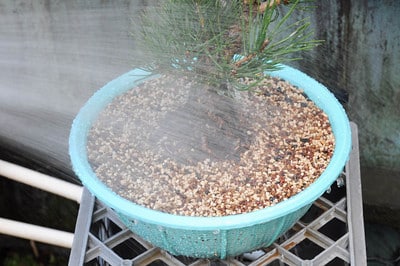
Watering the tree
With the right tools for the job, repotting a single young pine can be a quick process.
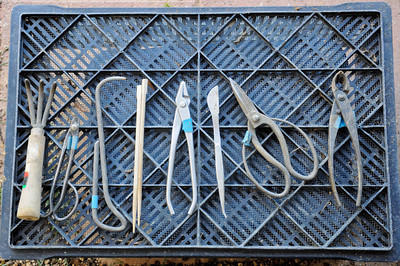
Repotting tools – root rake, wire cutter, root hook, chopsticks, pliers, bent-nose tweezers, root scissors, concave cutter
Of course, repotting 50 small pines takes a bit more time.
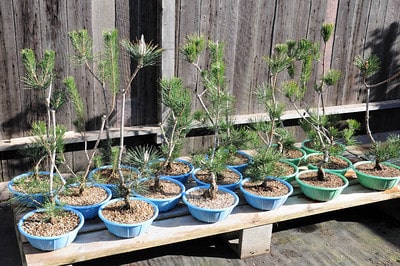
Seven year-old pines – recently repotted
And when I’m done repotting, I have to clean up the workshop – the actual, final step.
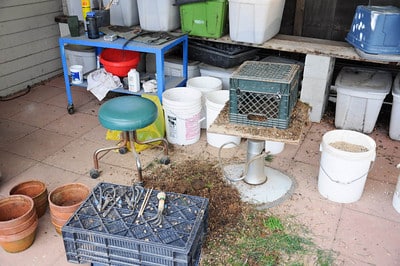
Workshop during repotting season.
Subscribe to Bonsai Tonight
New Posts Delivered Every Tuesday and Friday
linh says
Thanks again Jonas for a great post/blog, but hey Jonas, do you add any slow release fertilizer to the repot or just regular bonsai mix? I’ve seen a blog with that set up but didn’t know it would be effective for us CA people.
xwires says
Hi Linh – I don’t typically add slow-release fertilizer to my soil mix. I usually wait 3-4 weeks after repotting before I begin fertilizing, and I usually fertilize with organic fertilizers like fish emulsion and cottonseed meal. I know a number of folks use time-release fertilizer to good effect, but I wouldn’t add it to the mix because it’s harder to control how much food the tree receives. I’d also be careful about how the release actually happens. Some pellets release more nitrogen as the temperature rises – an easy way to burn most trees.
John Kirby says
Nice sequence Jonas, I now have a place to send folks for a great photo demo. John
AndY says
Hello, I was wondering where you picked up those mesh pots. They look ideal for re-potting stock.
Thx
Andy
xwires says
Hi Andy – I visited half a dozen grocery stores in my local Chinatown to find the mesh pots. They are perfect if you can keep the trees well watered.