There are only so many ways to make a bonsai smaller – and cutting and bending seem to do most of the work. As my newest pine was almost two meters tall, some cutting was in order. Although I have yet to decide on the future of the tree, it’s clear that I don’t need the top branches in the final design.

Making the first cut
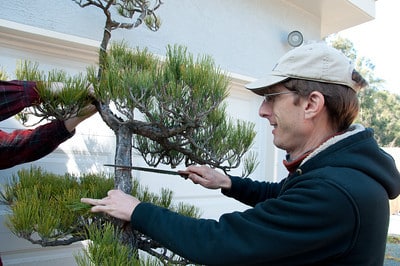
Red-sleeved arms provide assistance
I halved the top remaining branch with my second cut. That was enough to get the tree into the workshop for further refinement.
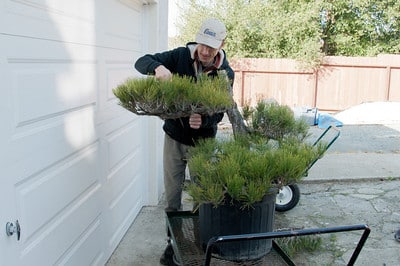
Halving the top branch
Even after making these reductions, this is still a large pine at over three feet across.
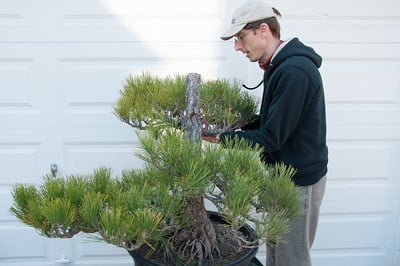
Not a small tree
Once I got the pine into the workshop, I cut some heavy secondary branches and removed old needles. Then I started repotting. I removed the nursery soil from half of the rootball and planted the tree in a mix of akadama, lava, and pumice.
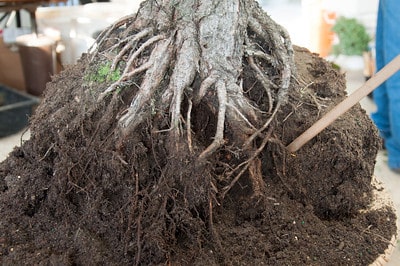
Bare-rooting half of the rootball
The resulting three-branched tree leaves me with several fun options for the future.
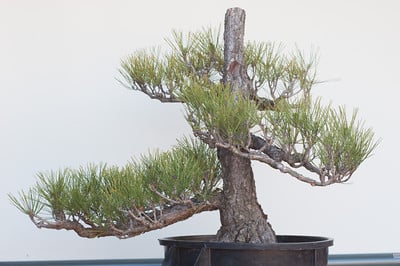
Cutback, needle removal and repotting complete
I’ll admit, one hypothesis struck me immediately when I first saw the tree. I don’t know if it’s a great idea, but it’s made me curious. What I do know is that I want to show off the base of the trunk, especially on side B (see “From landscape tree to bonsai“). Hint – here’s a photo of the tree that got me thinking in this direction.
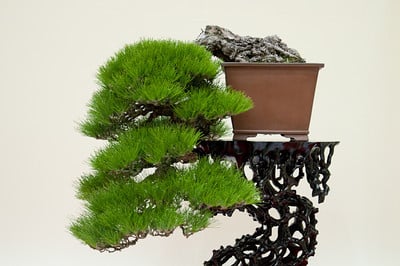
Japanese black pine displayed at the 2011 Gomangoku in Okazaki
Subscribe to Bonsai Tonight
New Posts Delivered Every Tuesday and Friday
Shoeless says
Your blog is so awesome! I’ve always wanted to learn how to do bonsai plants…sadly I’m not sure I have the green thumb for it, but who knows, maybe your blog will inspire me to take a shot.
Fr. Tom says
Thanks Jonas!
Was there any thought about air-layering the top before cutting?
There was a pretty substancial trunk thickness where the cut was made.