About a year and a half ago, I started an air layer on a Japanese maple (see “Air layering a Japanese maple“). I checked on the layer’s progress the following winter and found that the wound had produced callus but no roots. I reopened the wound to stimulate root growth and by spring a few roots had appeared (see “Japanese maple air layer – a check up“).
This past summer I noticed roots developing inside the layer bag. How did I know enough roots had grown to warrant removing the layer? Just below the bag the trunk had begun to die. Instead of waiting until late winter or early spring – good times to remove air layers – I separated the layer a few weeks ago. Here’s the basic process.

Japanese maple – December 2013
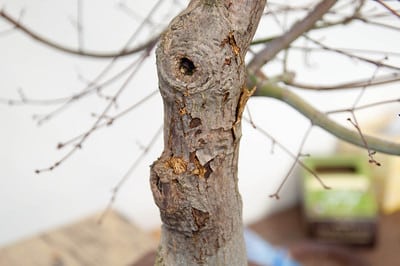
Trunk dieback below the layer
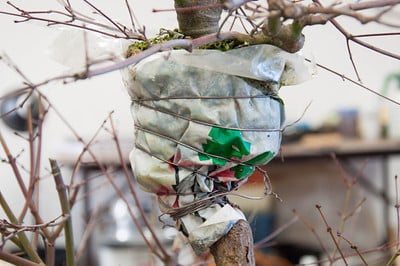
The layer bag
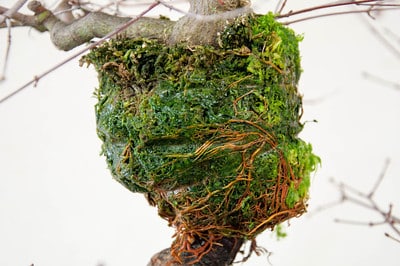
After removing the bag – the moss has turned green
After removing the bag I used bent-nose tweezers to carefully remove the sphagnum moss from between the roots. This process took a long time as the roots were all a-tangled.
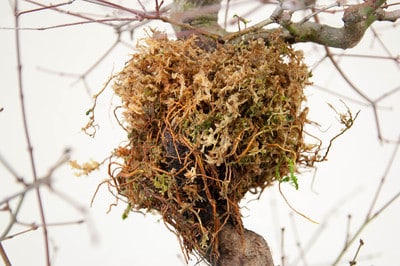
After removing some of the moss
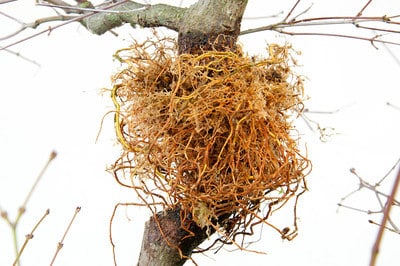
Most of the moss removed
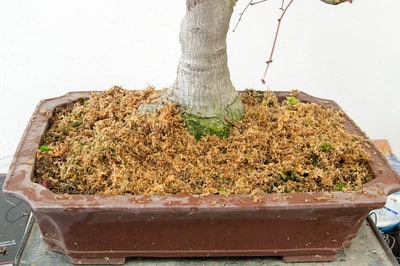
Moss from the layer
I removed the layer without ceremony leaving behind a deciduous version of Charlie Brown’s Christmas tree.
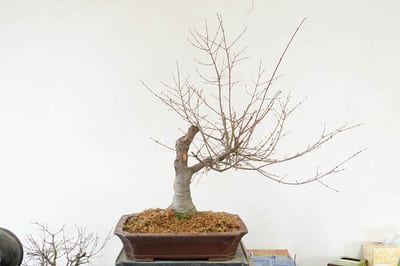
After removing the layer
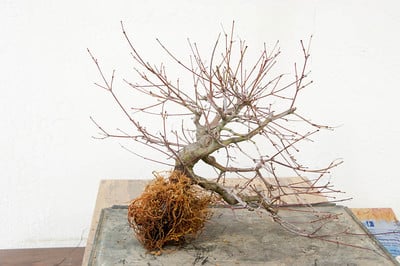
The apex
I wasn’t surprised to see that the trunk below the layer had completely died as the bark had begun to separate from the tree, but this was first time I’d seen a layer completely kill off the wood below.
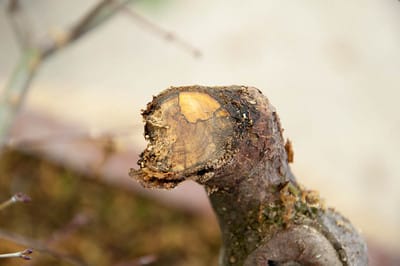
The dead trunk
The next step was to pot the layer. I first removed some of the dead wood below the roots with large root cutters.
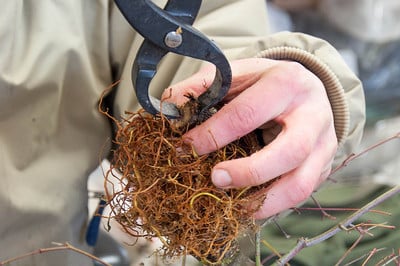
Removing dead wood
I next added some bonsai soil to the pot and set the tree in place. Normally I wire trees into place before adding soil around the roots, but for air layers, trees that have been bare-rooted and recently collected trees, I’ll usually add soil between the roots before securing the tree.
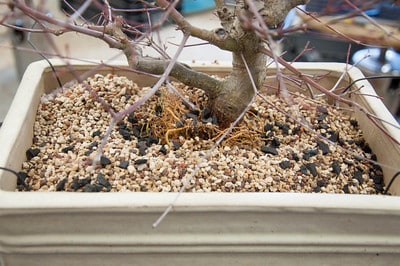
Adding soil between the roots
I used chopsticks to stabilize the trunk.
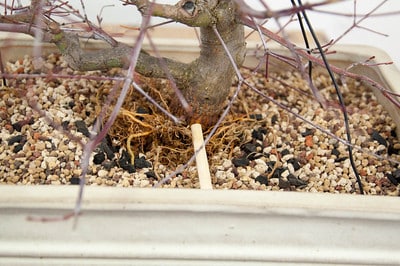
Chopstick holding the trunk in place
When using chopsticks to stabilize the tree, I try to line up the two sections as close to a straight line as possible.
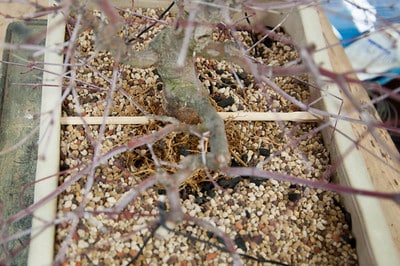
Chopsticks front and back
These chopsticks help keep the tree from moving front to back. To keep the tree from moving from side to side, I used the wire in the pot to secure a branch on each side of the tree.
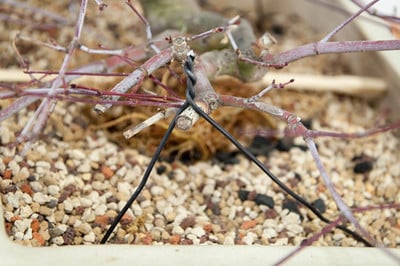
Using a branch for the tie-down
I used branches to secure the tree to the pot as the roots are too delicate to offer much stability at this point.
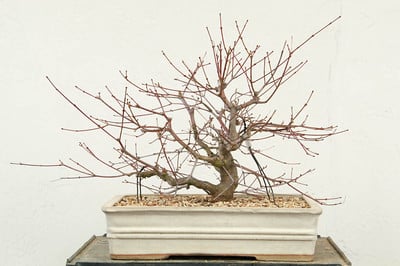
Layer freshly potted
Now that the layer is complete, I can think further on my plan for the tree’s future. The original plan was to lay the tree on its side and make yet another layer to create a multi-trunk bonsai, but I think I’ll wait a year or two before deciding what’s next.
Subscribe to Bonsai Tonight
New Posts Delivered Every Tuesday and Friday
Daniel Dolan says
Jonas:
As with most of my questions……this one relates to the best time to schedule bonsai techniques. It seems that you have just performed this work. I realize you live in California but, can you explain your approach to “not” doing this in the Spring when the roots will be more active and get a strong start in the new soil?
Thank you.
Best regards,
D/D
Chicago
Jonas says
Why separate the layer now? Because the trunk below the layer had died, keeping the layer on the tree provided no benefit, and planting the roots in soil seems to offer more protection against cold than leaving them in a plastic bag. That and I was curious to see how the layer would do if I removed it early.
Bruce says
That’s a long tme for an Acer p to layer. The roots were certainly ready, nice and brown…Had you considered media in a plastic pot? Just curious.
Thanks for yet again another clear and informative post.
Jonas Dupuich says
Thanks Bruce. I started with the bag and moss approach with this layer because it is fast and simple to set up. Had I needed a more roots than would have fit in the bag, I would have considered rigging a pot much like I did with a cryptomeria: http://bonsaitonight.com/2013/05/14/large-cryptomeria-air-layer-part-1/
Wayne says
What do you believe is the cause for the trunk dying? Is that in any way related to the airlayer? Anything you could’ve done to prevent it?
Jonas Dupuich says
Hi Wayne – my guess is that at some point the apex began to draw more from the roots than from the trunk due to the layer. Were there another branch right below the layer, it’s likely the dieback would have stopped at the branch, much like it did at the sole branch below the layer. I could have grafted branches just below the layer to maintain this part of the trunk, but because it was unsightly, not much usable trunk has been lost.