About 15 years ago, Boon brought a Korean hornbeam to a Bay Island Bonsai meeting. It was November, and the tree was in fall color. I’d never seen such vivid reds, oranges and yellows on a bonsai in person. I decided right then I wanted one.
Several years later, I found my chance. It was a medium-sized tree that had been collected in Korea.
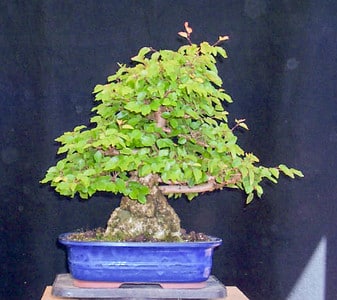
Korean hornbeam as purchased, circa 2006
Work began immediately with a single cut.
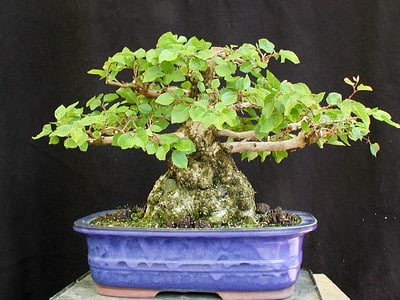
After removing the apex
Over the next few years I reduced the heavy primary branches that lacked taper, movement and ramification. These branches were replaced with younger shoots that I wired and cut back regularly to produce taper. After a few years, the tree started taking shape.

A few years later
The main work at this stage involved creating primary branches and a new apex. Each year I let the branches lengthen during the growing season and reduced them in early spring.
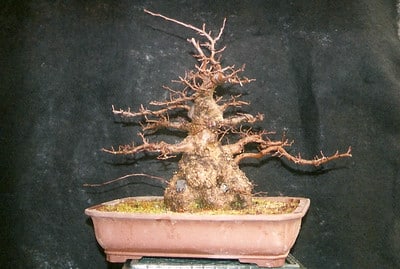
After cutback
Once the primary branches had their start, the work focused on improving ramification.
I found, during these early years of development, that Korean hornbeam naturally develop great branches. When several branches grew from the same spot, I removed the unnecessary ones. When branches grew at funny angles, I wired them.
Below is the first photo I have of the tree with a date. The primary branch on the right is tied down and two long sacrifice branches rise from the left side of the trunk.
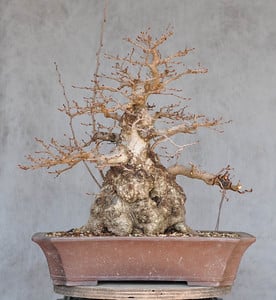
January, 2009
I let the sacrifice branches grow for several years to help heal a wound at the back of the tree where one of the original primary branches had been cut.
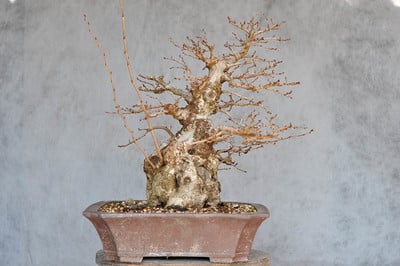
Sacrifice branches healing wound
A close-up of the spot where I removed the apex shows the wound closing and the new apex rising to the right.
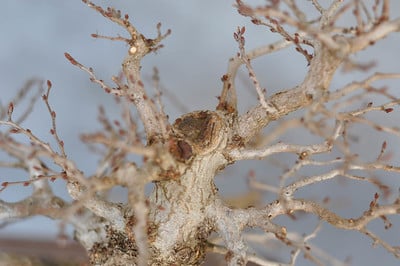
The new apex healing a wound
Each spring, the tree leafed out with dense, green foliage.
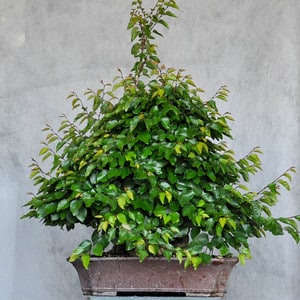
May, 2009
One year later, you can see the new branches that developed.
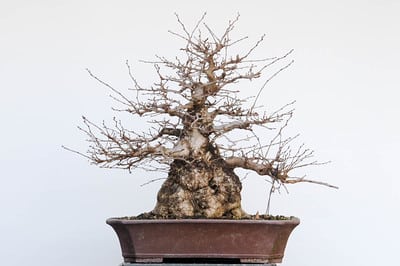
February, 2010
As many of these branches grew at funny angles, the tree required significant cutback and wiring that year. Once the work was done, I repotted the tree into a large glazed pot with the intention of letting it grow for several years. Here it is in the spring of 2010.
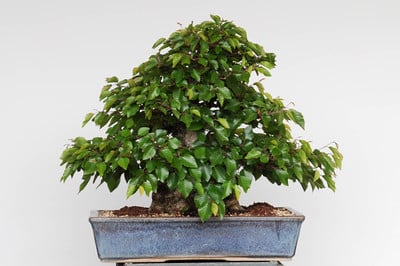
May, 2010
That winter the tree looked similar to the way it looked the previous year. Lots of thin branches that needed to be wired or removed.
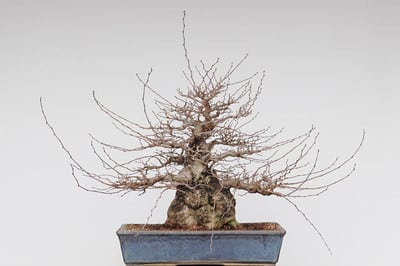
December, 2010
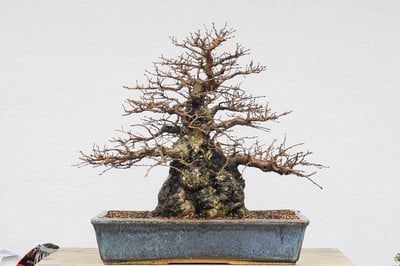
After cutback
As the tree was developing faster than expected, I repotted again the following winter into a smaller pot in preparation for the tree’s first exhibit.
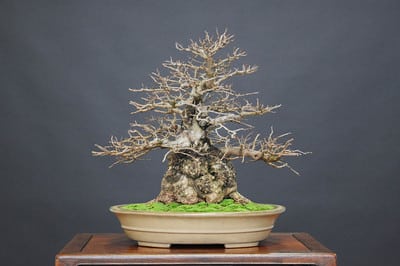
As displayed at BIB’s 12th annual exhibit in 2011
As the tree developed more and more small branches, the work shifted to more maintenance-oriented techniques – namely, defoliation.
Over the years I’ve both fully and partially defoliated the tree. Based on my experience, I don’t recommend fully defoliating Korean hornbeams in my Northern California climate. Although the tree responded well to the technique, a few weak shoots died – an outcome that’s preventable by only defoliating the strongest shoots.
Here’s a snapshot of the time I fully defoliated the tree in 2012. (See “Defoliating a Korean Hornbeam” for the whole story.)
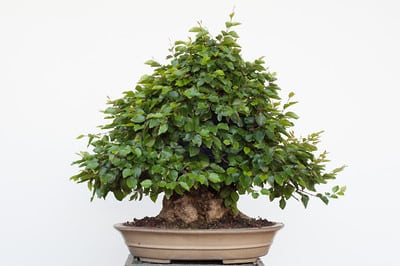
May, 2012
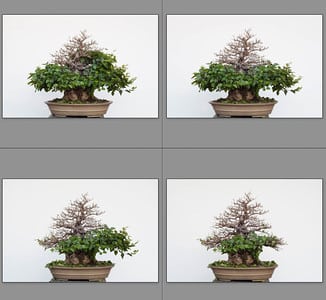
Defoliation in process
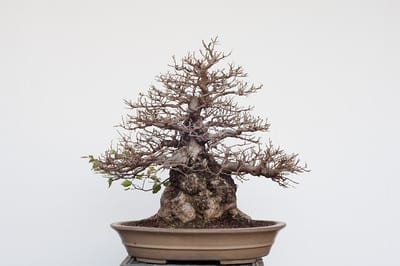
Defoliation complete
(The most surprising outcome from this series of photos came in the form of an email from the Chinese GQ magazine – they wanted to use the images for a male hair care product. I’m not sure if the project ever got off the ground.)
As you can see from the side shot below, the tree remained healthy and grew well the year following the defoliation.
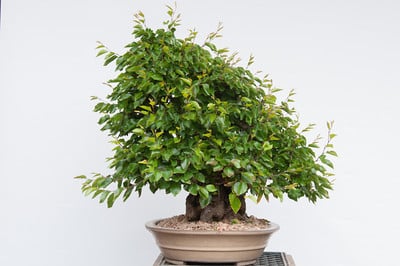
May, 2013
And here’s the tree a year later in fall. Not the color that originally warmed me to the variety, but not entirely brown either.
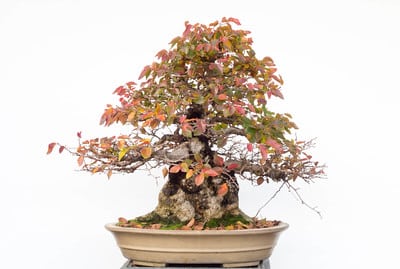
November, 2014
Last fall, I had the opportunity to exhibit the tree at the inaugural Artisans Cup. The exhibit was a fantastic experience – am hopeful there will be another one!
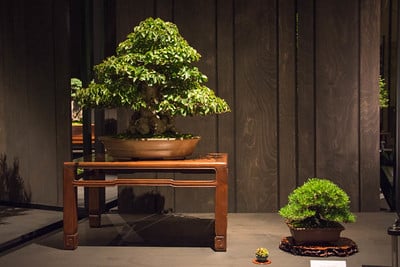
September, 2015, as displayed at the inaugural Artisans Cup
This year I’m looking to exhibit the tree at the U.S. National Bonsai Exposition.
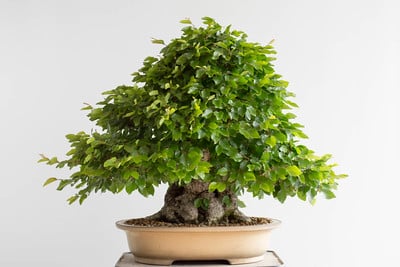
May, 2016
The tree has come a long way in the past 10 years, and based on the results, I’m even more excited about the next 10 years!
Speaking of the U.S. National Exhibit:
Countdown to the U.S. National Exhibit: 28 days
The U.S. National Bonsai Exhibition in Rochester, New York, is just under a month away. I’ll have trees, tools, pots, books and supplies available at the event, including some pines that are in the middle stages of development.
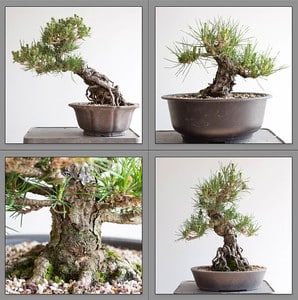
Black pines
The exhibit is a great one – if there’s any way you can make it, join in!
Subscribe to Bonsai Tonight
New Posts Delivered Every Tuesday and Friday
Candace says
Fantastic story Jonas. So inspiring to those of us who are just not getting brave enough to cut off all the branches and start fresh to develop exquisite ramification. No shortcuts here! Can’t thank you enough for the way you so generously share your knowledge, expertise and enthusiasm for bonsai.
yenling29 says
Love the progression and the tree! Reading this along with the pictures is a great educational tool. I think the East Coast is in for a treat being able to buy from you first hand. Everything i’ve purchased from you is top notch, I especially love my new copper watering wand.
Gary Swiech says
Great blog. I did the same to a Japanese hornbeam this Spring. It was nice to see
the tree respond to cutting back pretty severely. I also did it my Rock hornbeam, Carpinus turczaninovii.
Nice job!