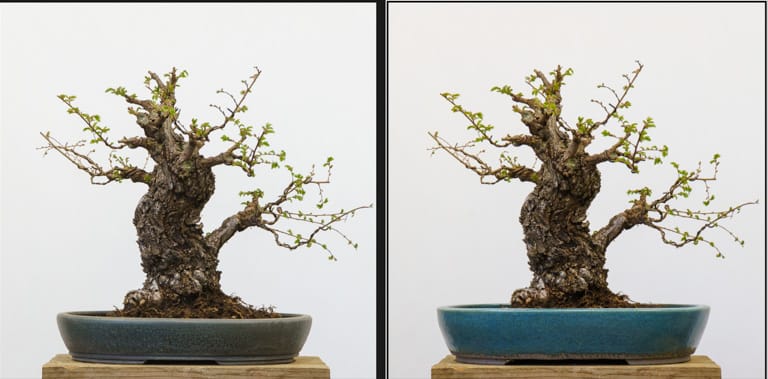
When I have the time, I test out every container I can find when I’m repotting to see which I like best for a given tree. Size is the most important attribute to consider (to keep the tree healthy), followed closely by shape. From there I consider color and quality (I don’t like using show […]
Repotting
Repotting Strategy
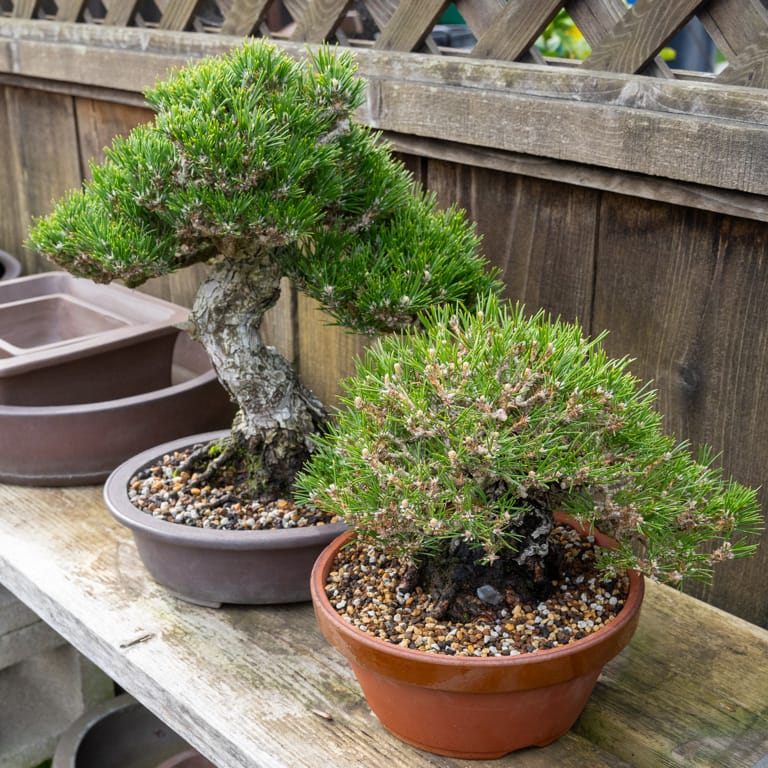
As I go into repotting season, I think about how my plants grew the previous year and whether I want to change the soil mix I use for the upcoming growing season. Last year, summer was mild which meant that many of my trees didn’t dry out between waterings. Among the pines, a few trees […]
Setting up an effective workstation
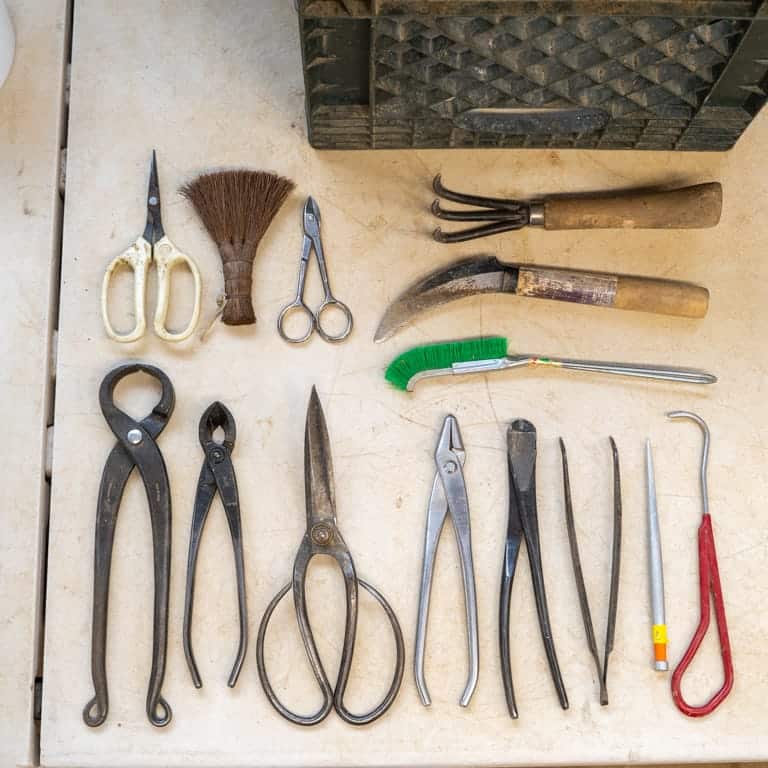
This turned out to be a big year in the garden for repots. Together with Adam, Steve, Christian, and JC, we repotted around 195 bonsai and pre-bonsai plus 14 flats of young trees – far more than the normal routine. In hindsight, this wouldn’t have been possible without an efficient workstation. I’ve taken different approaches […]
Three repotting tips
This winter is turning out to be a big repotting year for me. Throughout the season, three themes are guiding the work. 1. Work in Batches To get through as many trees as quickly as I can, I’m repotting in batches. When the trees are young, I’ll prepare the pots, remove the trees from their […]
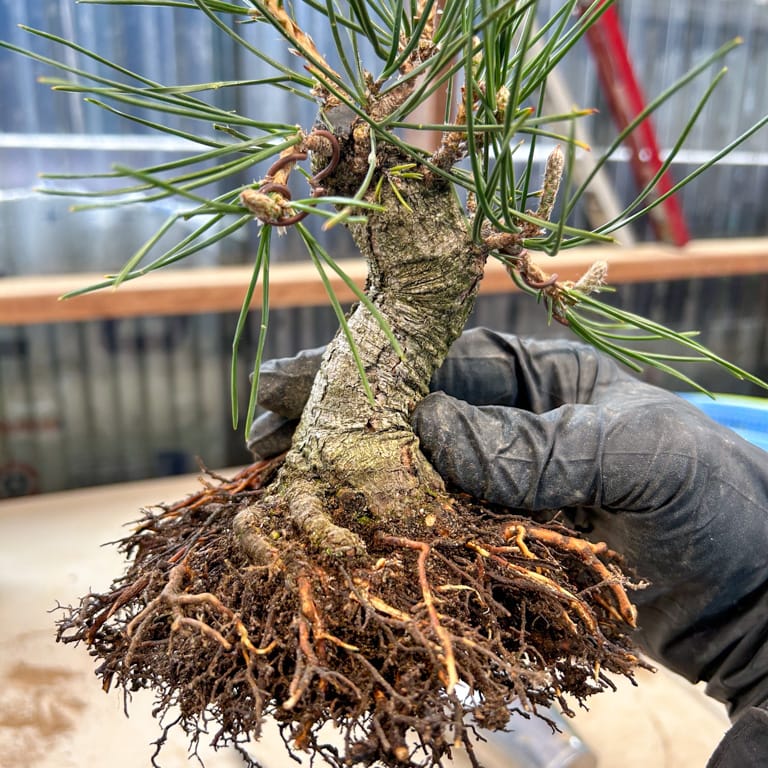
Mid-repotting report: Japanese red pine
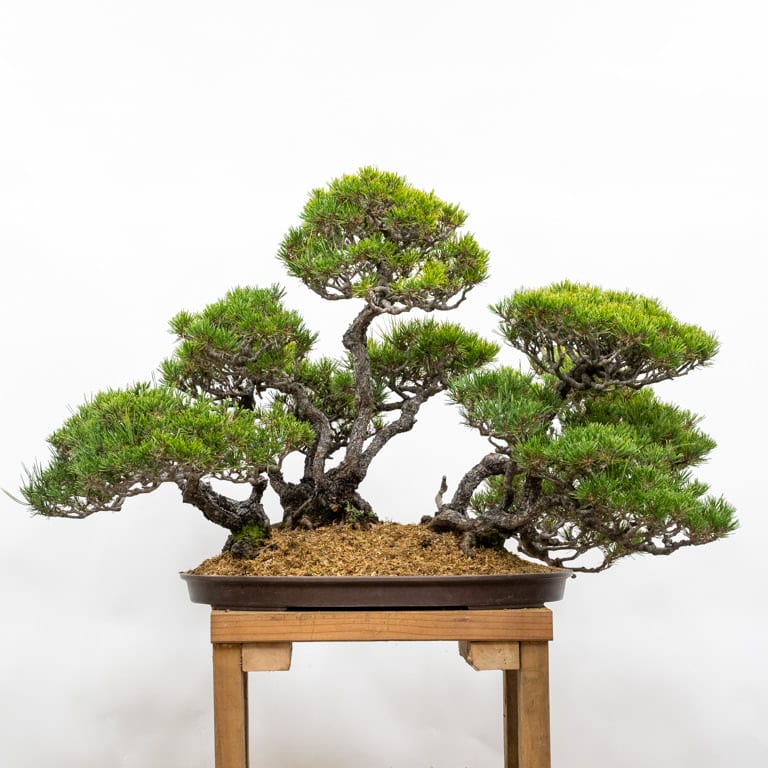
This week I finally got around to repotting a red pine forest that hadn’t been worked on in a while. Midway through, I paused to take note of the different techniques I was using to do the work. Midway through the repot I’d started by combing out the mat of roots growing along the bottom […]