What do you do with a San Jose juniper that has too many branches? Create some air-layers! At least, that’s what Kenji Miyata did.
I acquired a half-dozen junipers from Miyata last year, five of which came with layers in progress. Now that the weather has cooled down, I thought it could be a good time to see if there were enough roots to separate the layers.
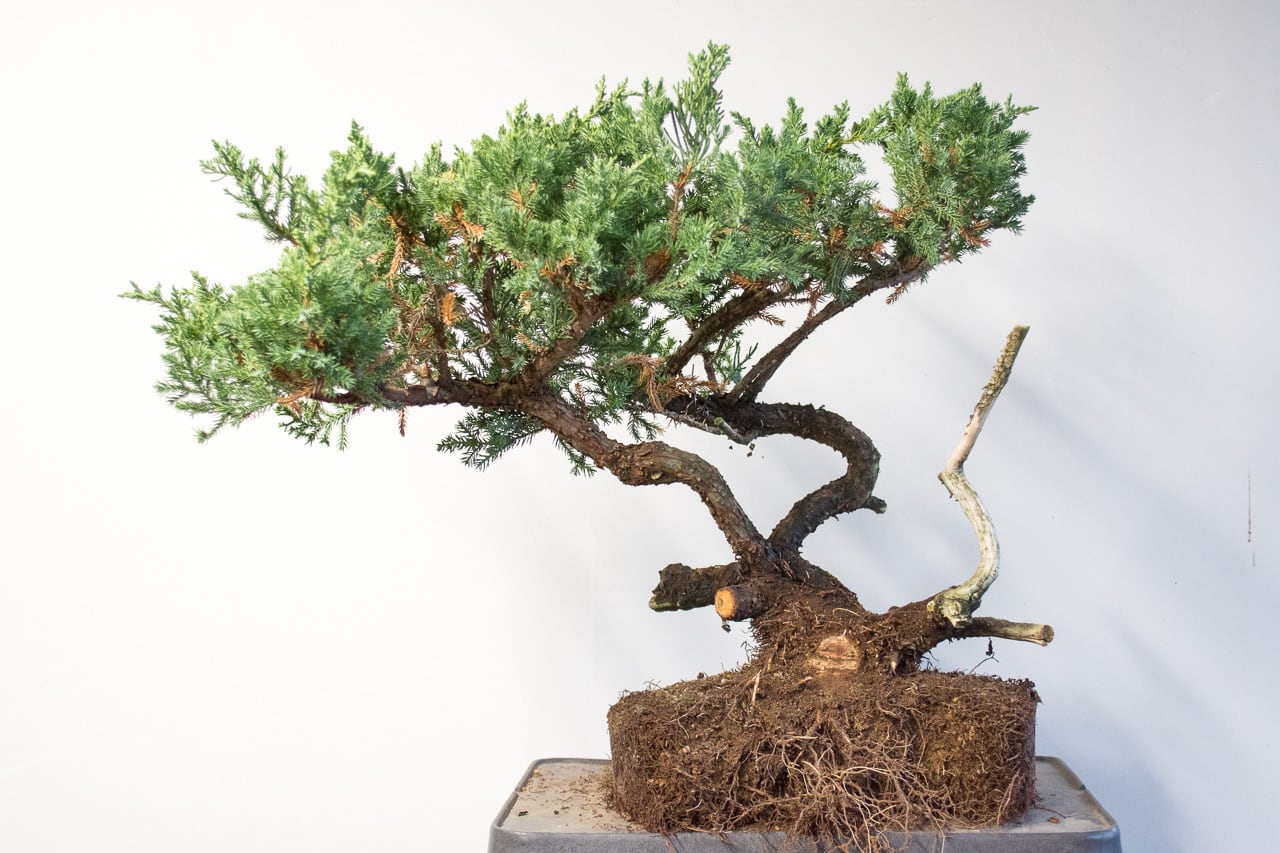
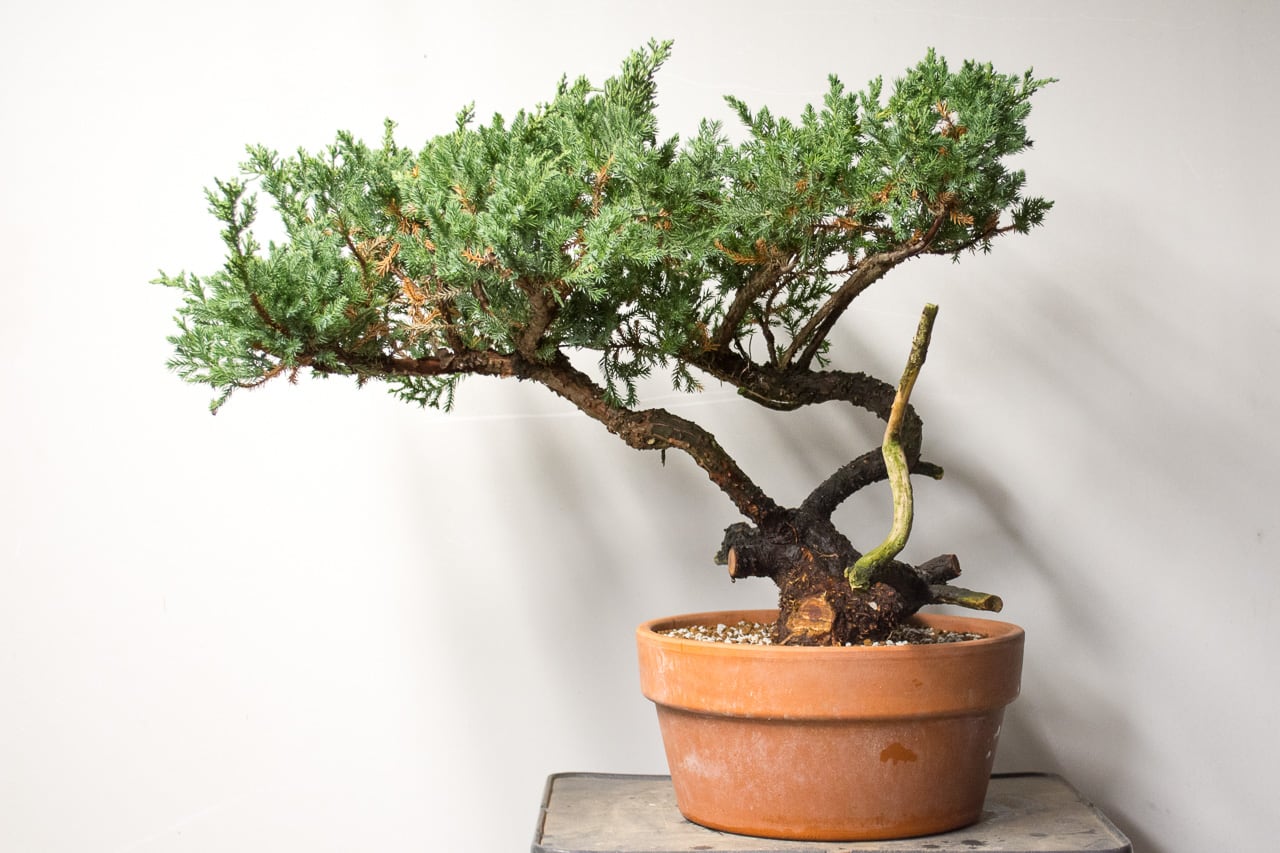
In short, there were plenty of roots. Here’s what one of the trees looked like before getting started.
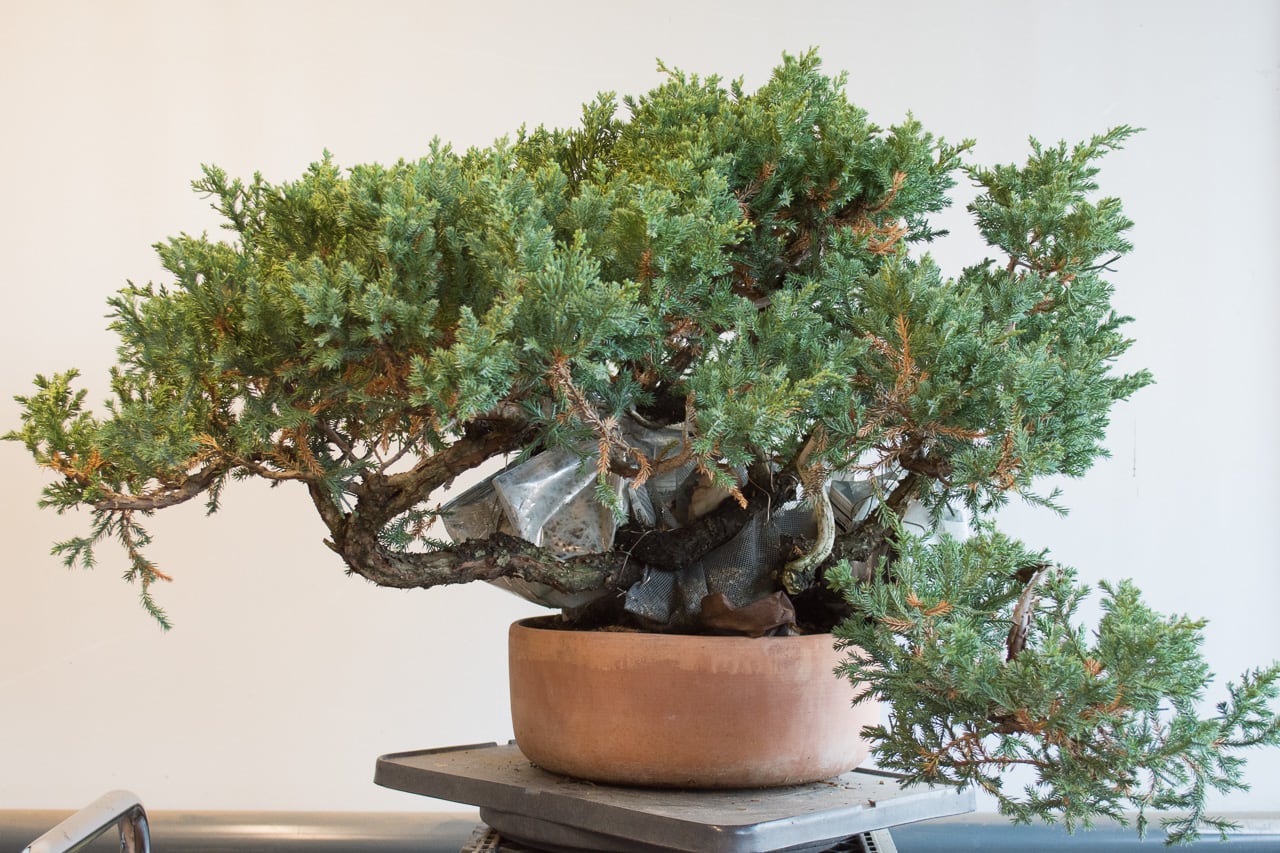
San Jose juniper with air-layers in progress
Curious to see what the individual layers looked like – let alone the tree itself – I removed the first branch. Here’s a shot of the roots.
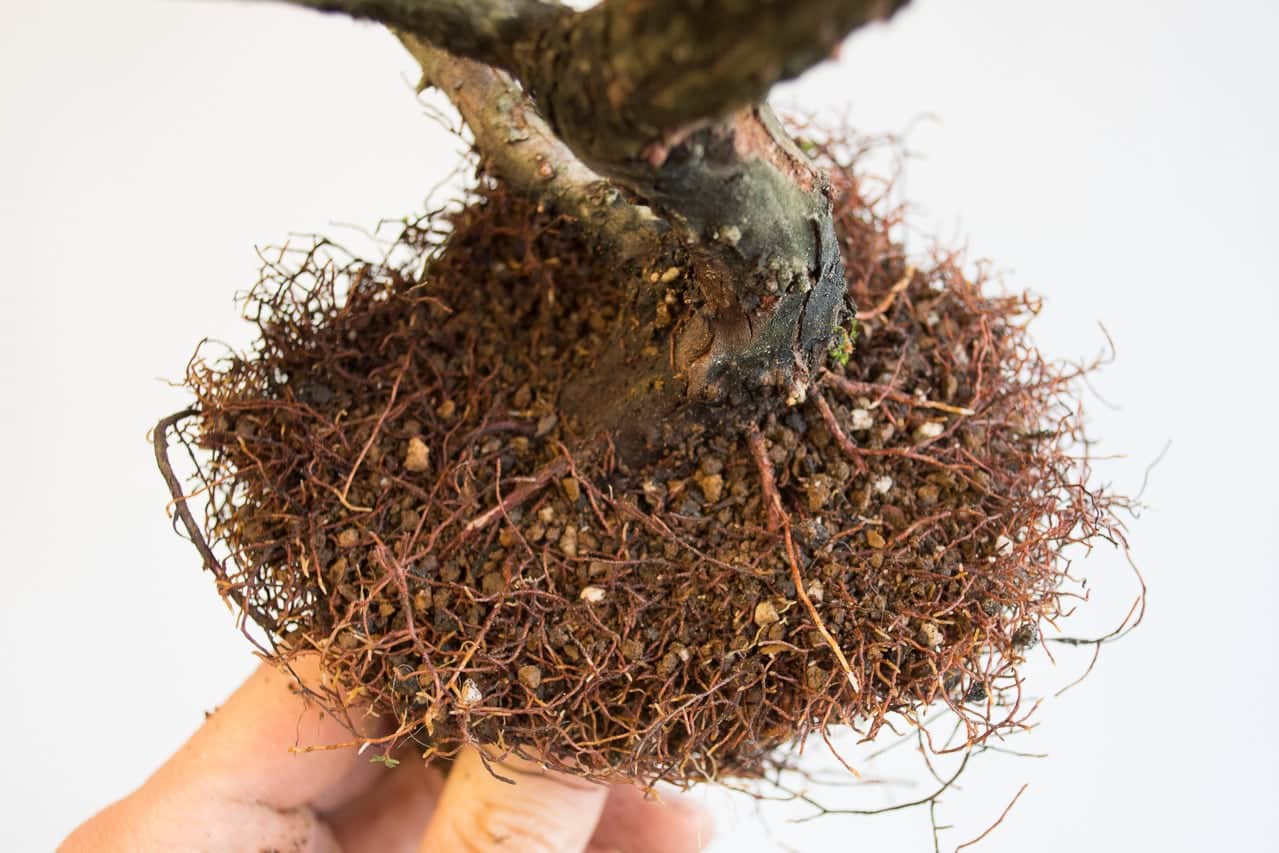
Good surface roots
Even though roots aren’t as important in junipers as they are in other varieties, it’s still nice when you have some.
Miyata’s process for layering San Jose juniper is surprisingly simple. He ties an aluminum wire around the point below which he wants new roots to emerge, twists it tight, then builds a small pouch and fills it with fine bonsai soil. No cuts, no hormones – the roots just grow. Although I don’t know exactly when the layers were started, my guess is that it was earlier this year.
Here’s what the next branch looked like after separating it from the main tree.
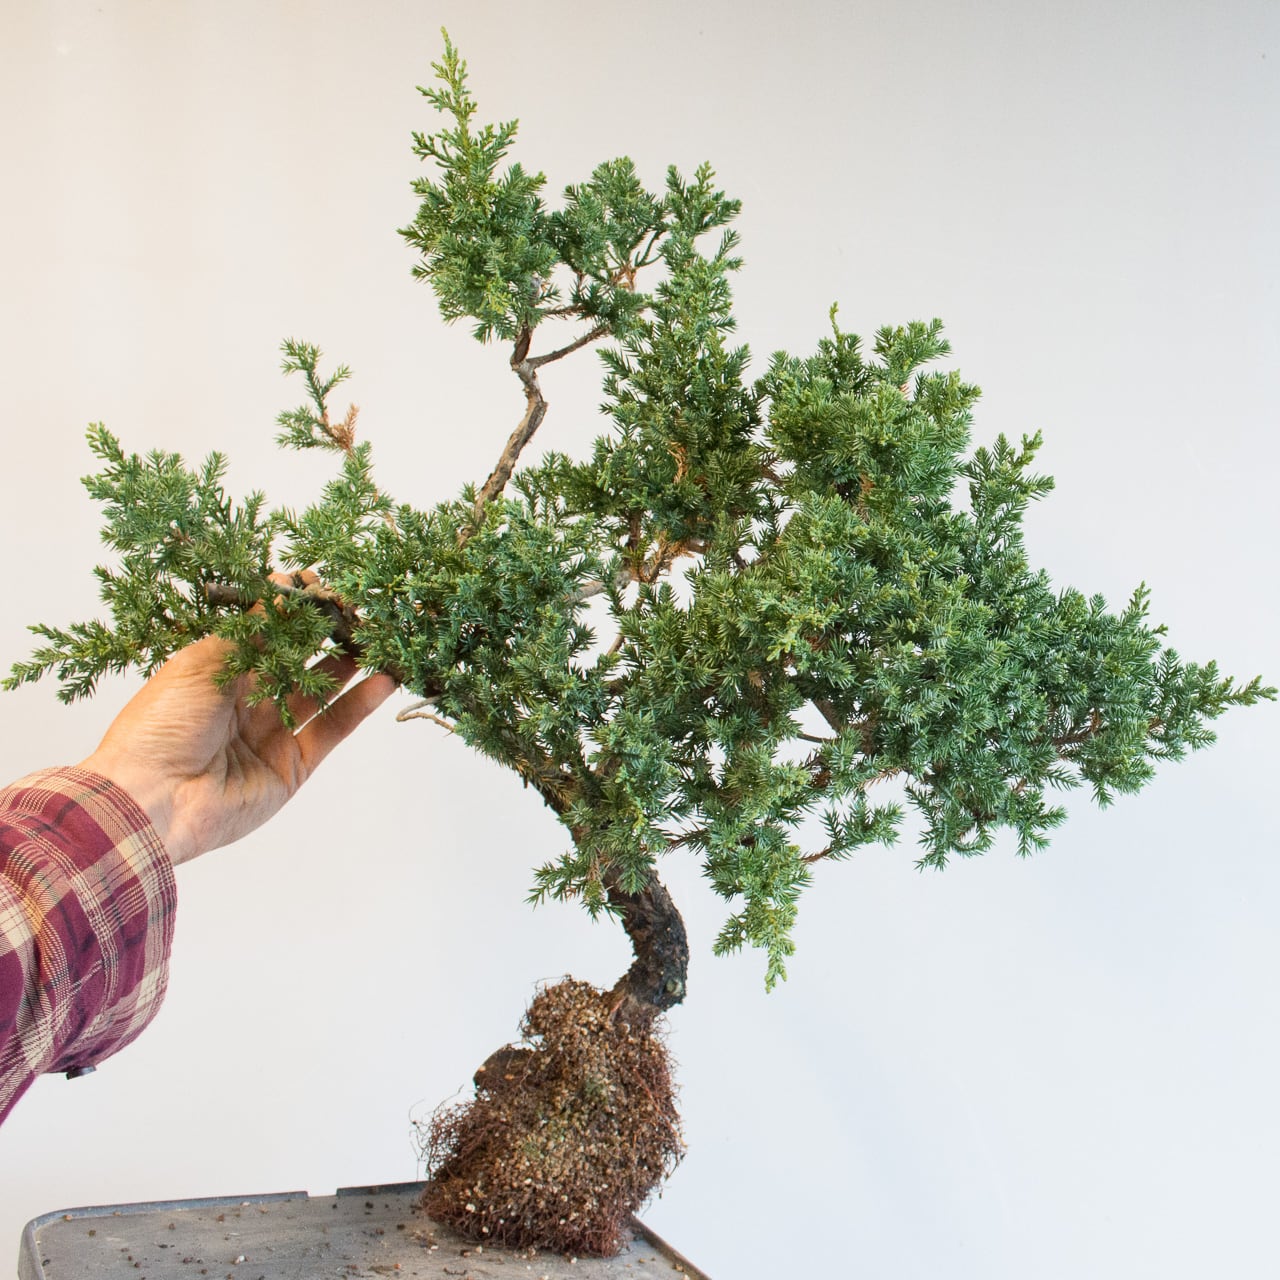
One of the larger layers
A number of the layers will make cute trees.
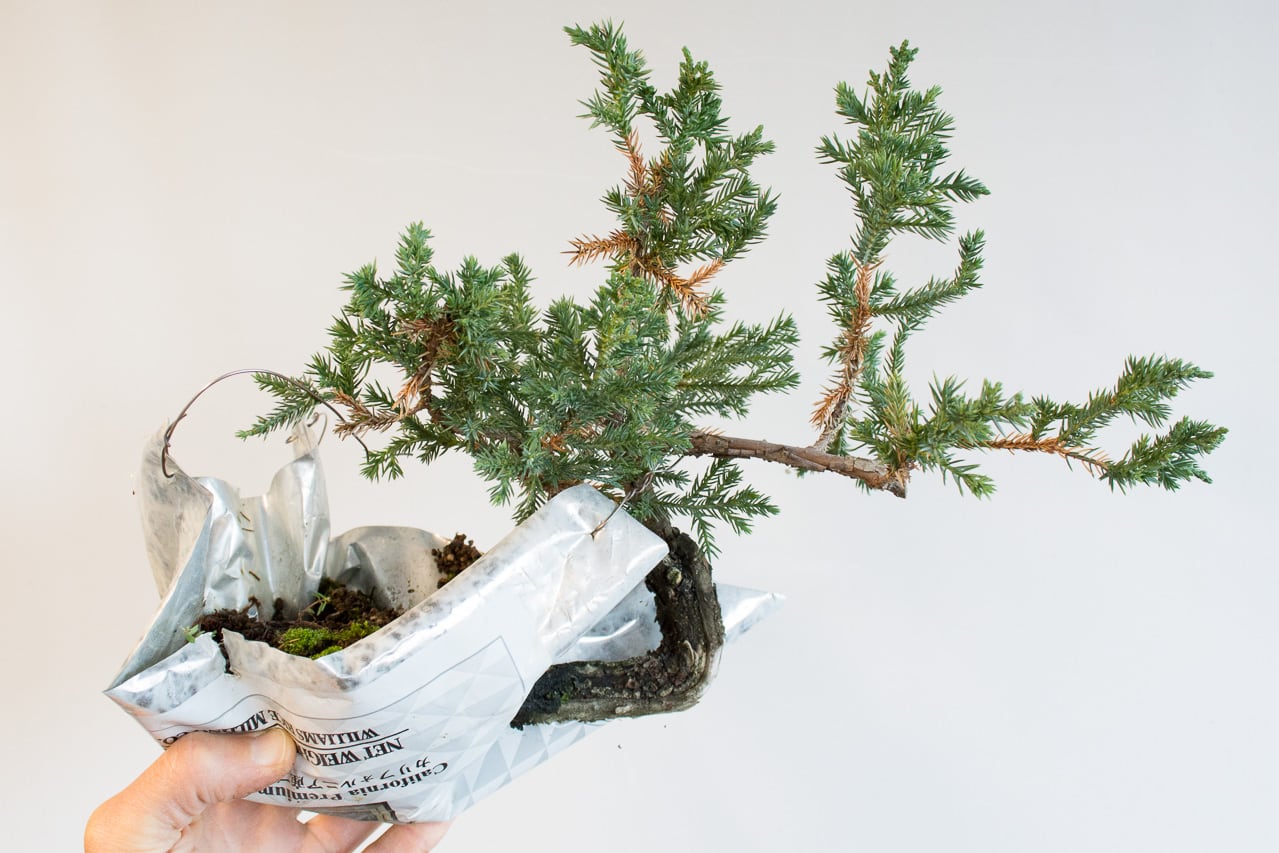
Short layer removed

Tall layer removed
When I got to the last layer, I was dumbfounded as to how I’d remove it. I chipped away at roots until the top of a branch was exposed, but once it was cut, I realized that the roots had escaped their pouch and grew into the main root ball.
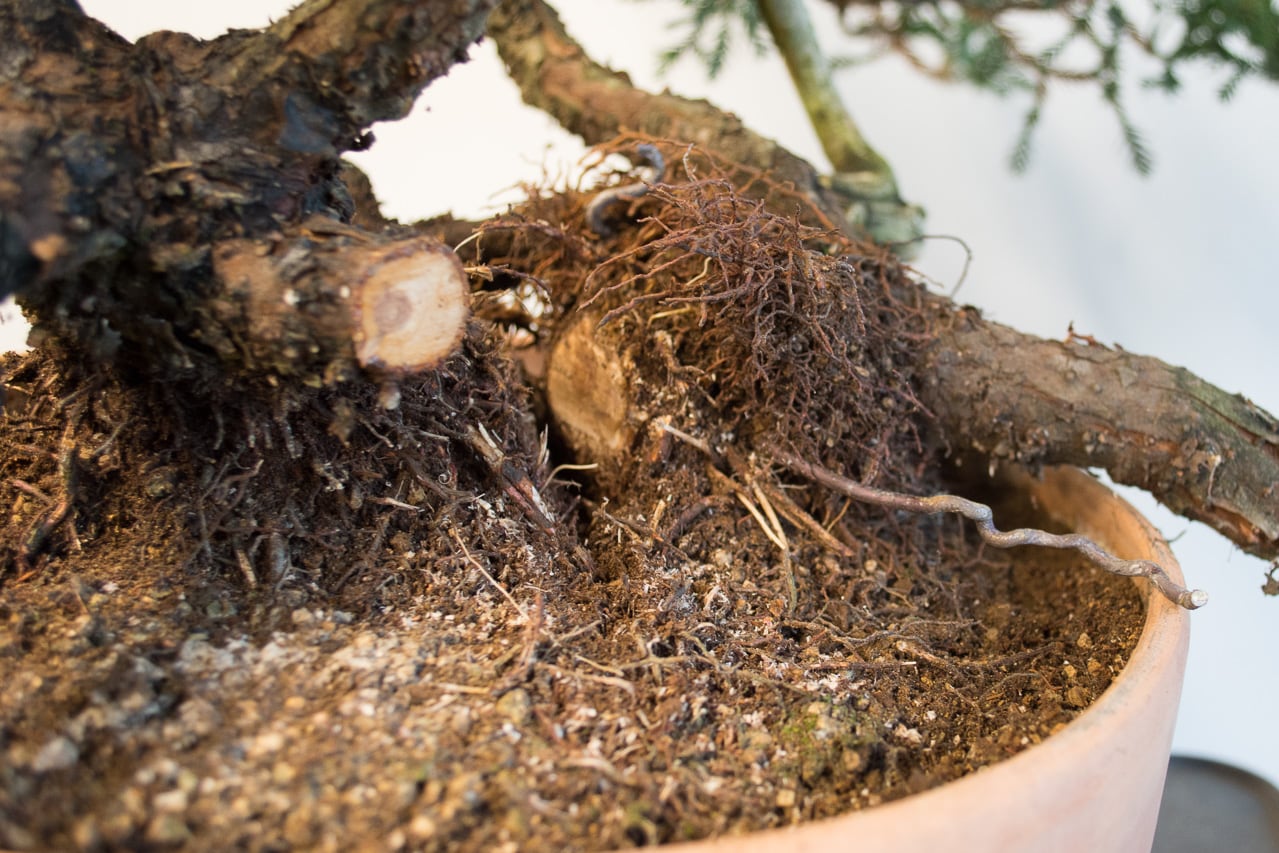
Branch cut, roots still connected
I figured my best bet would be to take the main tree out of the pot and carve out a wedge where the layer’s roots had grown. This was more work than I’d expected, but it appears to have worked.
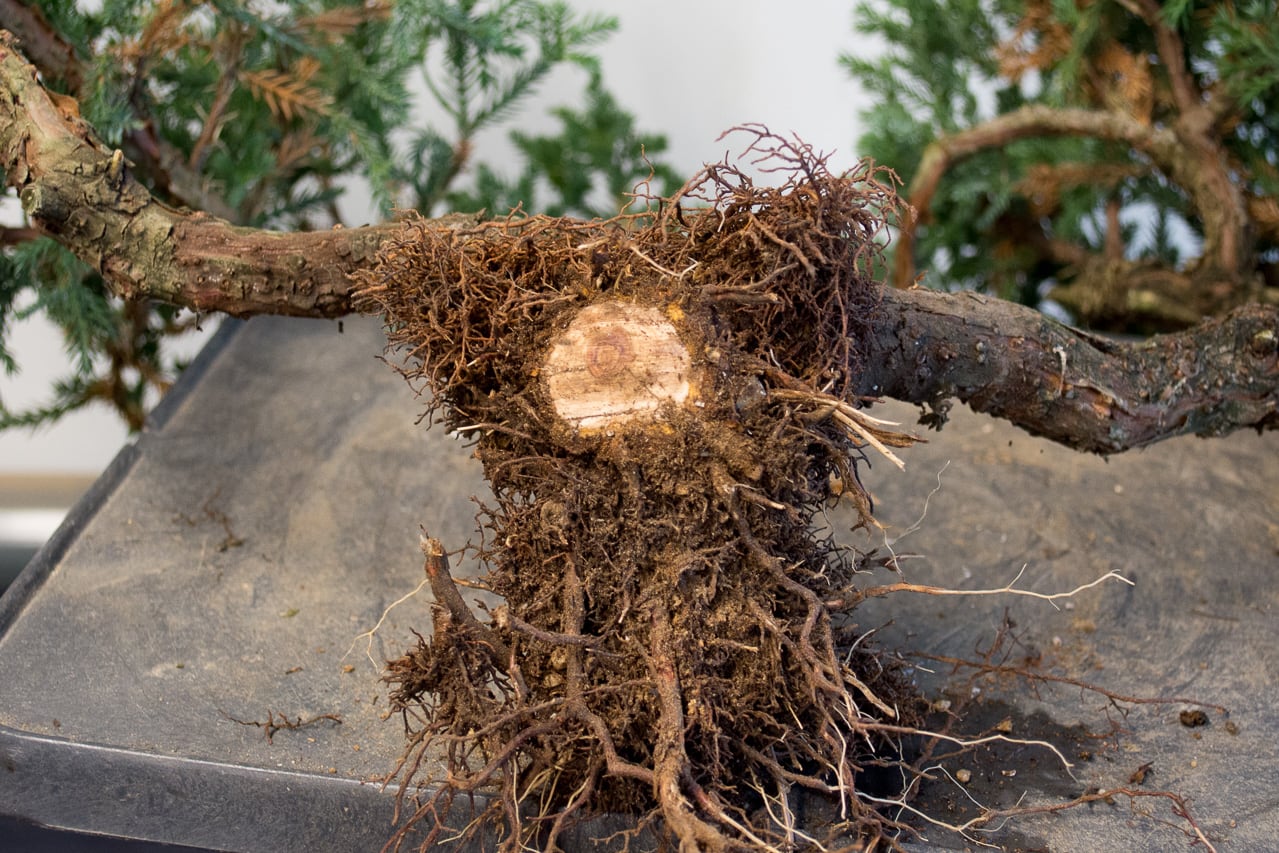
The separated layer showing the roots that had grown into the main root ball.
Of course, the real test as to whether or not this “worked” is waiting to see how the separated layer grows.
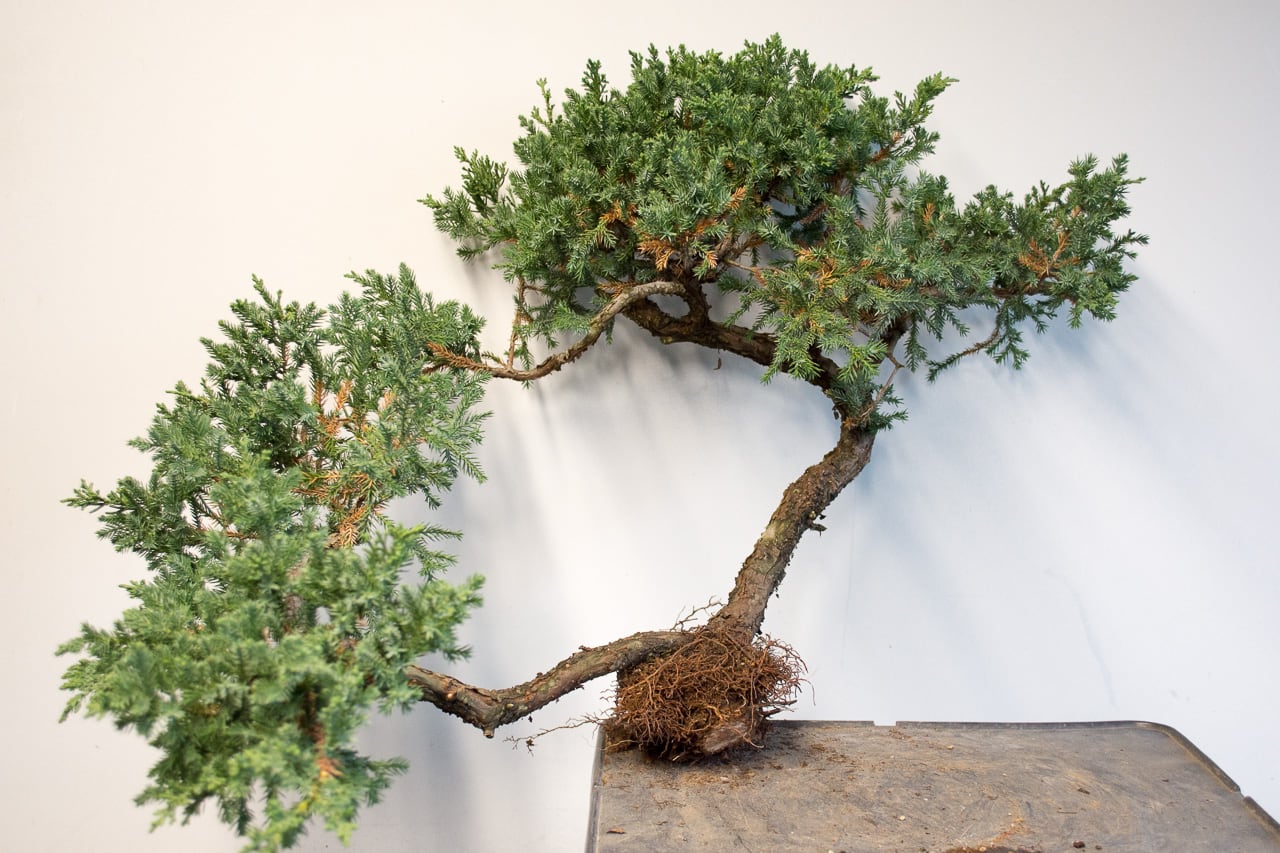
A lot of foliage for a small amount of roots
Here’s what the main tree looked like after removing the last layer.
Layers removed
And here it is in its new pot.
After repotting
Altogether, this tree produced an impressive number of layers. Here are the five separated branches together.
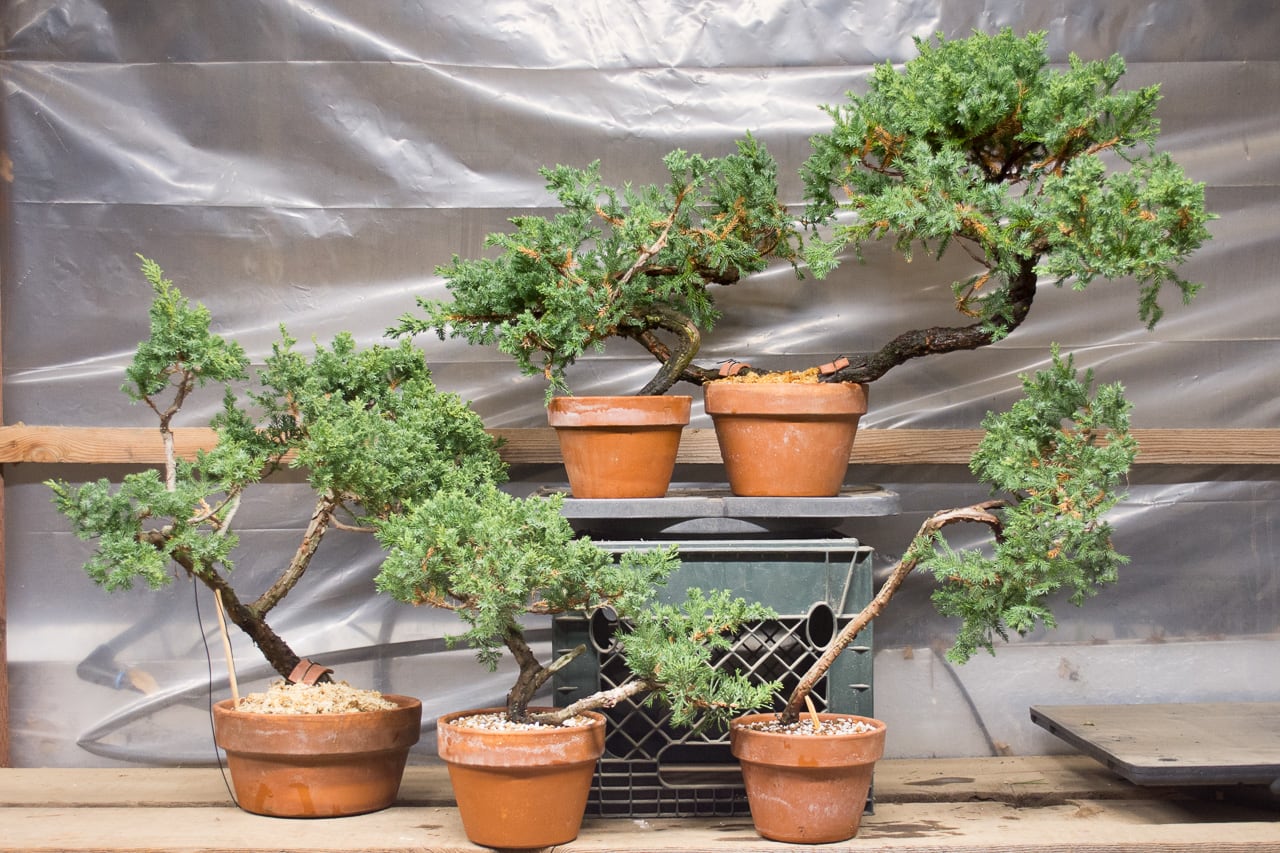
Separated layers
I’ll be watering the foliage of the removed layers whenever it’s dry out, but I’ll be careful to not keep the soil too wet as the new roots get established. I often wait until spring to do this work, but I’m both curious how the layers will do when removed now and I’m trying to get a jump on repotting season as there are plenty of trees to repot in the garden this year.
Subscribe to Bonsai Tonight
New Posts Delivered Every Tuesday and Friday
Nicholas Haydu says
Hi Jonas,
Excellent post. All your material is very informative and didactic.
Would you have any comments about air-layering a black pine? I checked other air-layering posts on your blog but no black pines. Due tue your vast experience with them I would love to see your comments cause I just started a air-layer in one of my plants..
Jonas Dupuich says
Thanks Nicholas! A friend here in Northern California has had good luck layering black pine branches from a larger tree so I know it’s possible, but I haven’t done layers on pines myself. You’ll have to share the results so we can learn from your approach!
John Rigg says
Having a similar San Jose, I now have a new idea, thank you.
Being November now, would early spring be best to start the layering?
Jonas Dupuich says
I usually start layers in May, but I haven’t tried this no-cut approach. For juniper, I’d likely start in spring when the tree is starting to send out new roots. If I were to do multiple layers I might start them at different times to see if timing makes a difference.
Zack Clayton says
For the last branch you separated, minus the low first branch to the left in the pot in the last photo, that would look outstanding in a moon pot at that planting angle. I often see junipers growing out of a pocket of soil in a cliff face that go out and then up. Not out straight, and not down as a cascade, but out and up.
Jonas Dupuich says
Good idea Zack – that could look good. What’s interesting about the last layer is that it might become two trees as roots were emerging from each main branch. Will have some fun options it the tree survives the separation.
Marty Baumann says
How long were the air layers on before removal?
Anthony G says
Very nice. What medium / bonsai soil mix did you use to plant the separated layers?
Could you also share the grain/sieve size of the mix?
Thanks!
Jonas Dupuich says
Hi Anthony – I used whatever bonsai soil I had around. Most of it was small (3/32″-3/16″), a mix of pumice (2 parts) and akadama (1 part).
Doug says
Was the bag sealed at top or kept open and watered as though it was in a pot of its own?
Jonas Dupuich says
Hi Doug – the bags were all open and received water when the rest of the tree was watered.
Gino P.Bernacchi says
Your photos and comments are very helpfull .I would like to hear anything else that you post . Thanking you .