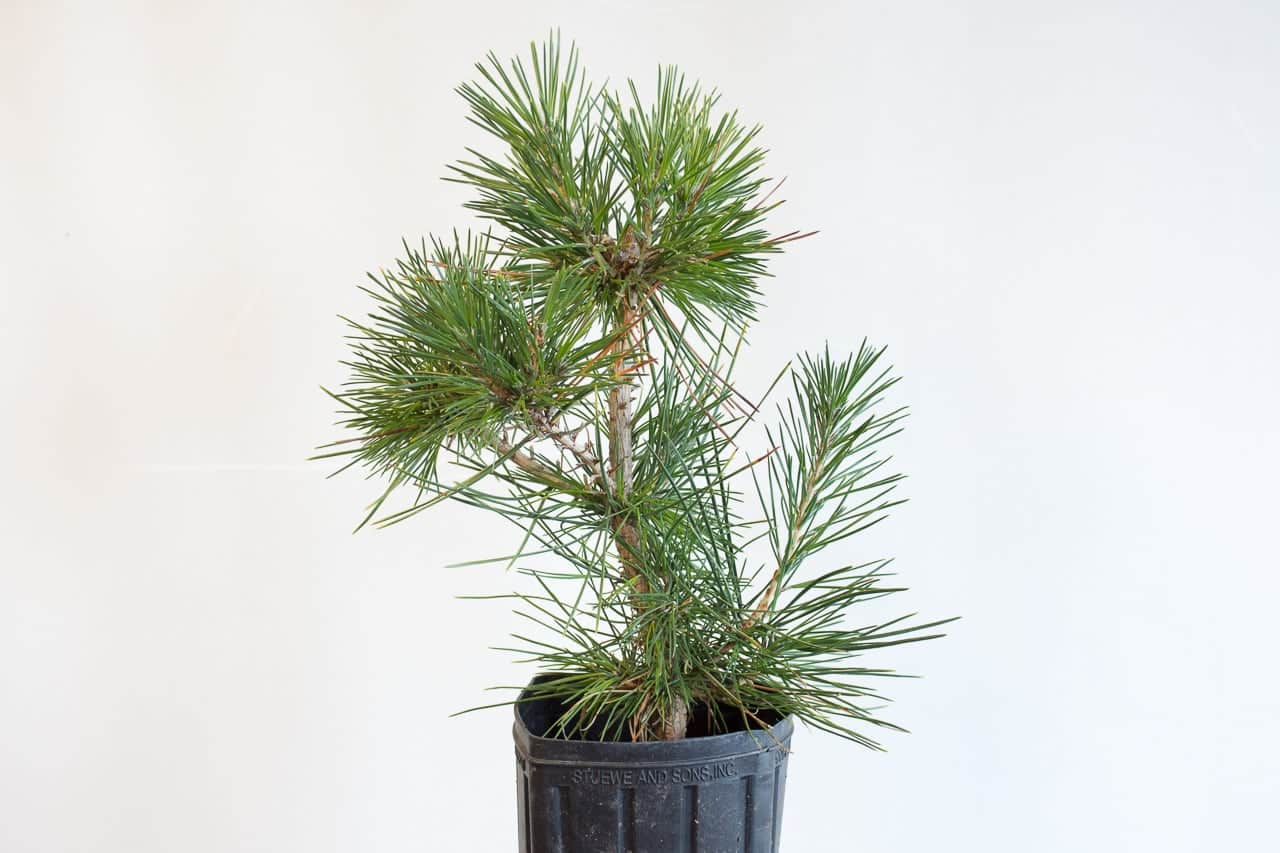
In the last post we looked at a technique for starting exposed root pine bonsai. When all goes according to plan, the tree will grow into its new container and look something like the photo below a year later.
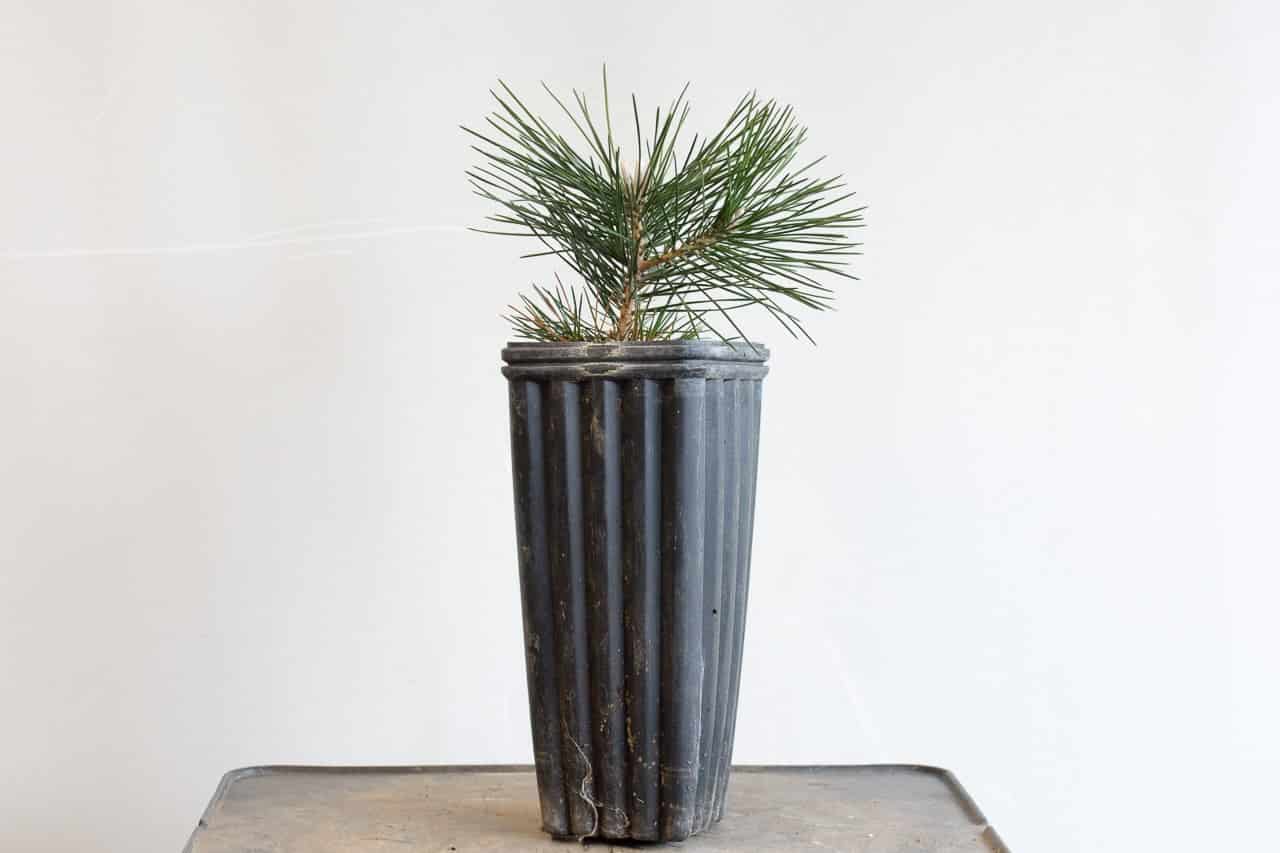
Exposed root pine one year after planting in a deep container
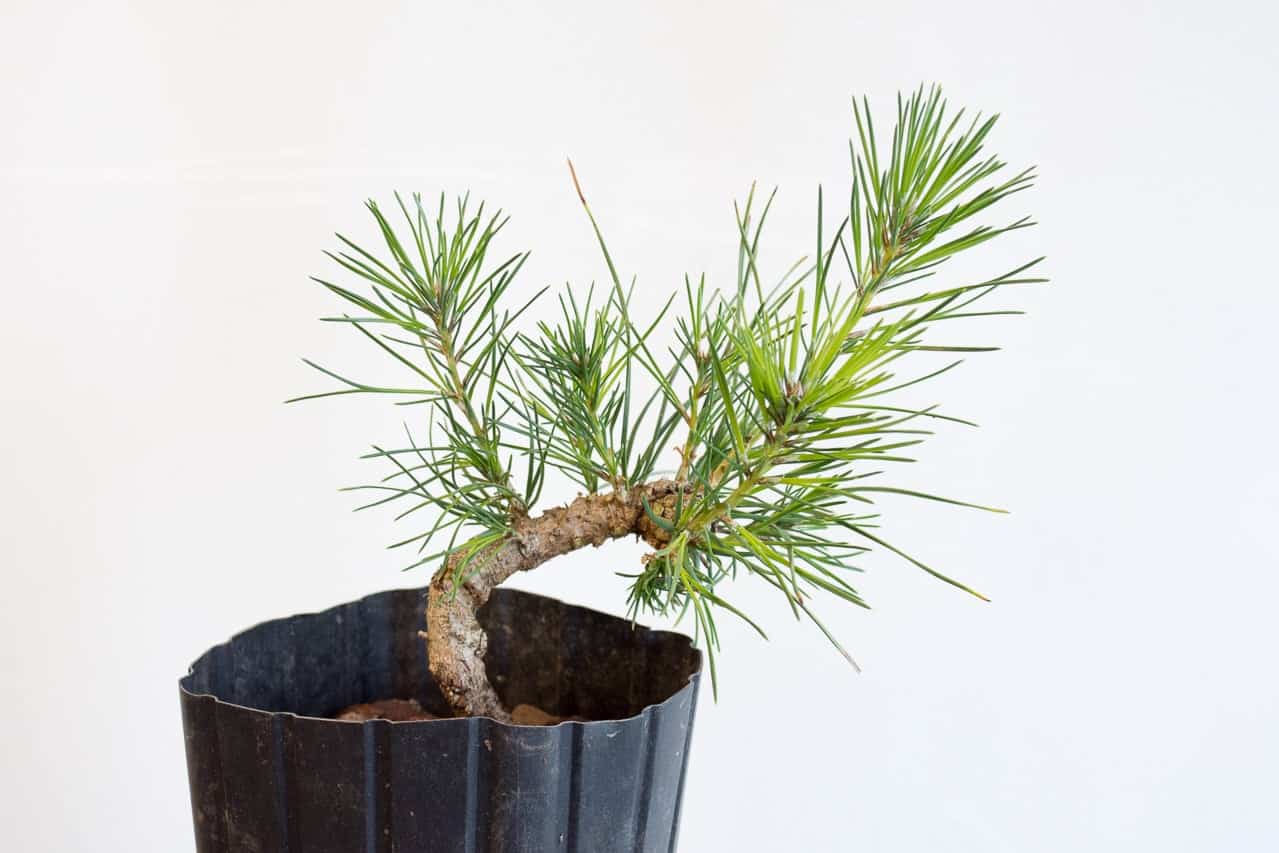
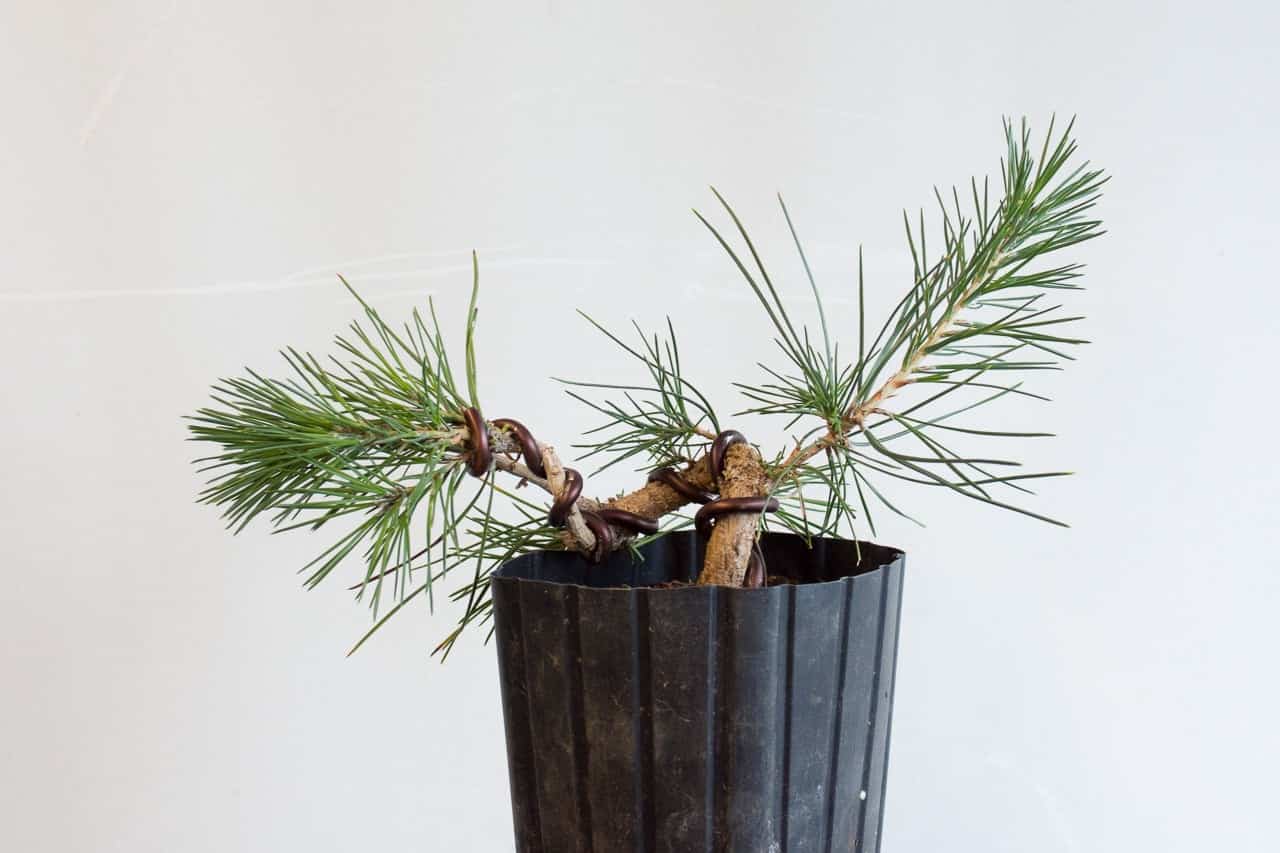
The next step is easy – add a single wire and bend the trunk.
After applying the first wire

After adding movement to the trunk
It can be tricky to determine exactly what to do with the trunk at such a young stage, but I’ve learned there are far more options when the trunk has curves than when it is straight.
I say this because I’ve dealt with this problem a lot. Below are photos of trees that were neglected for one or more years and developed fairly straight trunks as a result. For each, I’ll note what went wrong and show what can be done to get the tree back on track.
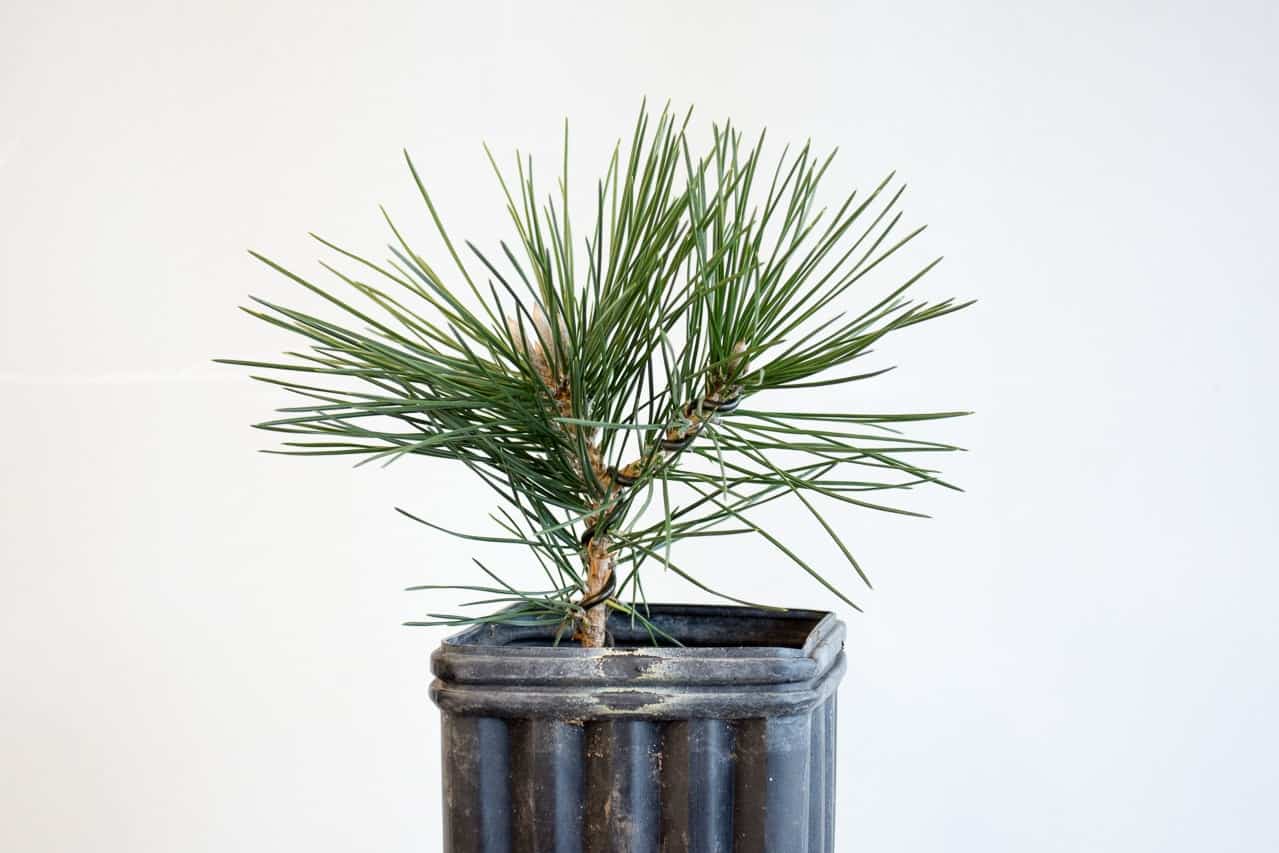
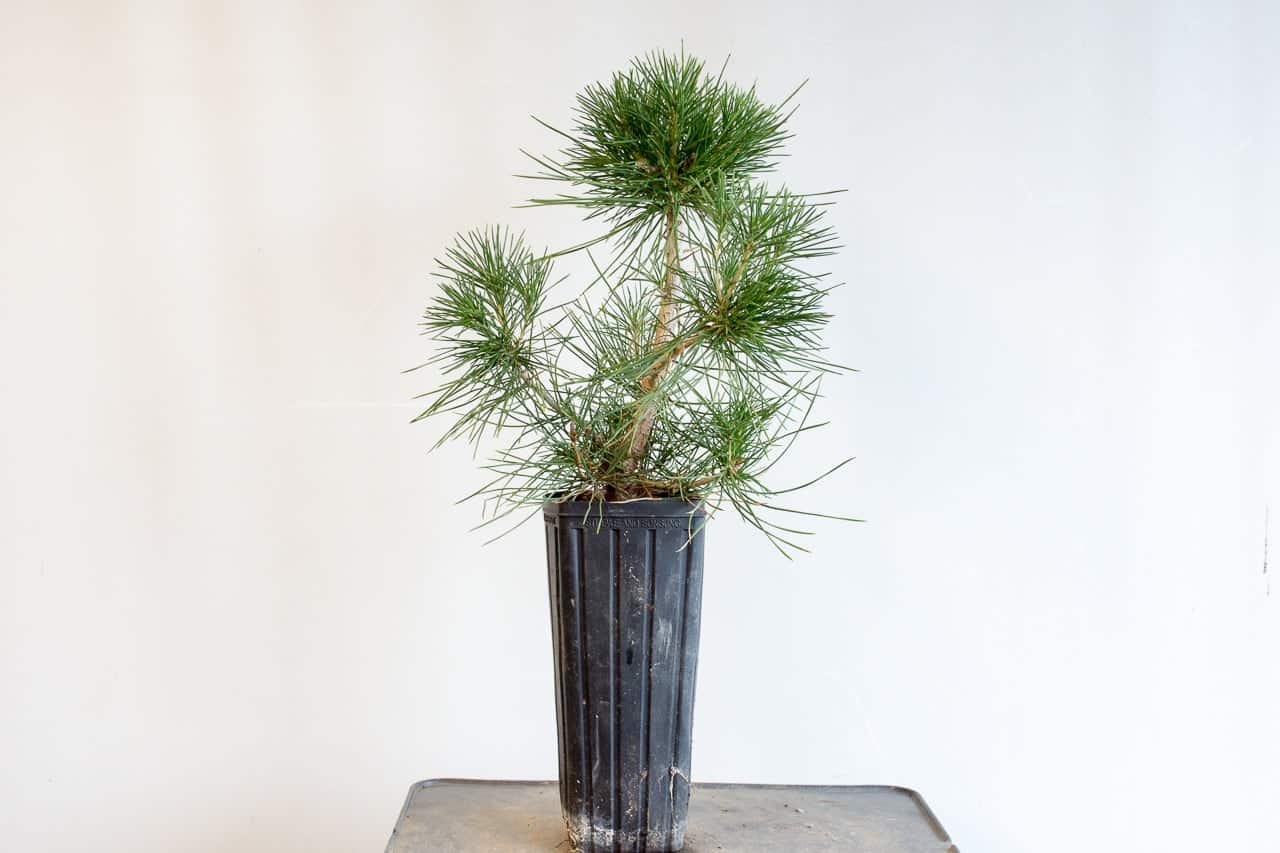
Two years ago the tree below grew freely and developed a straight trunk. Last year the tree was cut back to force new shoots along the trunk, but the trunk remained straight.
Young pine with straight trunk
Although the trunk is still bendable at this point, it’s thick enough that the resulting movement would resemble a smooth S- or C-shaped curve. To avoid this, I’ll reduce the trunk and work with one of the young shoots that developed closer to the roots.

After reducing the trunk
Although such a big cut slows down development, I find it’s worth it as I’ll get another chance to wire the new shoots before they become too thick to work with. This is the least desirable approach, but it’s a great option when needed.
Another pine from the same batch was wired two years ago, but the internodes were so far apart that there was no chance at making a compelling tree. I reduced the trunk last year which caused many new shoots to emerge near the cut.

Young pine with crowded shoots
Because the trunk already has some movement, I’ll focus on the branches by thinning crowded areas with an eye toward wiring them once they’ve matured a bit.
After thinning young shoots
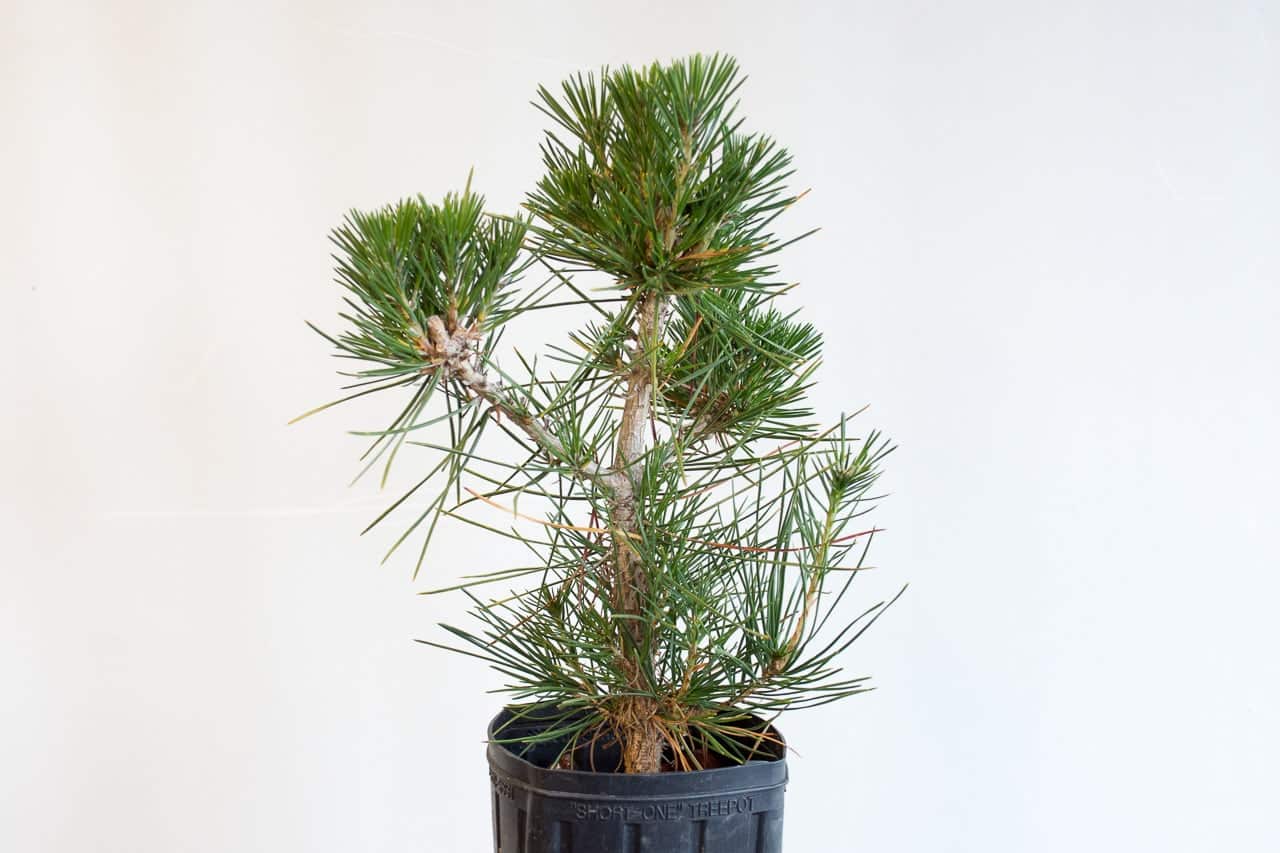
Here’s another pine about four years old with a straight trunk. The trunk is thin enough to bend and I have low branches to work with. For this tree, I’ll select a leader, wire it and remove a few unnecessary shoots.
Four year-old pine

After thinning and applying wire
After adding some movement
The final tree we’ll look at has a large trunk that would form an awkward curve if bent. Fortunately there are a few low shoots that are mature enough to wire. The approach here will be to shorten the trunk and wire the two low shoots.
Young pine – the trunk is too heavy to create a compelling bend
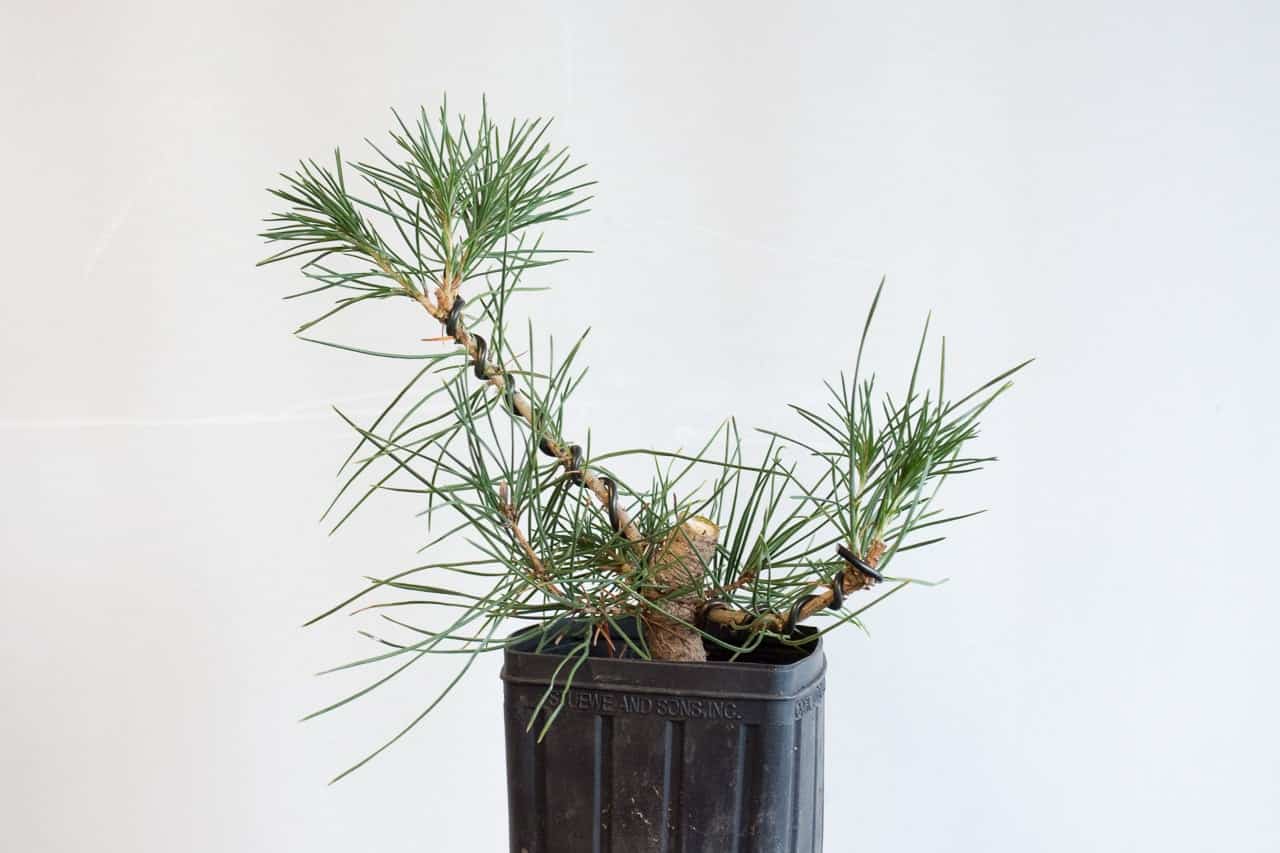
After reducing the trunk and applying wire to the remaining shoots
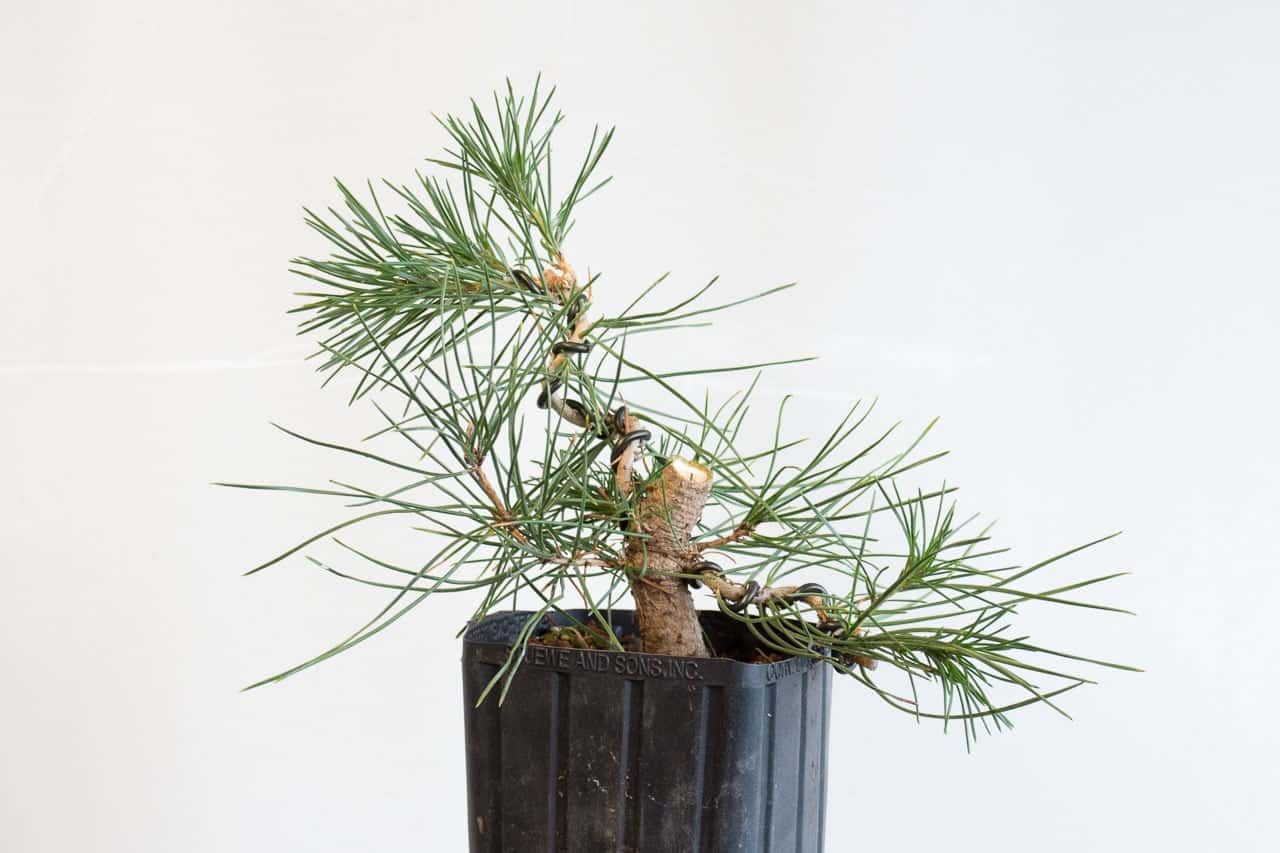
After adding movement to the branches
Because it’s common for the angle of exposed root pines to change dramatically during repotting, I don’t often have a clear idea about the future style of the tree. The goal from year to year is to reduce growth that lacks movement and create movement where possible. After letting the tree grow for a year or two, I repeat the process, honing in on a style as the tree approaches maturity.
The recipe, in other words, is less A followed by B followed by C, etc., but rather a series of if/then statements. If the trunk is straight, bend or reduce it. If the internodes are too long, stimulate new buds where possible. Over time, these incremental improvements can dramatically improve a young tree.
What about developing the roots themselves? More on that next week.
Subscribe to Bonsai Tonight
New Posts Delivered Every Tuesday and Friday