When performing side-veneer grafts on conifers, it’s important to provide extra humidity for the scions to prevent them from drying out. Two popular approaches for doing this are to cover the scion with a small plastic bag or wrap the scion in stretchy material such as paraffinic tape or Buddy Tape.
While I appreciate both approaches, I most often use the plastic bag approach. (See “Grafting Utah juniper” for details about side-veneer grafts.)
The basics are simple. Cover the scion with a plastic bag and slowly open it after seeing signs that the scion is growing. Here’s what this means in practice.
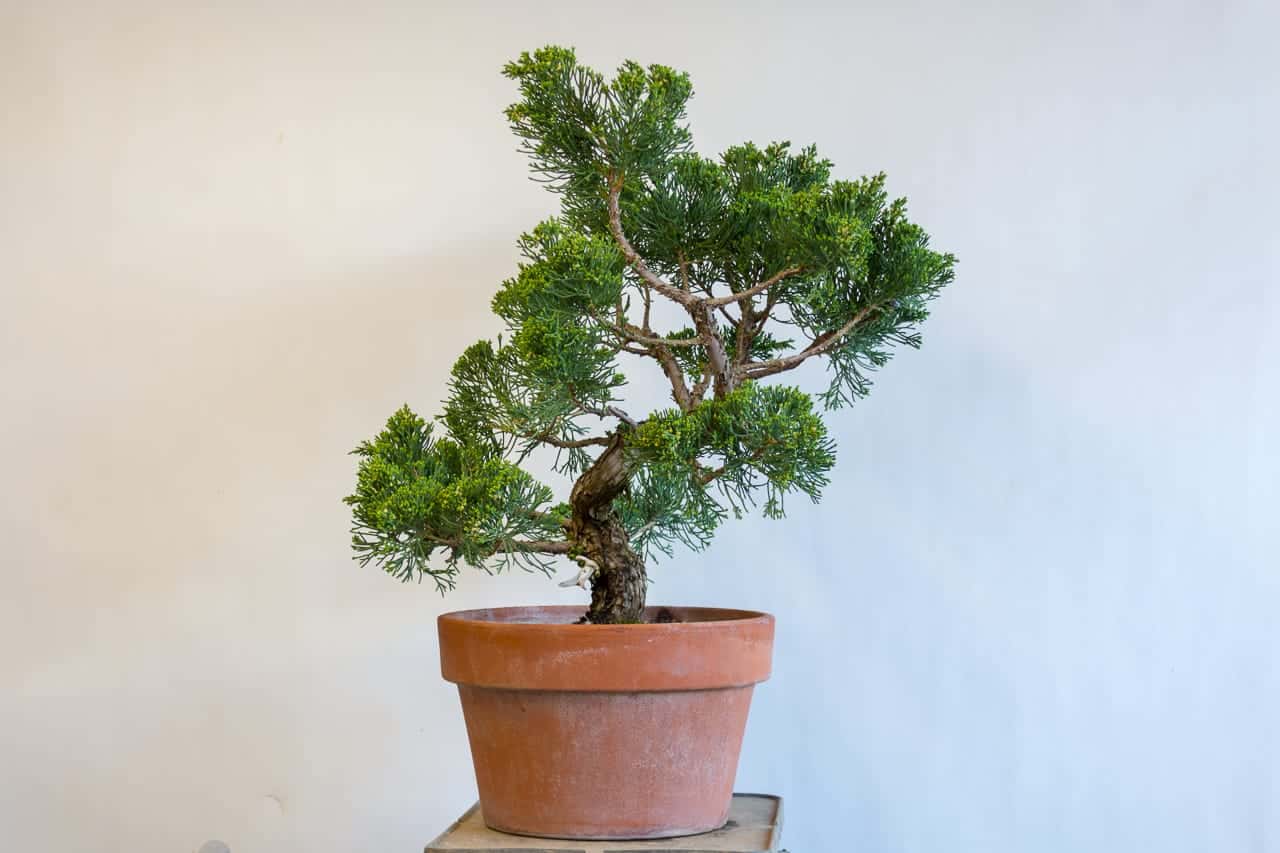
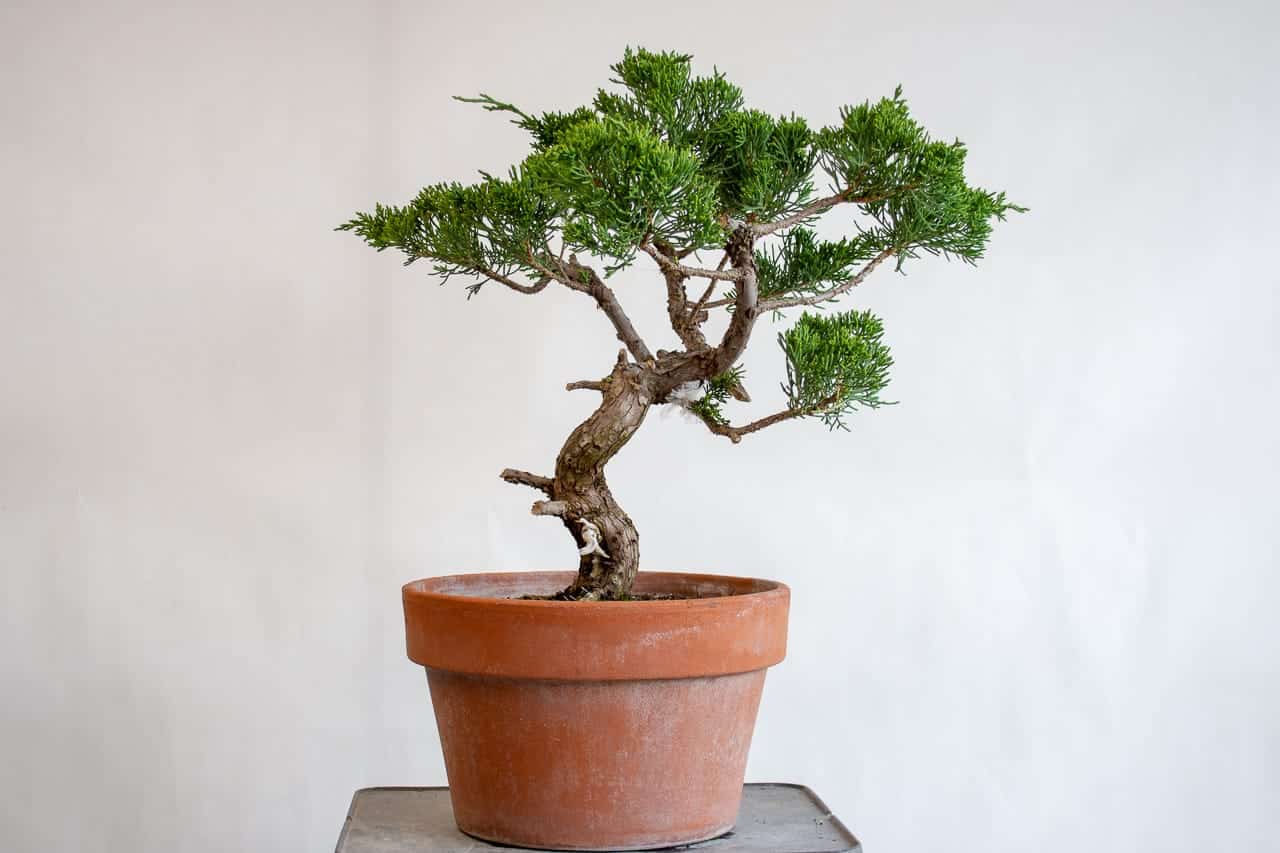
Prostrata juniper – the subject to be grafted
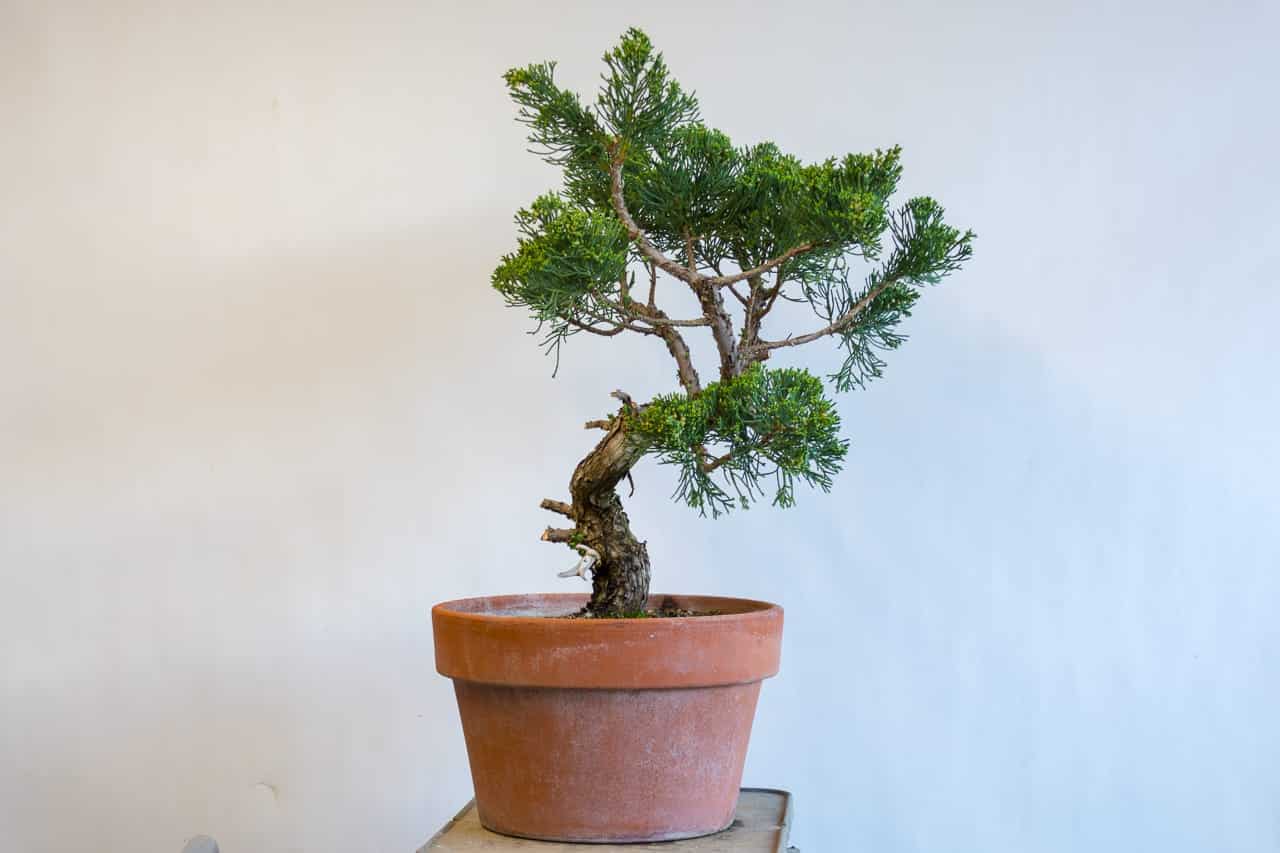
After removing the low branches

The completed graft beneath a duct-tape “tent” used to shade the scion
(March 14)
If the grafting bag is adequately sealed, you’ll see condensation form on the inside of the bag.
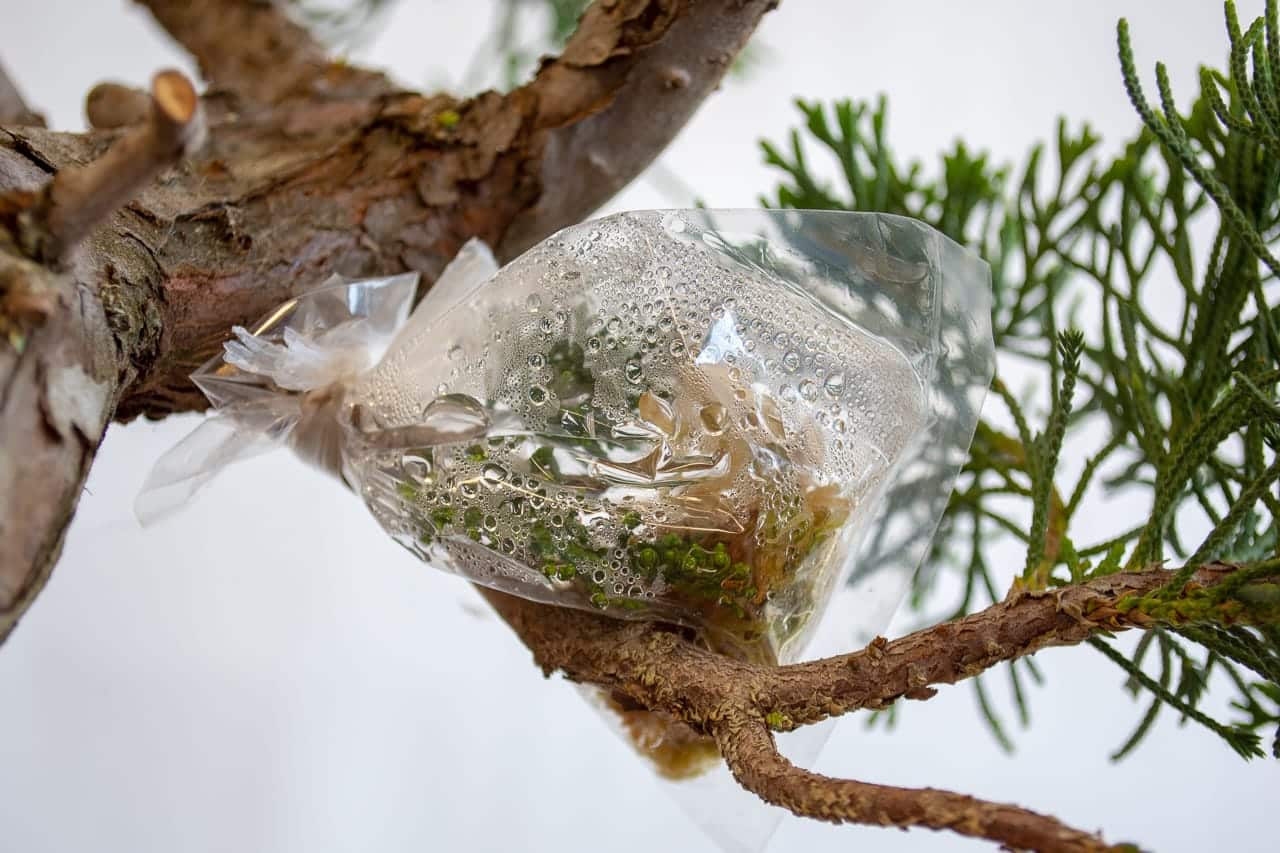
Condensation in the grafting bag
Once the scion shows signs that it is growing, often 4-6 weeks after making the graft, I poke a single hole near the top of the bag.
The first perforation
(April 30)
If the scion still looks good a week later, I’ll poke a second hole in the bag.
Making a second hole – note the condensation inside the bag has decreased
(May 10)
The idea behind starting with such small perforations is to gradually decrease the humidity inside the bag as the graft union forms.
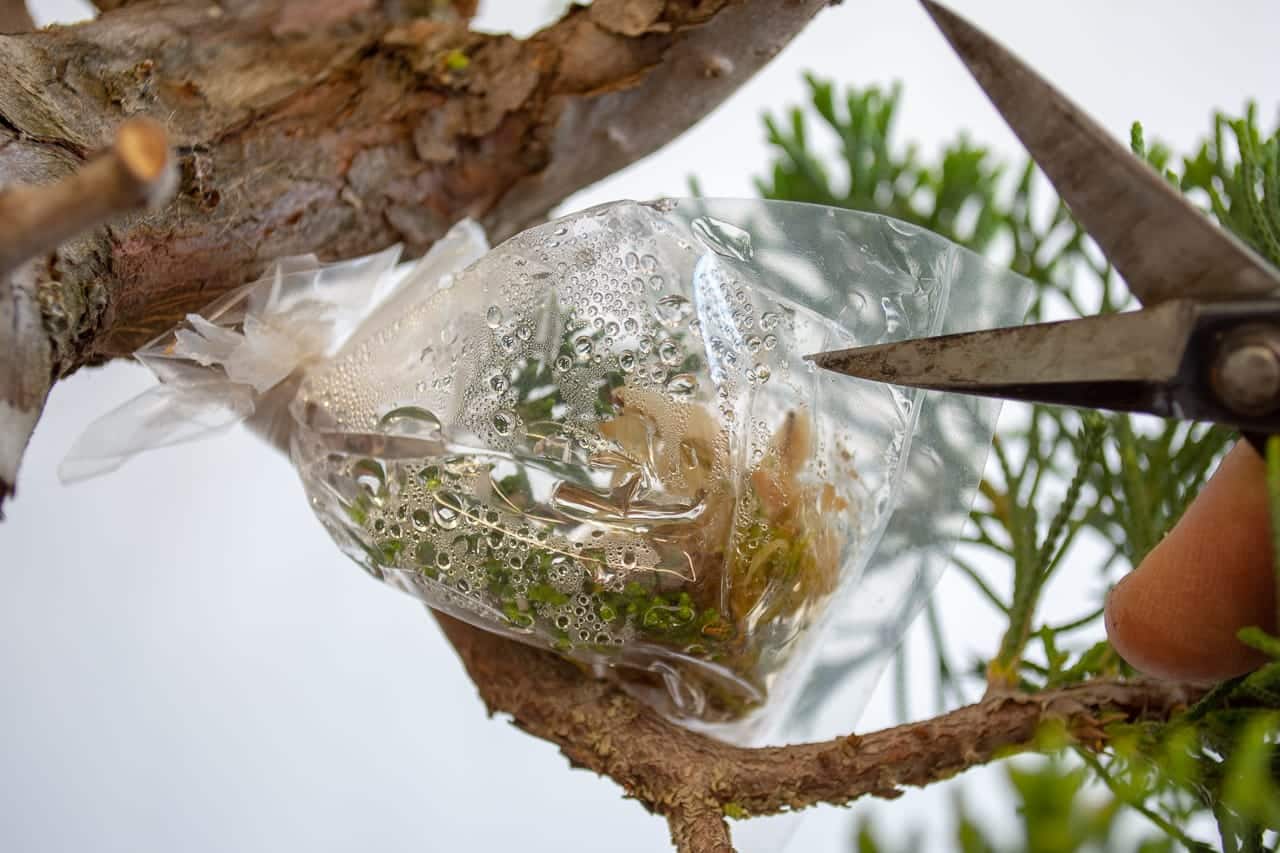
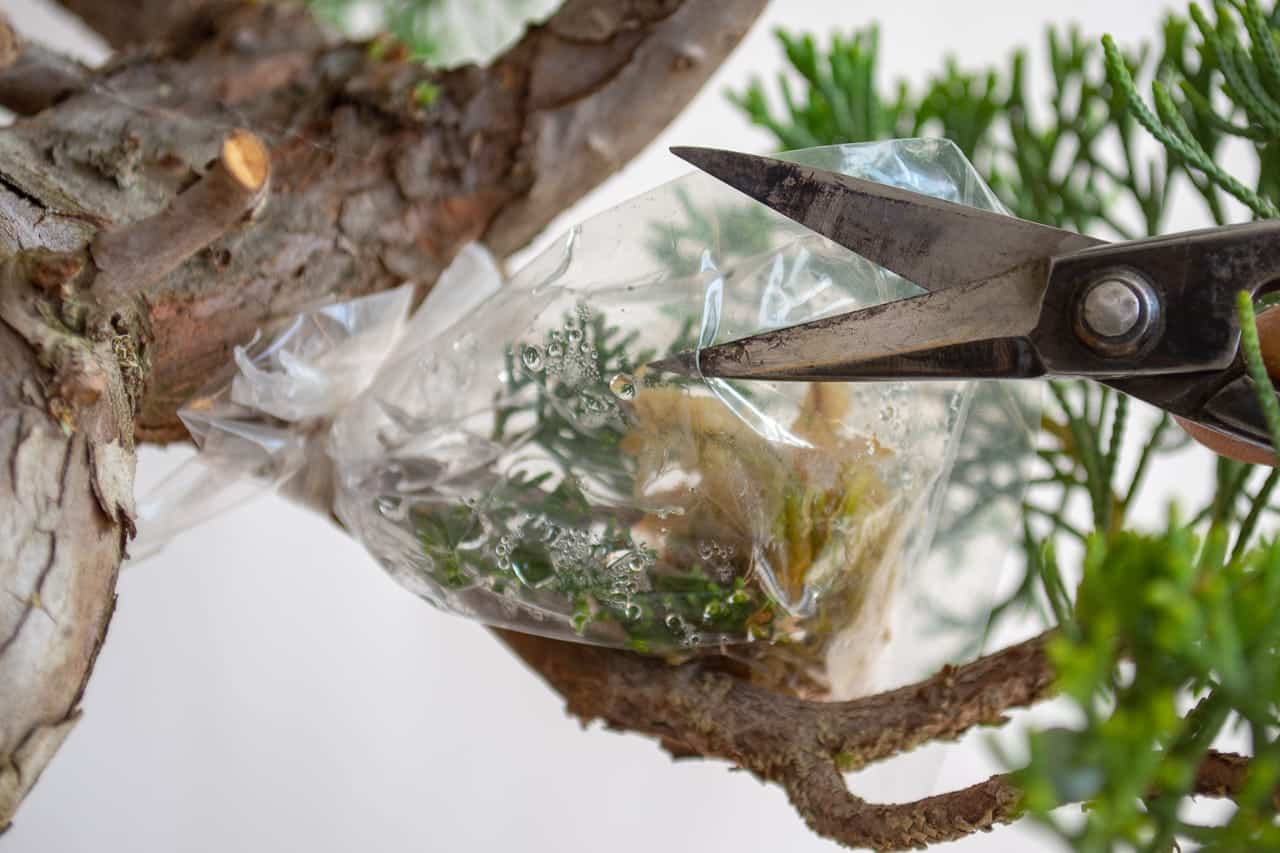
After adding a hole or two a week for several weeks, I used a knife to open a larger hole at the top of the bag.
Creating an opening at the top of the bag
(May 25)
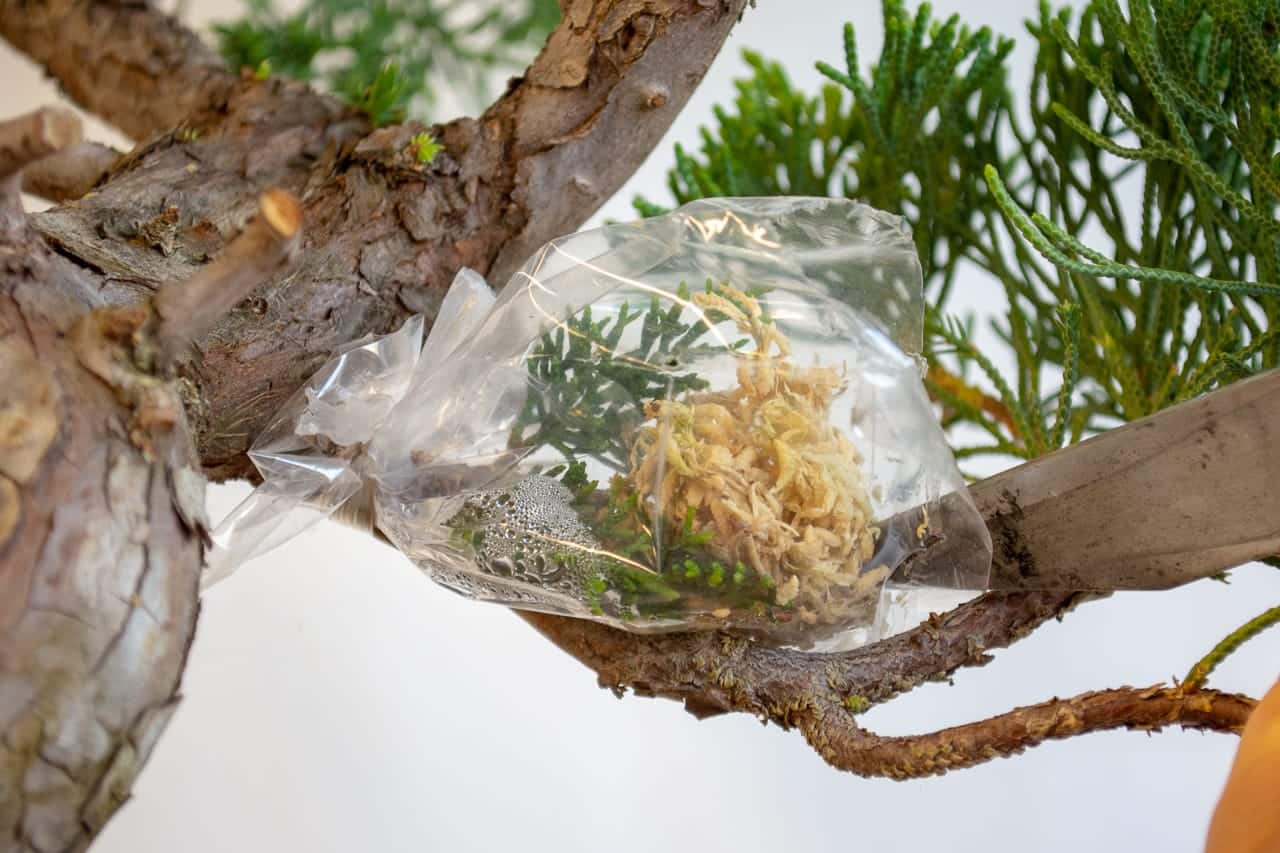
As the hole-size increases, the humidity inside the grafting bag decreases.

Little condensation is left in the bag
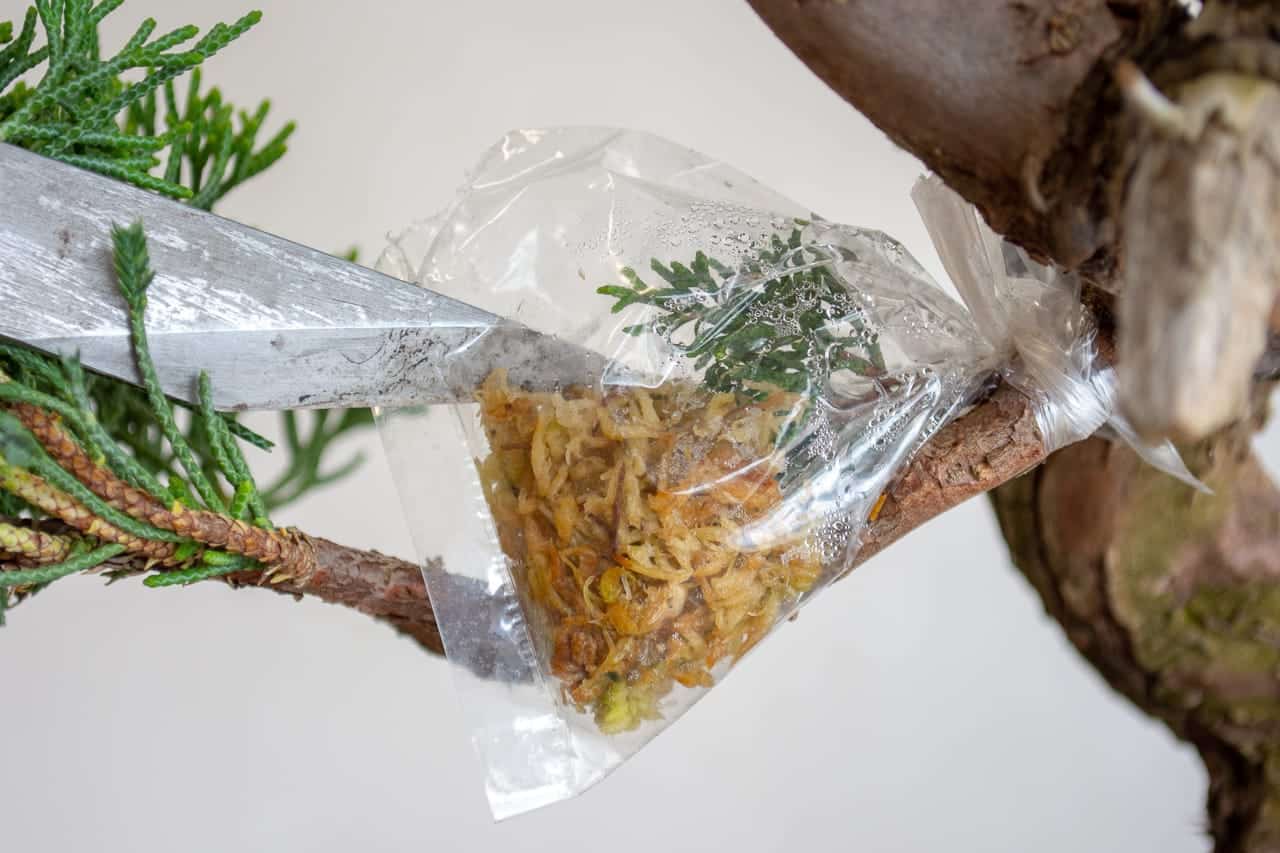
Eventually, I extend the opening along the entire end of the bag.
Widening the hole at the end of the bag
(June 11)
With less humidity in the bag, I replaced the duct-tape “tent” with a single piece of tape to shade the scion.
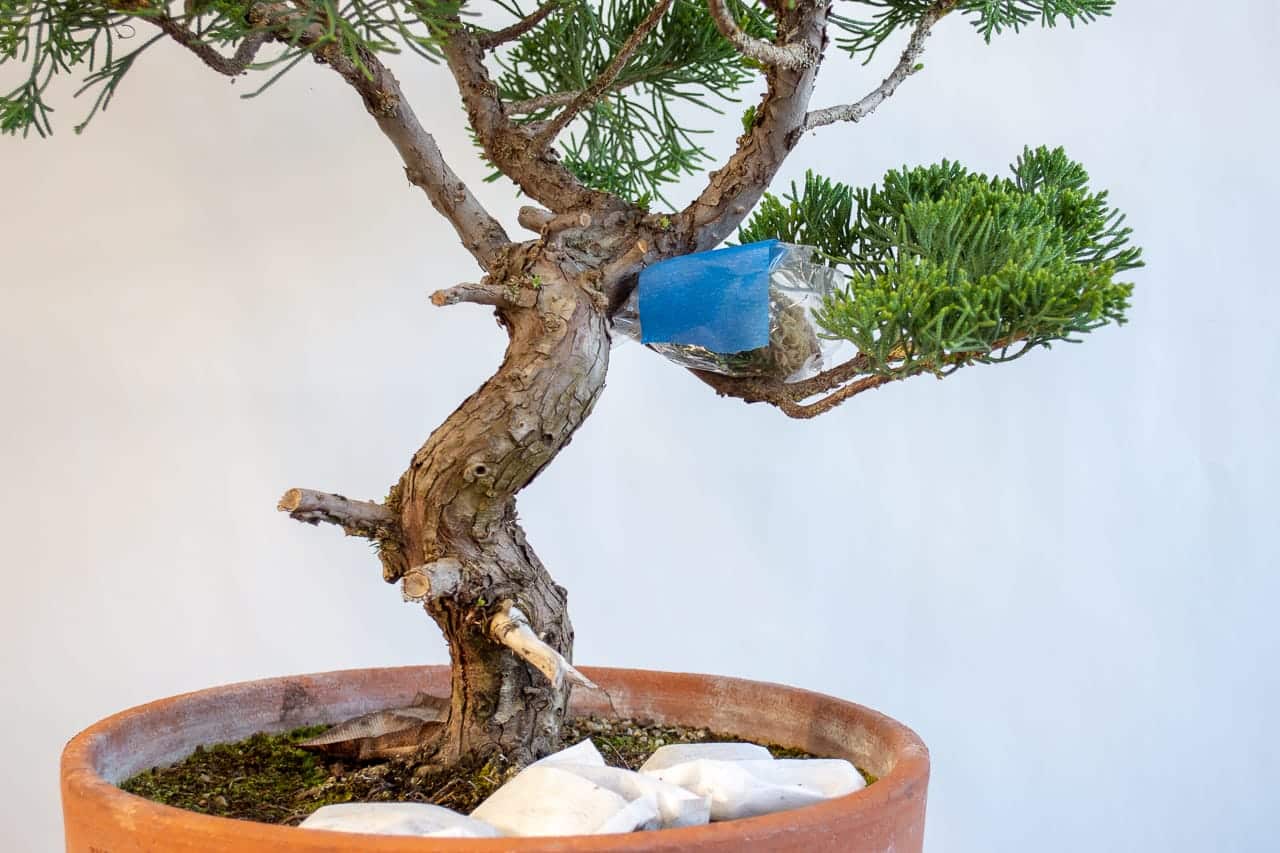
Tape shading the scion

No more condensation inside the bag
After letting the scion grow for a week or two with the bag open, I remove the bag but keep the tie securing the scion in place.
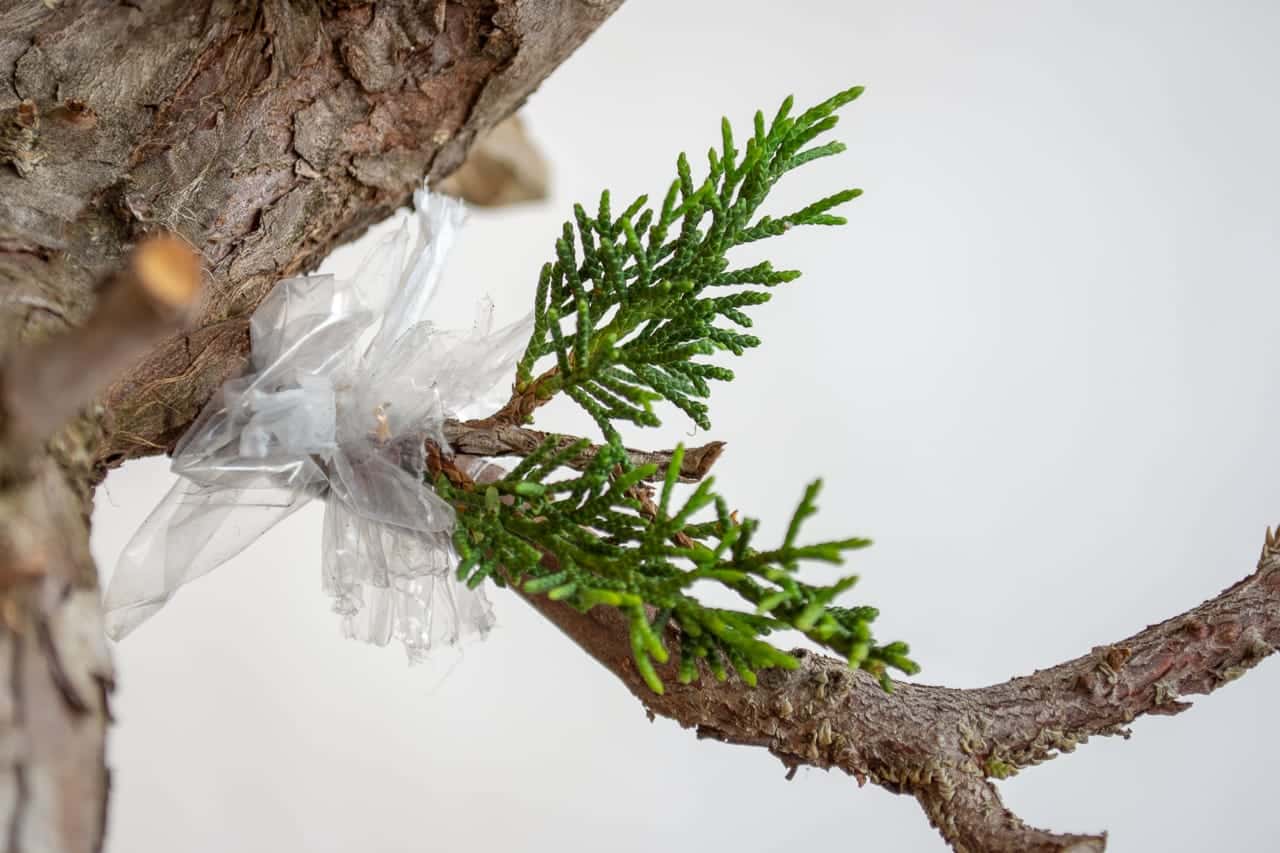
The scion out in the open – itiogawa foliage on prostrata juniper
(July 2)
Prostrata juniper with scion at base of first branch
In the past, I’ve waited to open the bags until the scions were growing vigorously. This year, I thought I’d try opening the bag as soon as I saw new growth to see if that speeds up the process or slows it down. If I find it makes a difference, I’ll provide an update in a future post.
In the meantime, I’ll gradually reduce the original foliage to encourage the scion to grow. The tie that once held the bag will stay in place until the scion begins to swell.
The goal for this tree is to create a small bonsai by removing all of the prostrata foliage and replacing it with itoigawa foliage using a single scion.
Related Post
Subscribe to Bonsai Tonight
New Posts Delivered Every Tuesday and Friday
Jim says
Thank you for this play by play post Jonas. I have been piecing together grafting information from the internet but have yet to find details on aftercare. I am not successful yet but maybe next spring! Really enjoy your blog, Jim.
Jonas Dupuich says
Thanks, Jim – great to hear from you!
Yaroslav says
Hi. Is it possible to apply this technique for the Thuja (White Cedar)?
Jonas Dupuich says
Good question Yaroslav – I haven’t tried this with thuja but would expect it to work. I’d aim to graft towards the end of winter (maybe on a test specimen) and see how it goes.