Satsuki bonsai are commonly bare-rooted when they are dug from the field. These trees can have lots of fine roots under the trunk that can make repotting difficult.

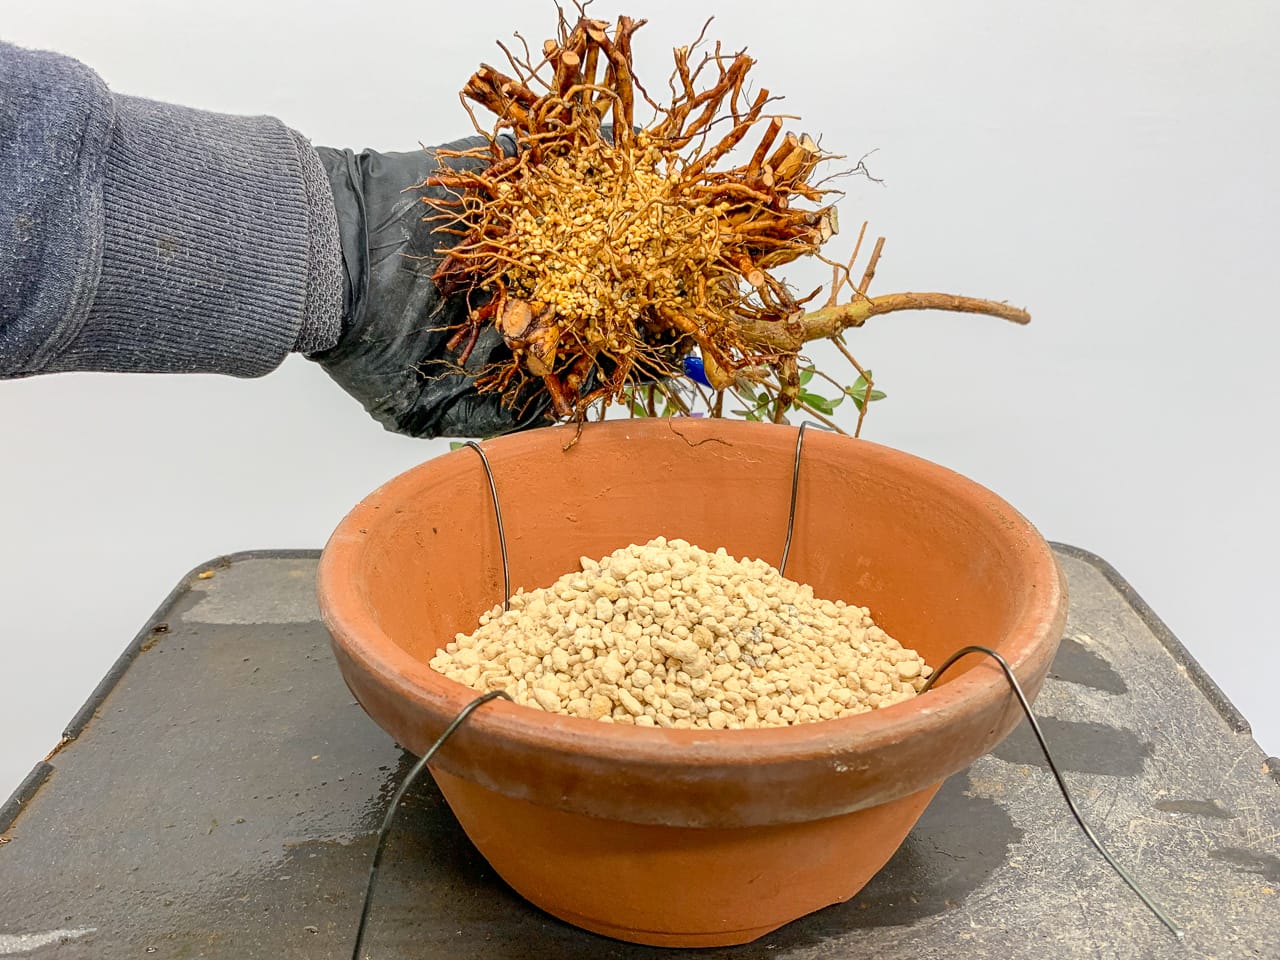
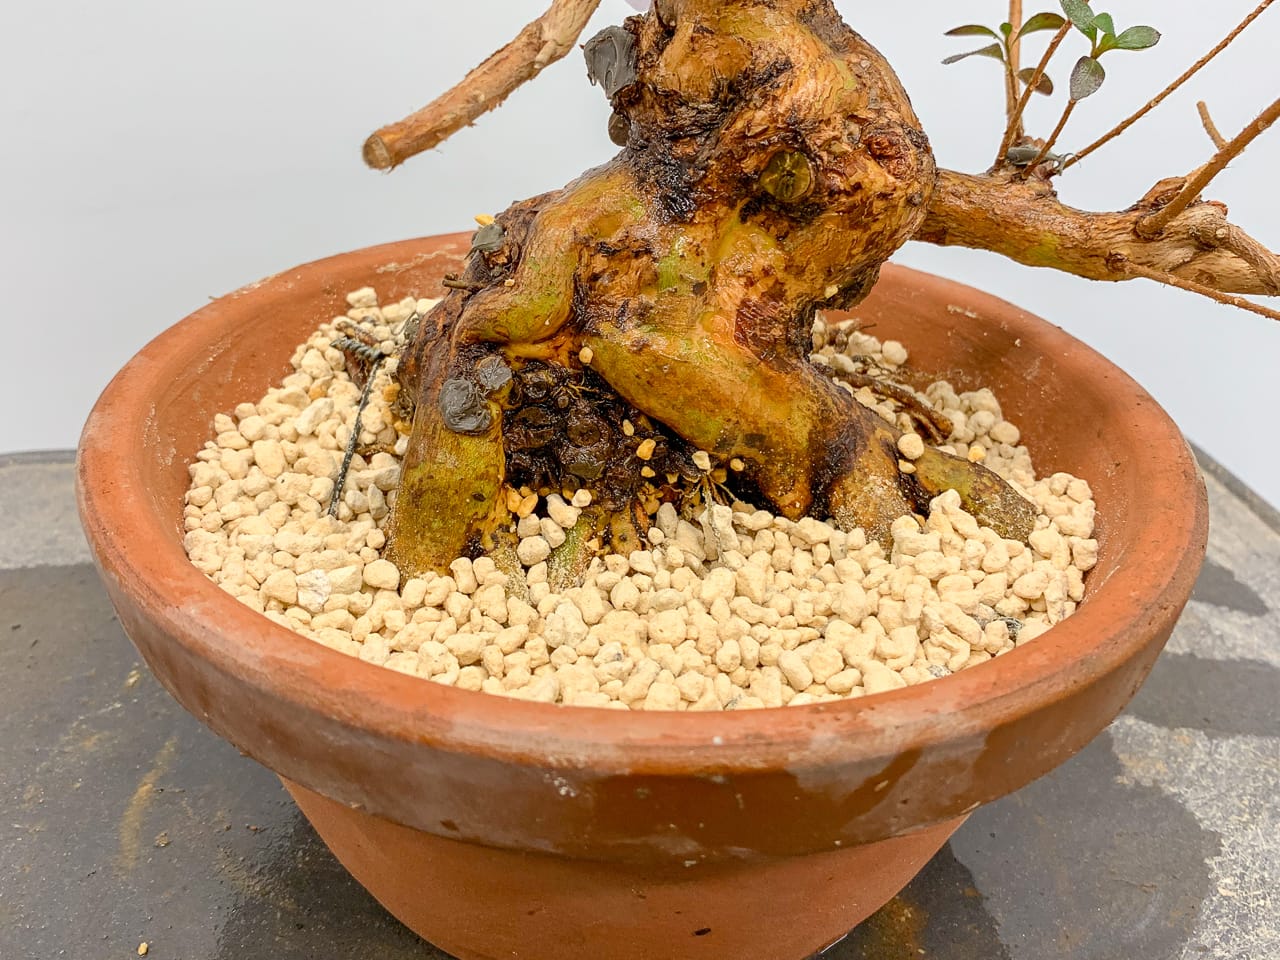
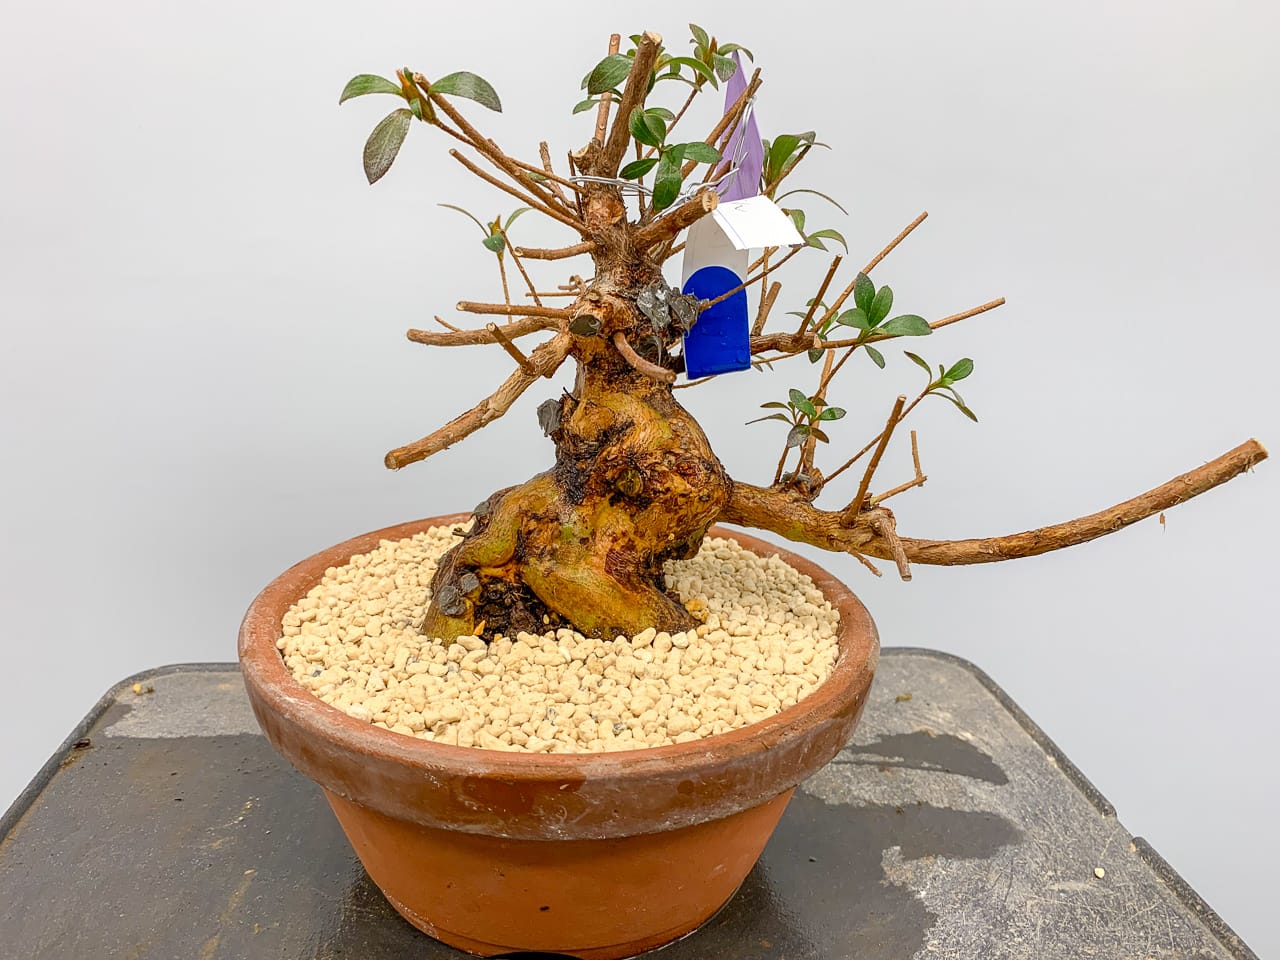
Bare root satsuki azalea ‘Hanabin’
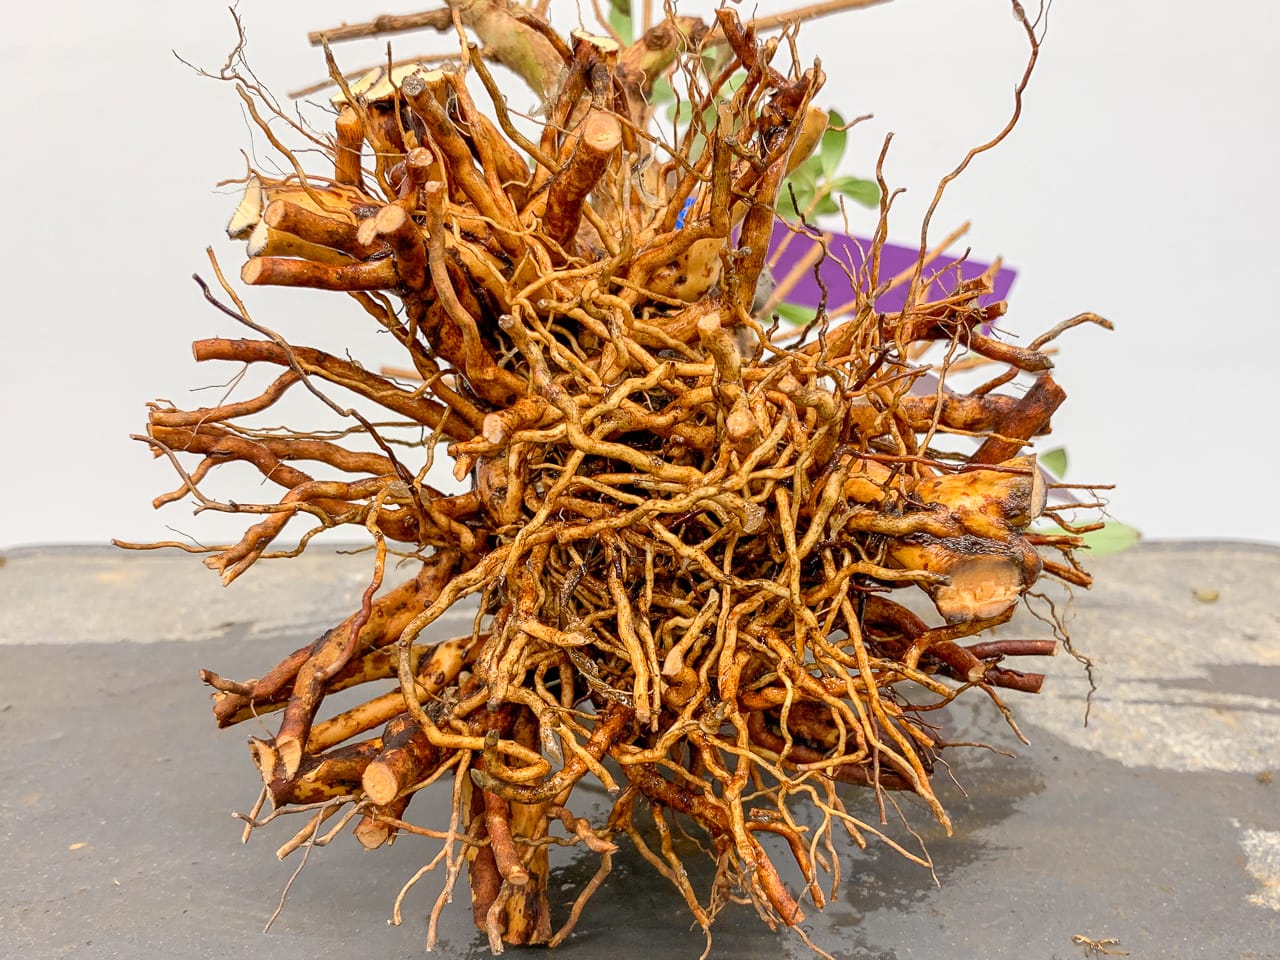
Lots of roots under the trunk
Simply setting the tree into a mound of soil can lead to air pockets in which new roots cannot grow. To avoid this, we can work soil into the roots before setting the tree. Here’s what the process looks like.
First prepare the pot and fill it with a mound of kanuma.
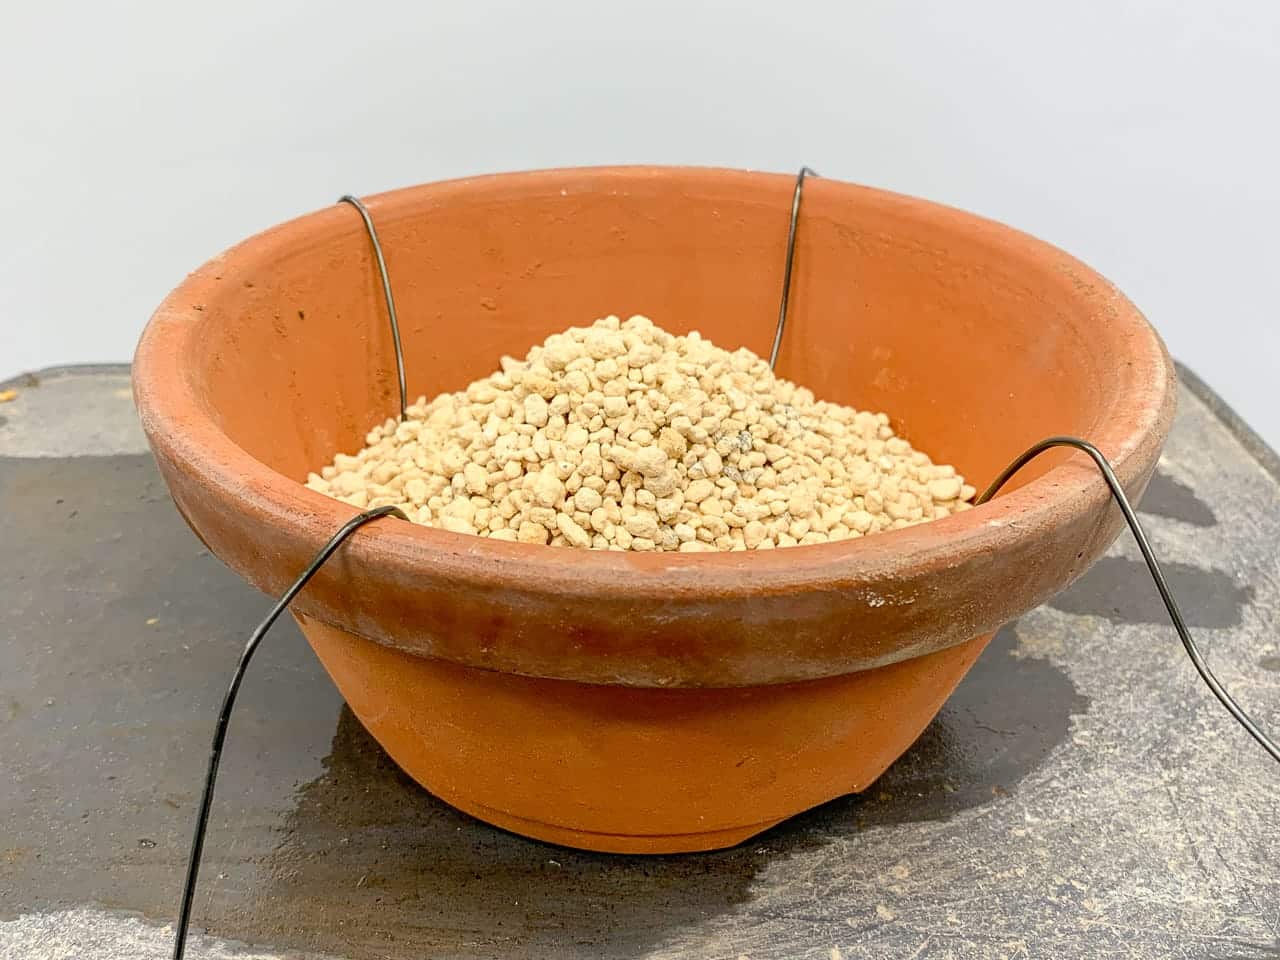
The mound of kanuma in the pot
Once the pot is ready, we can start on the roots.
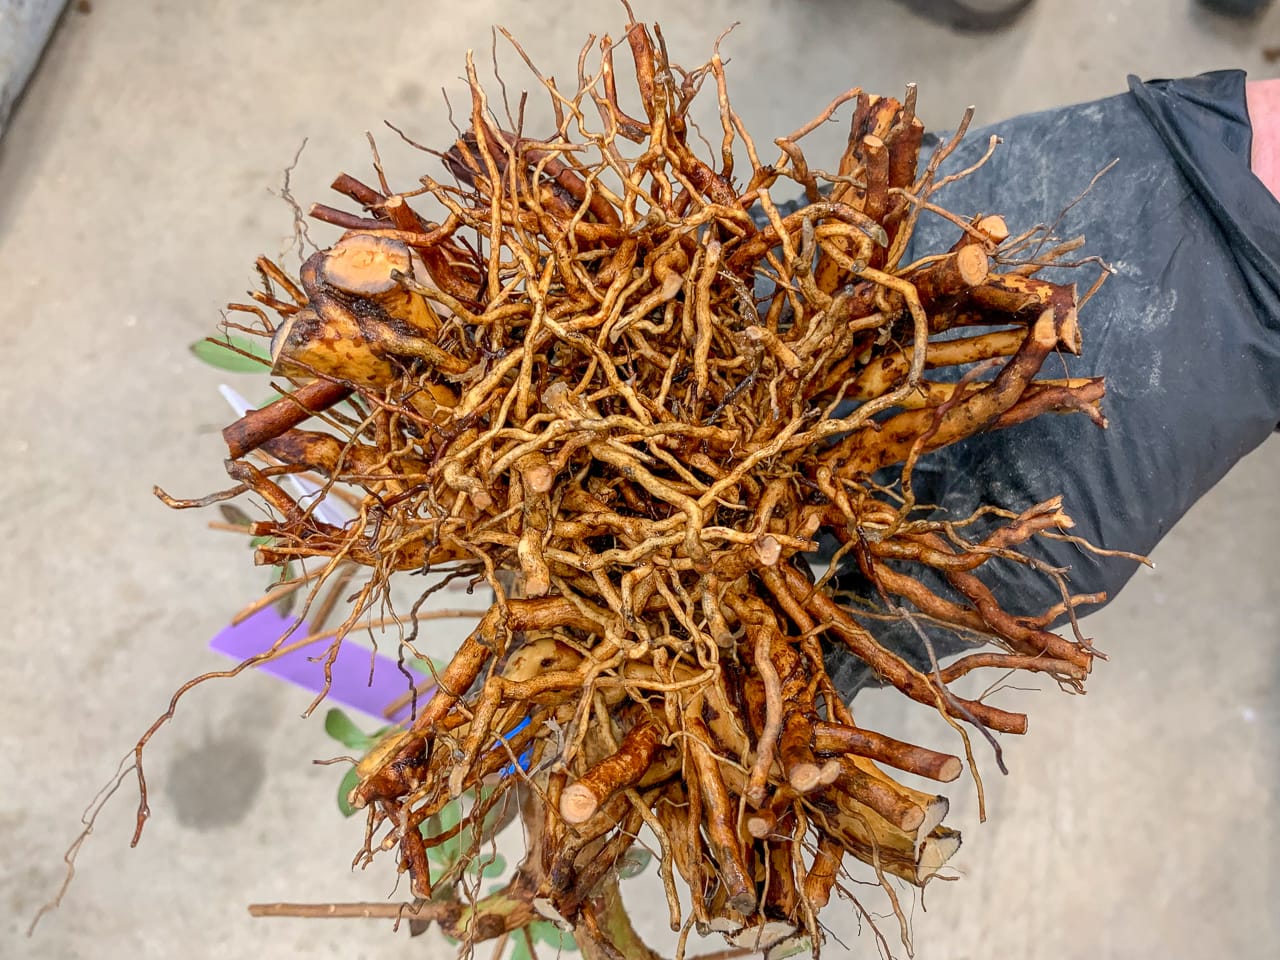
Holding the tree root-side up

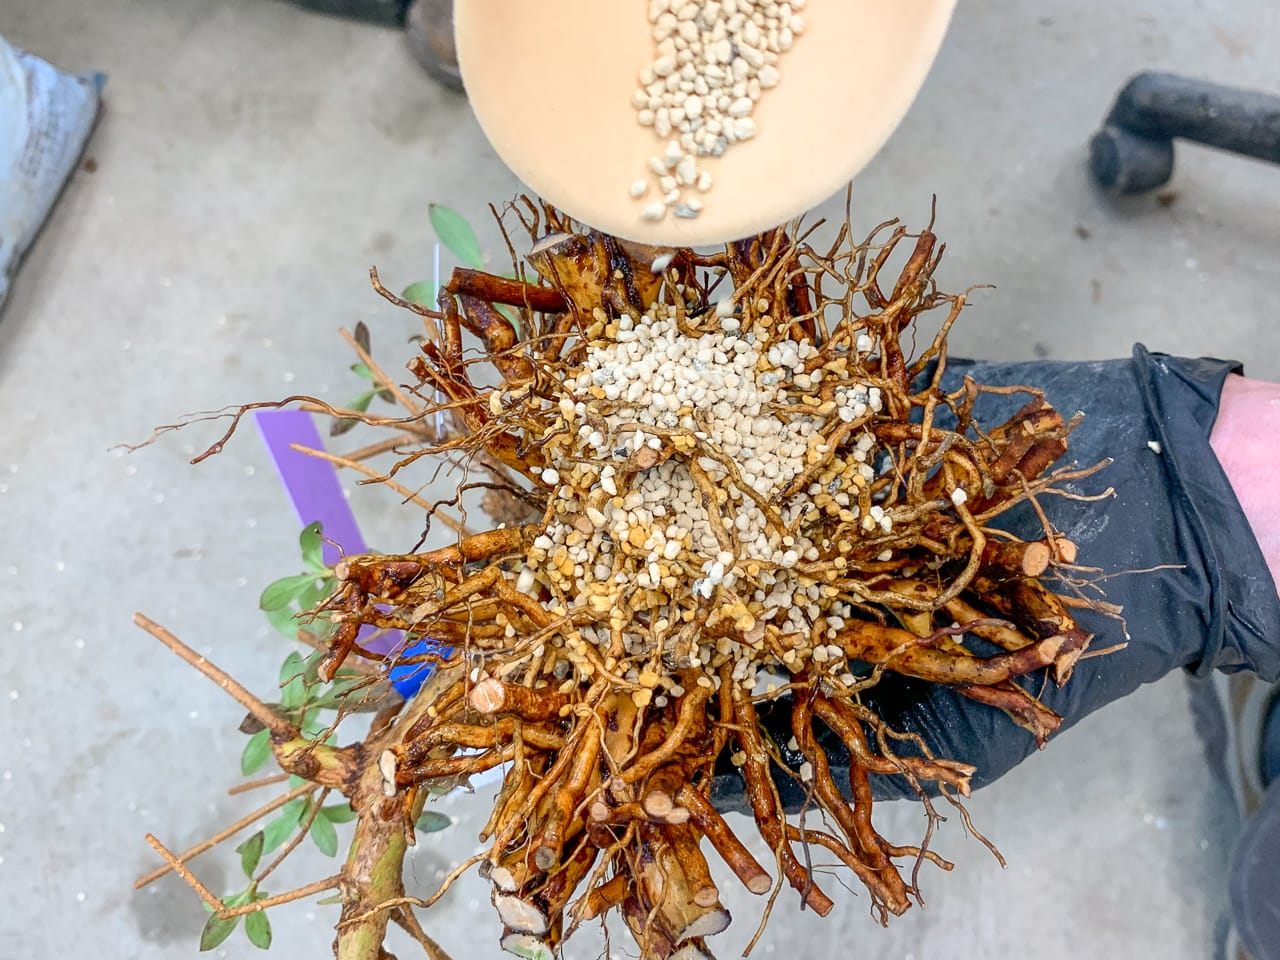
After sprinkling fine soil over the roots
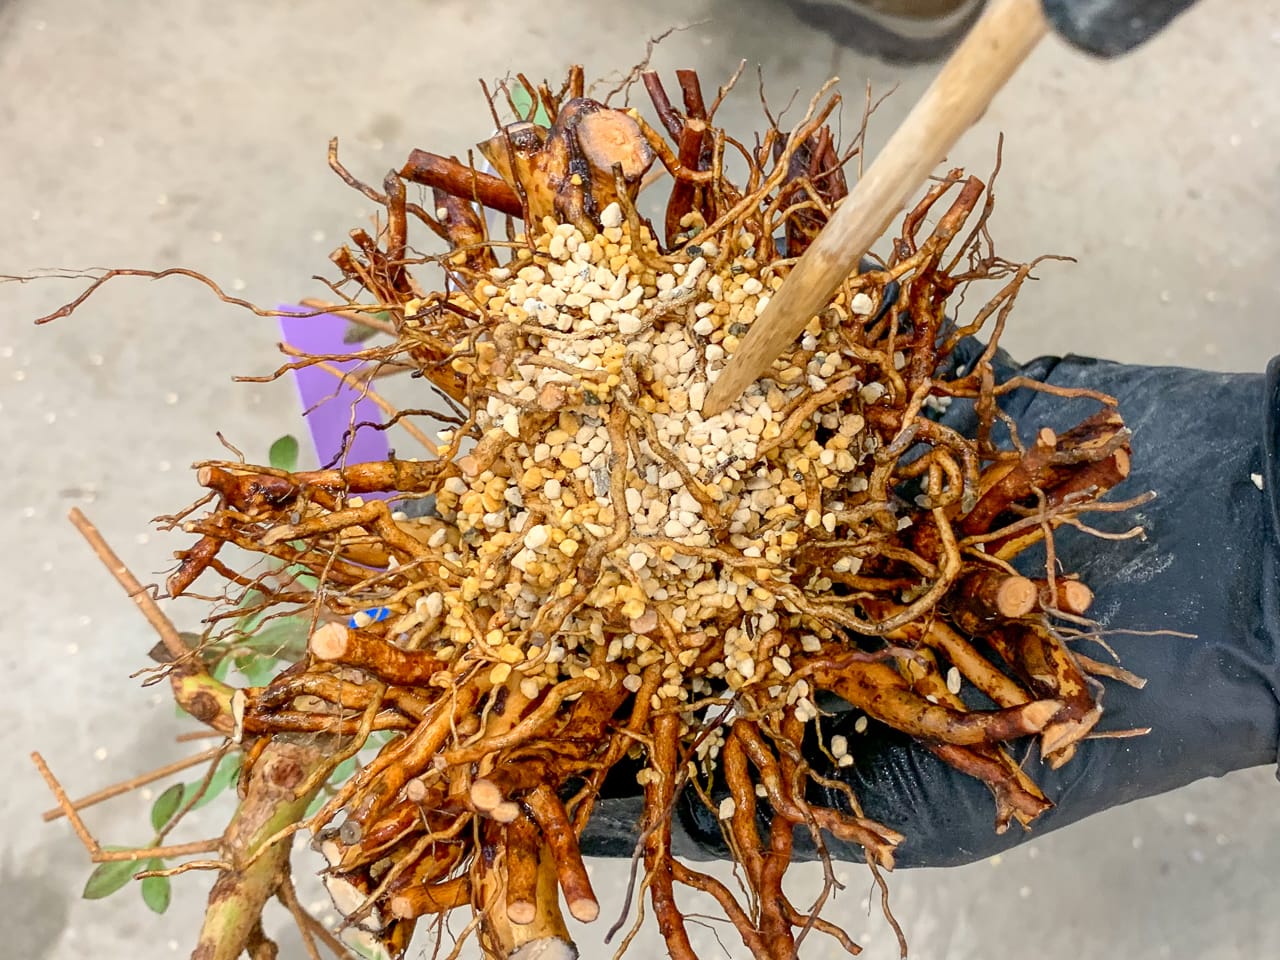
After pouring fine kanuma over the roots, use a chopstick to incorporate the soil into the gaps under the trunk.
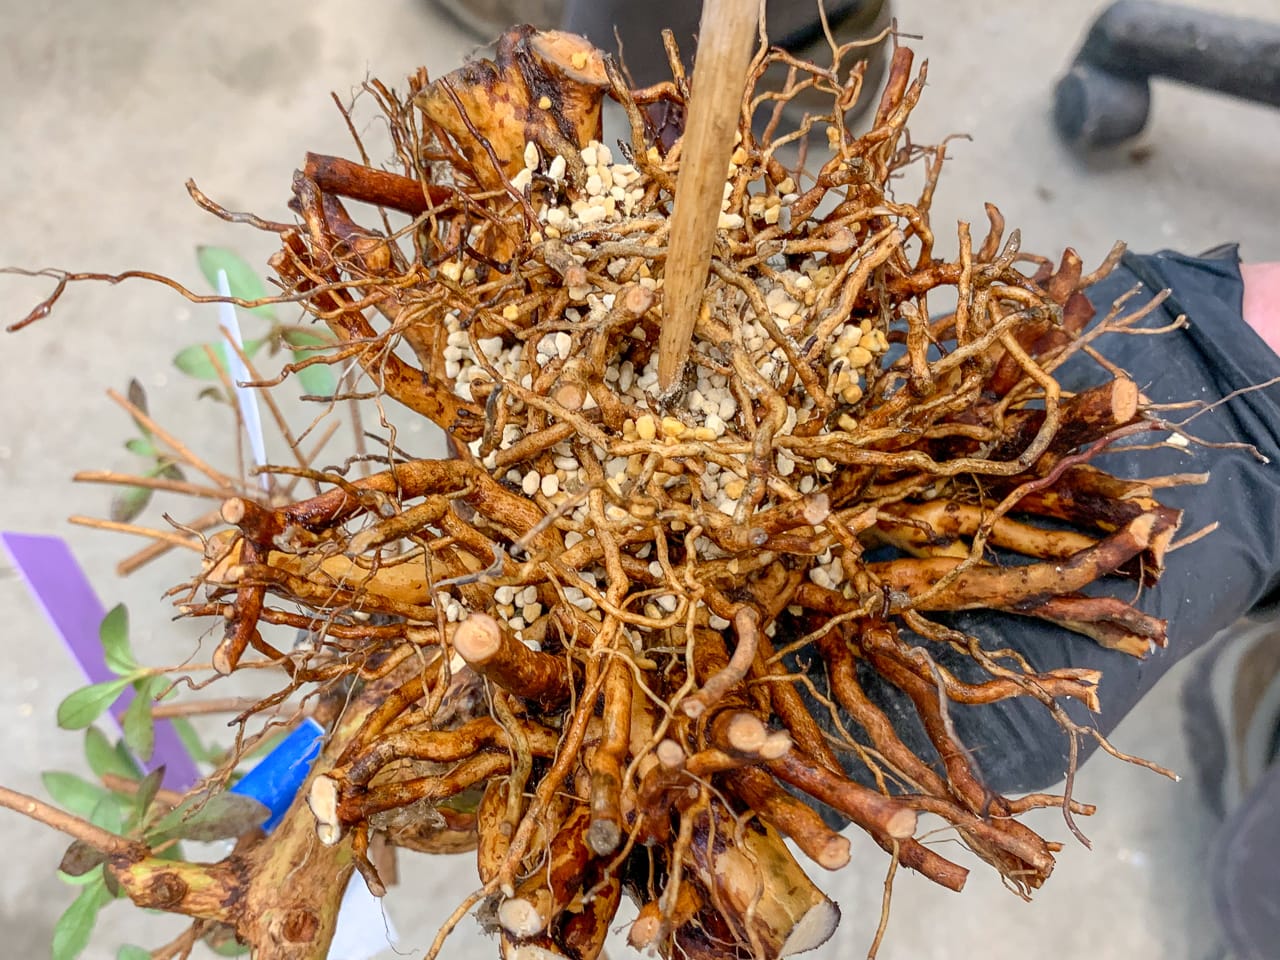
Using a chopstick to work the soil into the roots
To keep the soil in place, spray water on the soil.
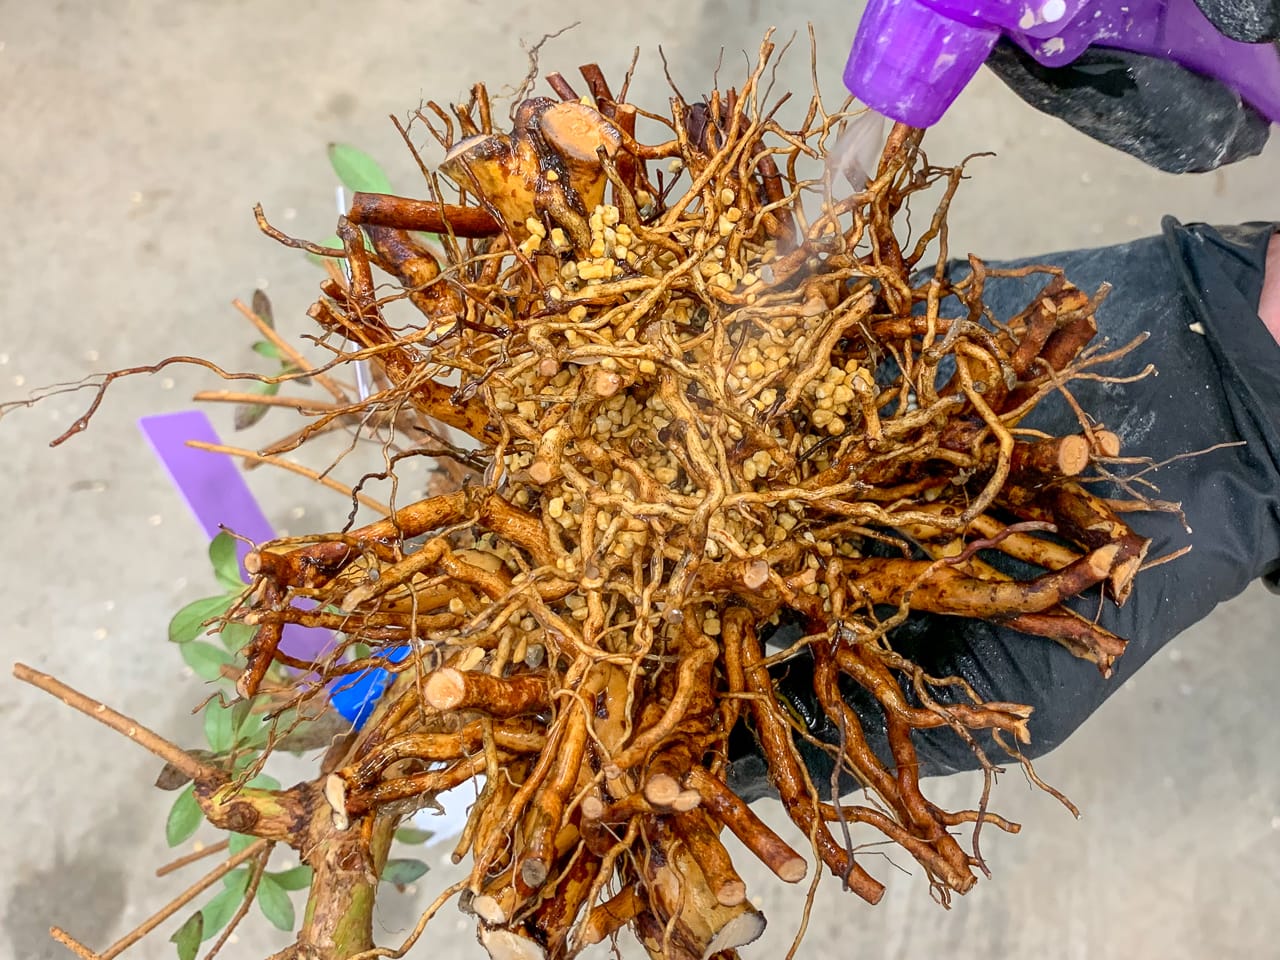
Spraying the soil to keep it in place
Repeat the process until the gaps are filled.
Sprinkling more soil over the roots
More chopstick work
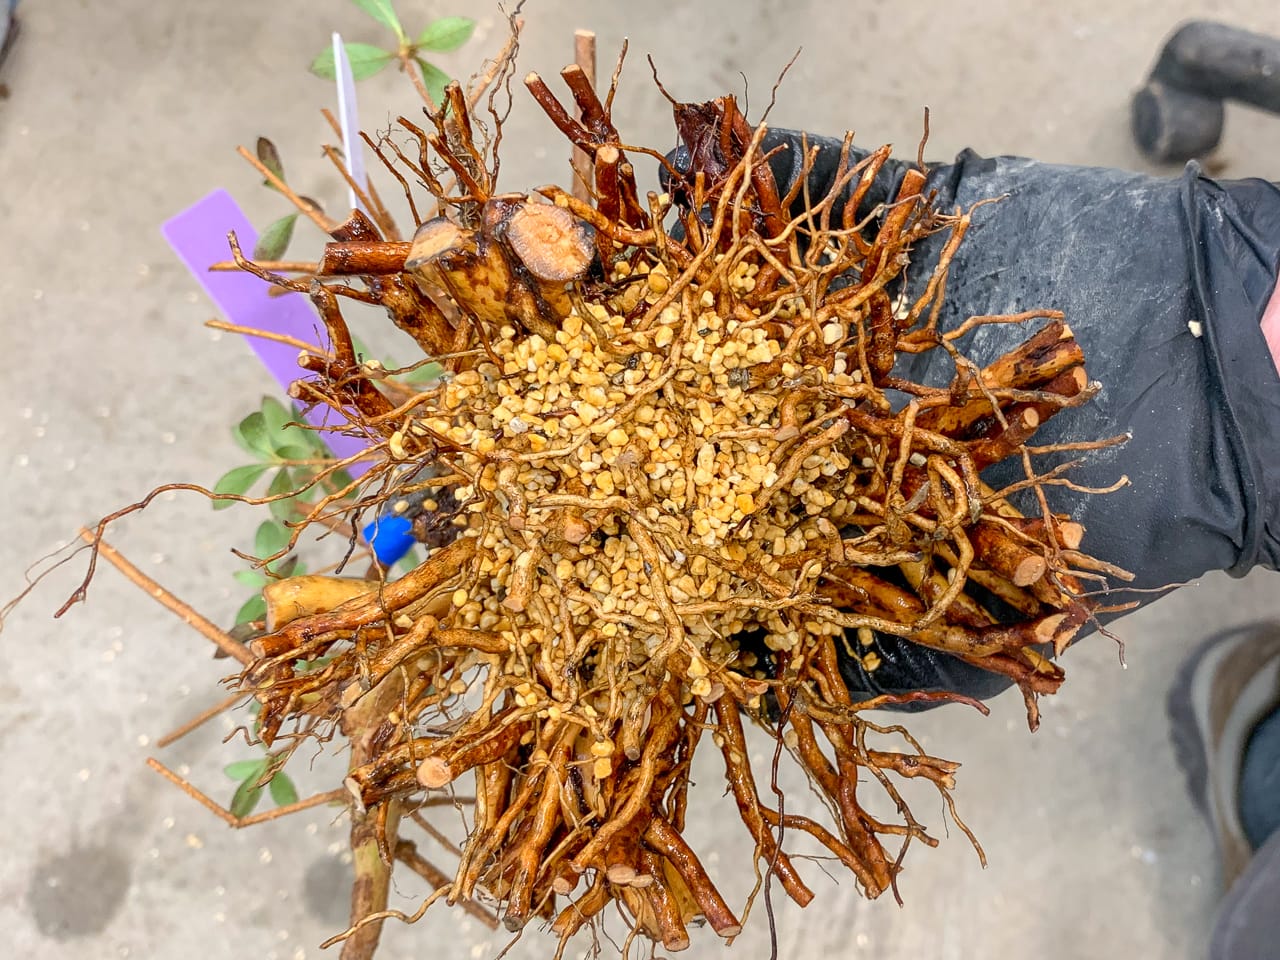
Ready to go in the pot
After working the soil between the roots, flip the tree onto the mound of kanuma.
Ready to put the tree into the pot
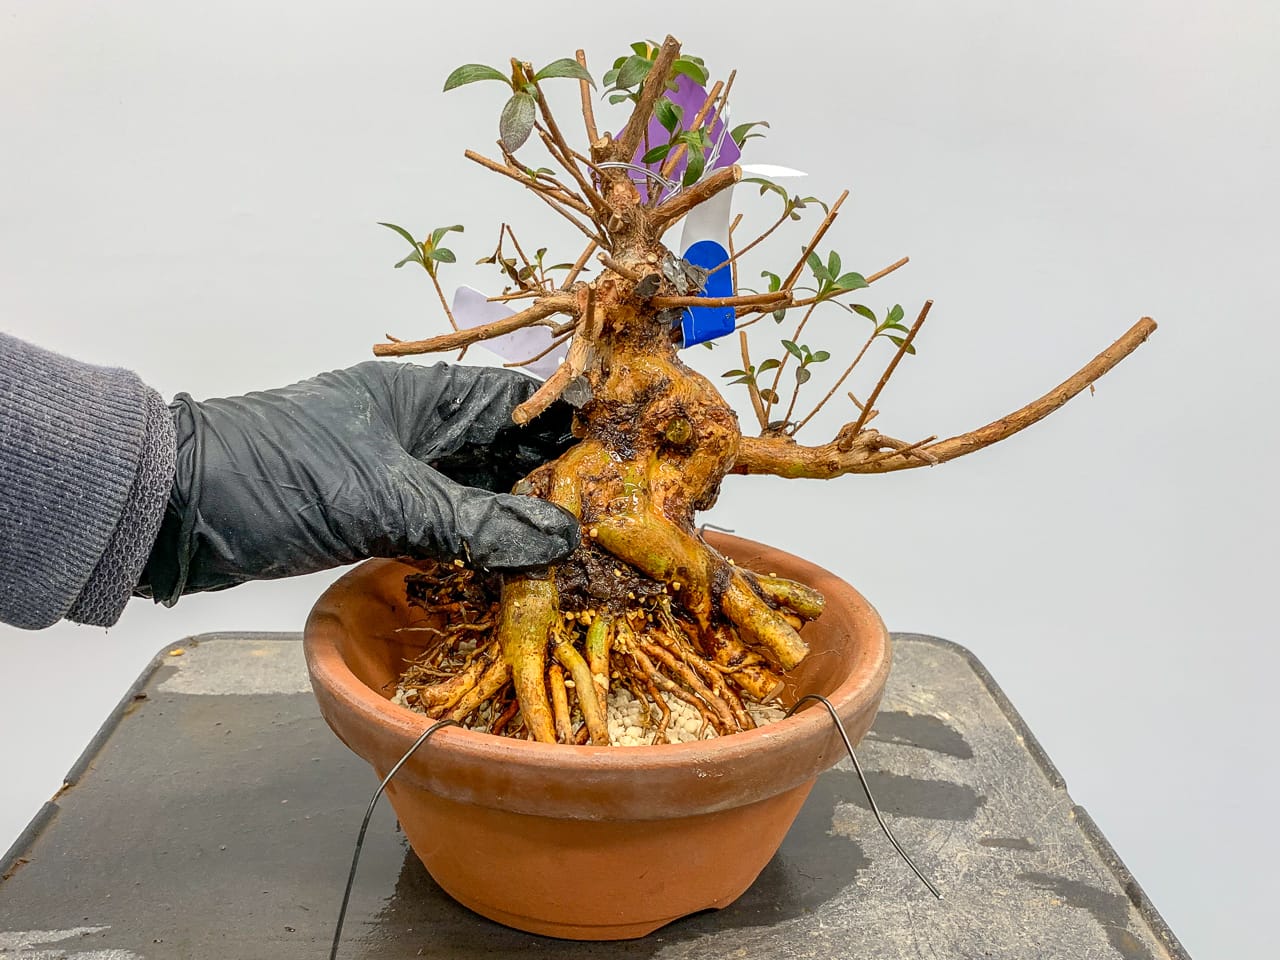
After flipping the tree into the pot
The next step is setting the tree by turning if from side to side until it sits at the appropriate depth.

Setting the tree

After setting the tree
Once the tree is set, tie it in place and add kanuma to cover the roots. Using a chopstick, incorporate the soil between the roots to make sure there are no air gaps.
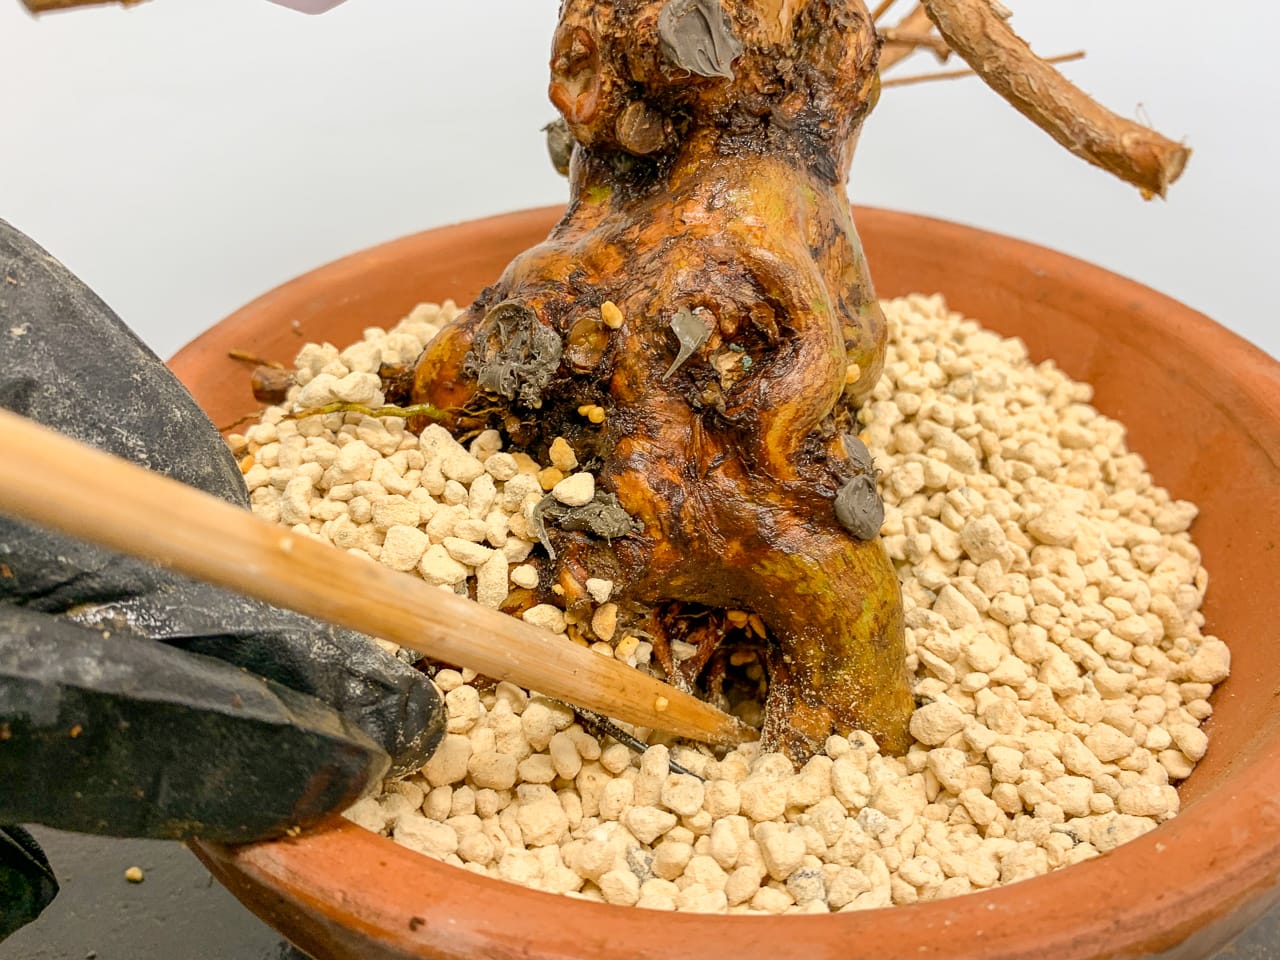
Filling holes with soil
This step can take a while when there are lots of nooks and crannies to fill. If the soil settles a lot during this step, re-fill the pot and repeat the process.
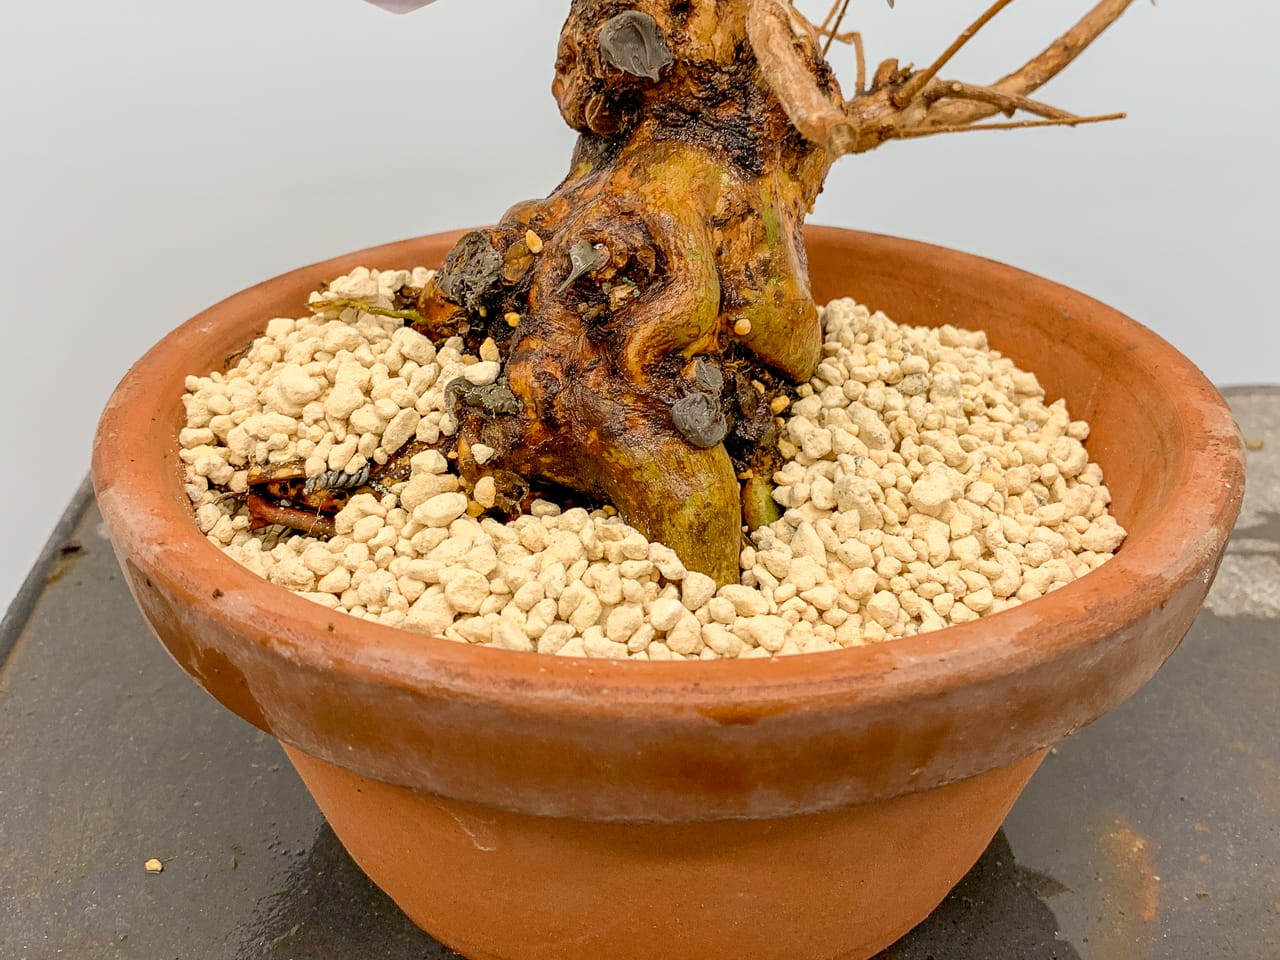
After adding more soil for a second round of chopstick work
Chopstick work complete
Once the chopstick work is complete, fill the pot just below the rim with kanuma.
After filling the pot
A layer of mountain moss can preserve moisture near the surface of the soil.

After adding a layer of mountain moss
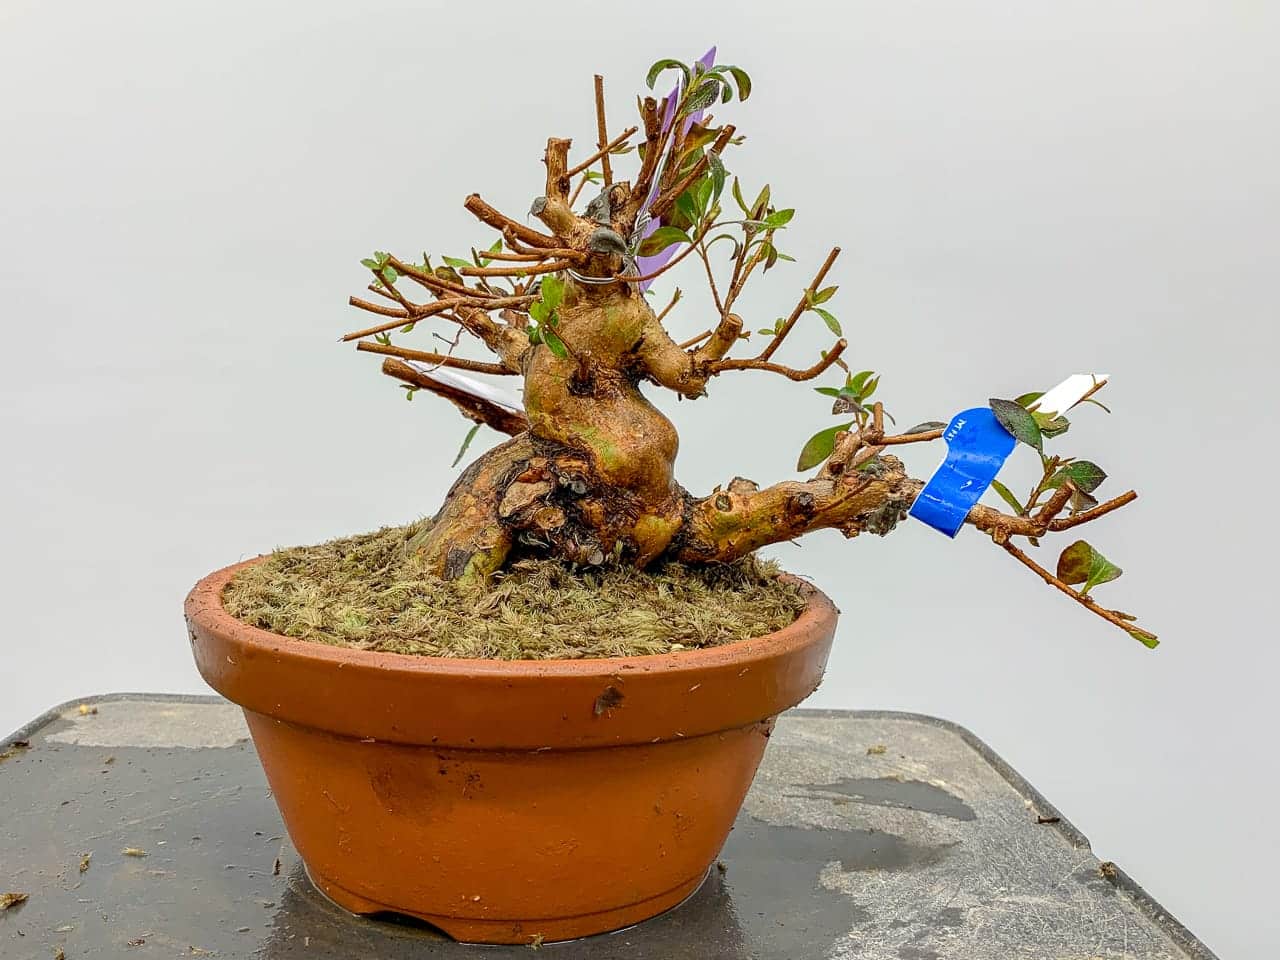
Repotting complete – 6″ tall
The same process applies to any field-grown trees that have been bare-rooted. In the case of bare-rooted azaleas, sheltering the trees from wind or cold can help them recover from this work.
Related Posts
Preventing air pockets under the trunk – repotting satsuki azalea
Subscribe to Bonsai Tonight
New Posts Delivered Every Tuesday and Friday
Josiah VanWagner says
wow! what a great looking specimen. i cab imagine your excited to move to branch development.
Jonas Dupuich says
Thanks Josiah – yes, I’m very excited to work on the branches! I’ll wait about a year before working on these but am very much looking forward to it.
Doug Zeeff says
That one simple procedure will save many hours of poking this spring. Thanks!
Barry Miller says
Thanks Jonas, I’ve never heard to use pure kanuma.
Ray says
Thank you Jonas. Do you have any posts on repotting an already established Satsuki’s in a bonsai pot?
Jonas Dupuich says
Hi Ray! I don’t yet have an article about repotting established satsuki. I’ll look to do one when I have a good tree to work with. The short version: use 100% kanuma and be careful when handling the fine roots as they can dry out quickly and break away easily.
Stefanos Papavasileiou says
Always repot bare rooted my bonsai material, never thought of that upside down procedure.. Thank you for once more!