I usually hold off on pruning deciduous bonsai past the first half of August. Not all trees can grow well enough late in the season to make it worth investing in new shoots before fall.
That said, I’ve worked on deciduous trees fairly late in the season as some trees will keep their leaves through December. One example from my garden is a small white chojubai.
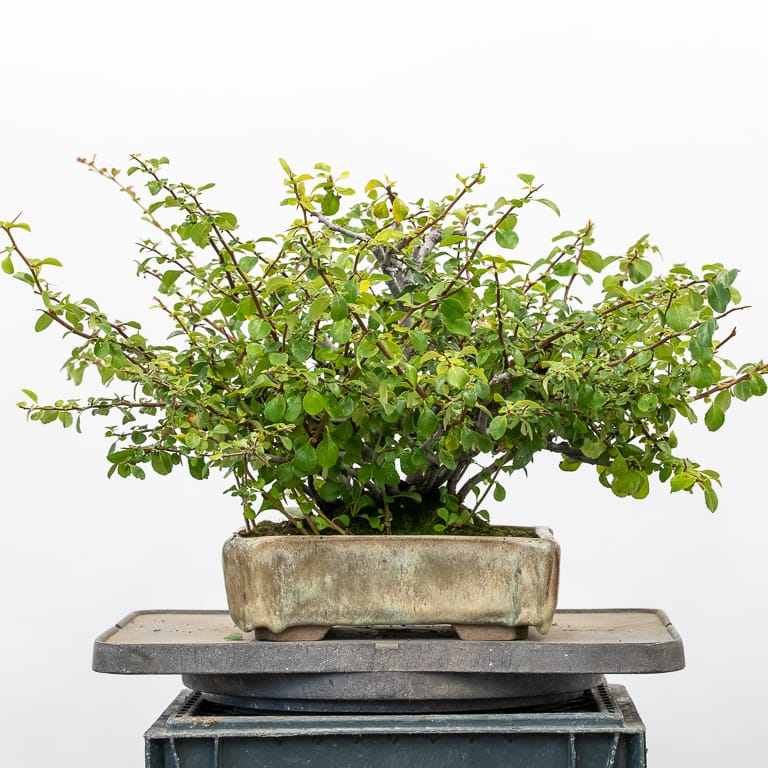
Dwarf Japanese flowering quince ‘chojubai’ – pot by Stephanie Walker
Normally I’d be happy to let the tree grow until fall pruning in November, but I wanted to start some cuttings before the weather cools down.
I kept a few buds on the new shoots and removed the root suckers.
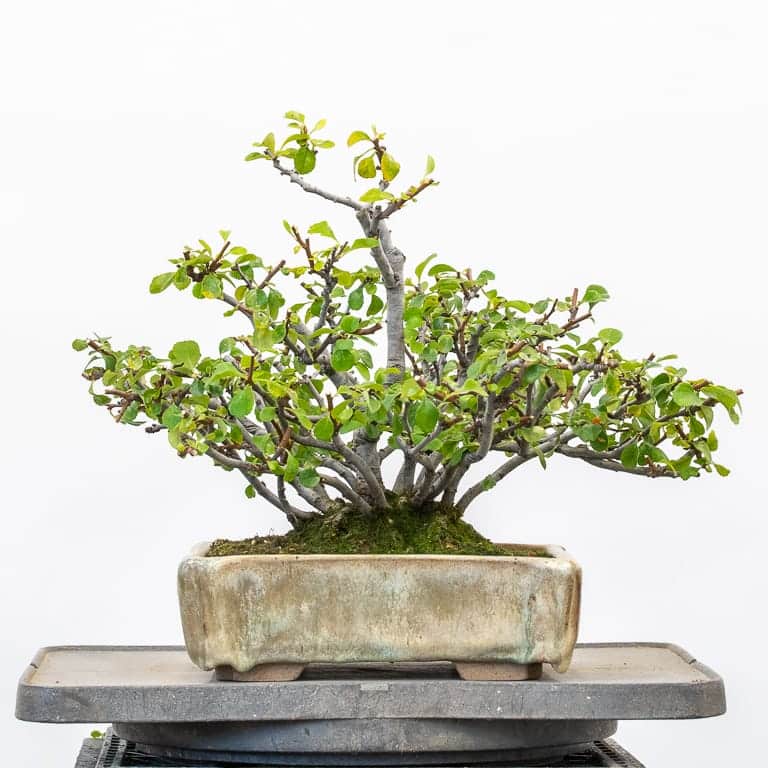
After cutback
Noting that many of the leaves were damaged by insects or starting to yellow, I decided to defoliate the tree.
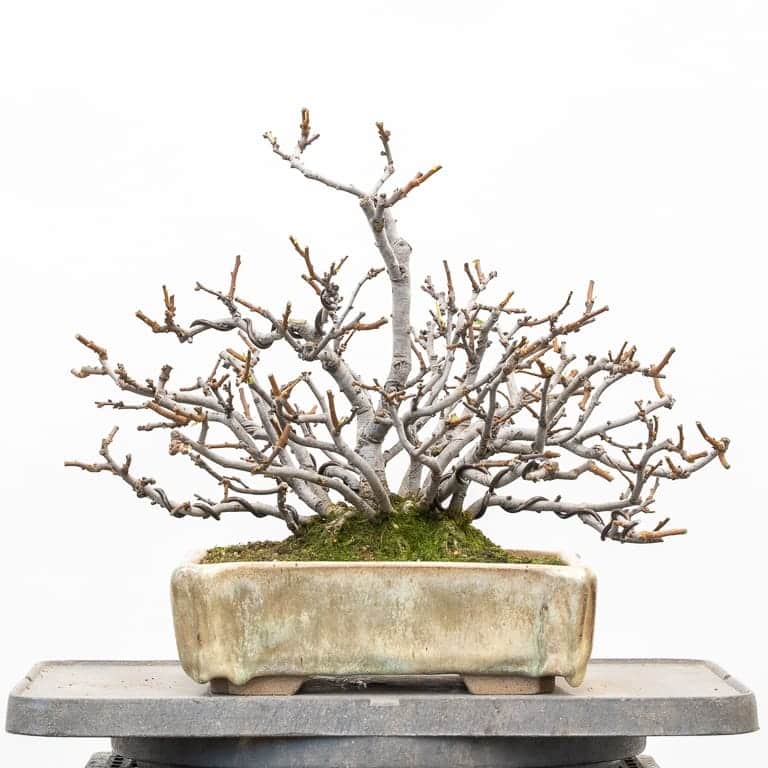
After defoliation – 9.5″
Depending on the weather, new leaves usually form within two weeks at which point new shoots begin to elongate.
My aim, however, is what will happen with the shoots that were removed.
A few weeks ago I started a batch of chojubai cuttings with shoots that had been defoliated. To my surprise, almost every cutting started growing. For this batch, I want to defoliate some shoots but not others to see if removing the leaves makes a difference.
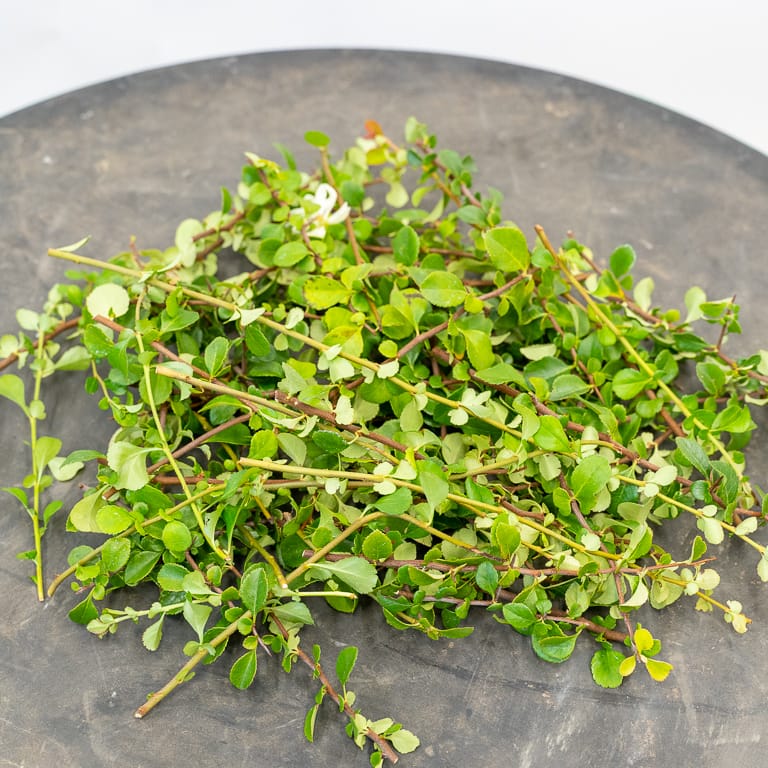
Freshly removed chojubai shoots
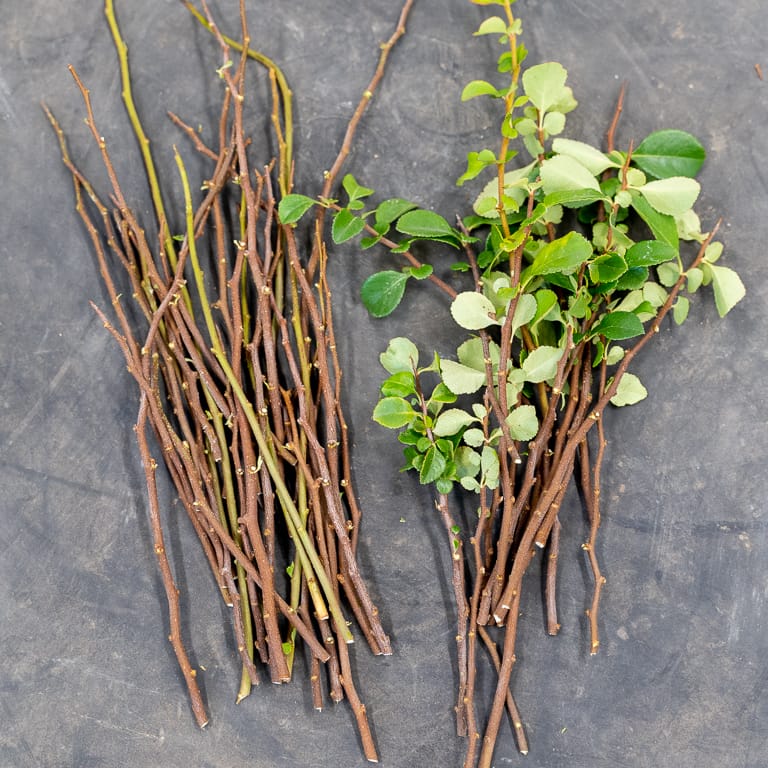
After defoliating and partially defoliating the shoots
I take cuttings by making a clean cut on shoots that grew this year and dipping them in root hormone. For the planting medium, I used a mix of perlite with some added peat moss.
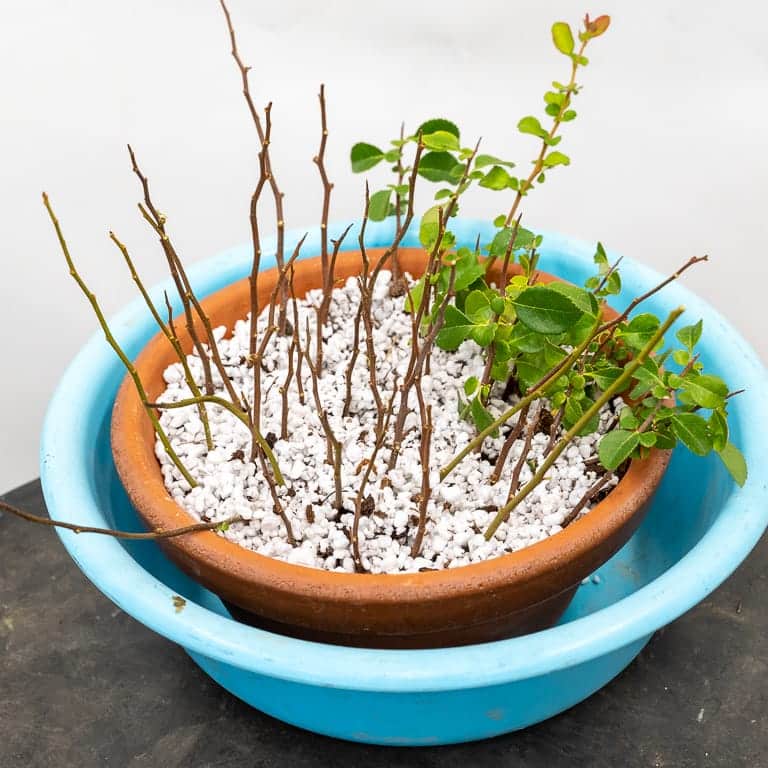
Planted cuttings
I placed the cuttings in a shady spot in the garden and will mist the foliage, but not the soil, whenever I pass by with the hose.
Over the years I find that some batches of cuttings do better than others, likely due to when I strike them, but I have found that the results are always good when I place them in the greenhouse.
I’m curious how they’ll do outdoors this year so I’ll try that approach. If I find any good patterns relating to which root and which don’t, I’ll post an update in spring.
Subscribe to Bonsai Tonight
New Posts Delivered Every Tuesday and Friday
Jim Vogel says
Jonas
Are you using rooting hormone gel or just the basic powder? I understand that the gel sticks better to the cutting, but it costs a multiple the price of the powder so I haven’t tried it yet.
Thanks
Jonas Dupuich says
I used the powder – haven’t tried the gel yet. If I don’t use the powder, I use liquid hormones.
Michael J-A says
great stuff as usual;
so why do you not water the soil?
And is the timing/technique the same with red chojubai?
thanks!!……
Jonas Dupuich says
The technique is the same for the red chojubai as far as I know. And as for the watering, I only water the soil of cuttings when it dries out to prevent root rot. I mist the shoots whenever I can to reduce their need for water.
Carol says
Be sure to let us know when you find out defoliating the cuttings works better! Maybe the leaves gather mold as the fall and shrivel.
Gissy Collard says
Hi Jonas I’m from Cape Town South Africa. Thanks for really informative blog. I’ve learnt a lot going back on various topics.
I’ve found that putting other cuttings in sphagnum moss in a pot and in a see-through plastic bag helps keep the environment stable and prevents them drying out, if you are unable to mist or water.
After a couple weeks I open the bag from time to time to start hardening them off and prevent fungal build up. Thanks again, I look forward to your new posts!
Jonas Dupuich says
Thanks, Gissy! The bag technique is great – I’ve used it with a few different species, and I expect it would work great with chojubai too. Will have to give it a try!
Jonas Dupuich says
Will do – I hope I learn something!
John C says
What did you do with the root suckers?
Jonas Dupuich says
Good question – I planted a few, and discarded the smallest ones. If I can cut them deeper in the soil I always root them as they grow easily, but when the tops are still young, they don’t root as well.
Craig Hunter says
The results from this trial will be interesting. I’m getting a bit old in the tooth to put up a for
green house and leave my cuttings to grow outside under my lemon tree. Success is not that great approx 20% if lucky – your comment regarding your glasshouse cuttings has piqued my curiosity. I might need to construct a mini glasshouse. Cheers Craig…
Jonas Dupuich says
Thanks, Craig! The bag technique is the budget alternative to setting up a small greenhouse. You can place the planted cuttings in a plastic bag and keep it in the shade until it starts growing. Opening the bag about once a week will let in fresh air and reduce the odds that fungus will take hold.
Douglas Adams says
I use clear plastic bins. Not pretty, but it works. If the cutting are short enough I can use the lid. If not I use an identical bin upside down to get more height. I think mine are 6 quart and I use a solder iron to burn drainage and air holes in the plastic without breaking it.
Robert says
I have been using fish tanks as mini green houses. Acrylic sheets work well as covers. Petco has dollar per gallon sales from time to time so a 29 gallon tall tank is just $30. Pretty cheap and easy to maintain.
Jonas Dupuich says
That sounds like a cool approach Robert – thanks for the tip!
Douglas Adams says
I recently did this same experiment on some ginkgo cuttings. The defoliated ones seem to be taking faster and pushing new leaves. I believe it is because it is only focused on growth and not trying to feed and maintain existing leaves. The non-defoliated ones lost the leaves and I lost two of the three cuttings. I don’t have a green house, so they are outdoors in the shade in plastic bins with holes to create a greenhouse effect. I will be really interested to see how it works out for you.
Jonas Dupuich says
Thanks for sharing Douglas – am happy to hear you’re growing ginkgo as there aren’t a lot of great ginkgo bonsai around!