For years I’ve wanted to write about wiring rooted juniper cuttings, but I stopped short as before and after photos aren’t always helpful.
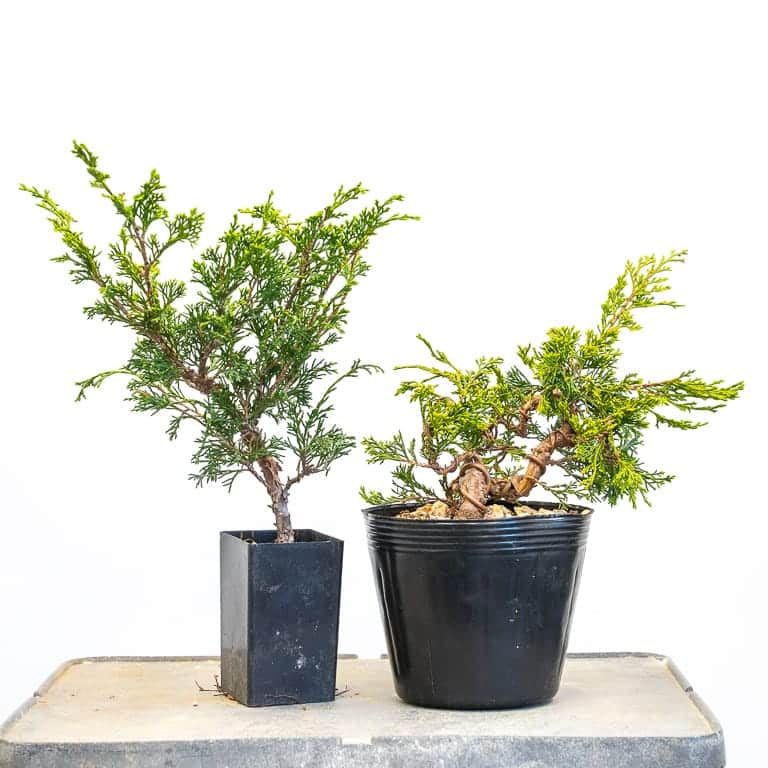
Rooted juniper cuttings before and after wiring
To make the trunk-line easier to see, I removed the foliage from a branch to use as an example.
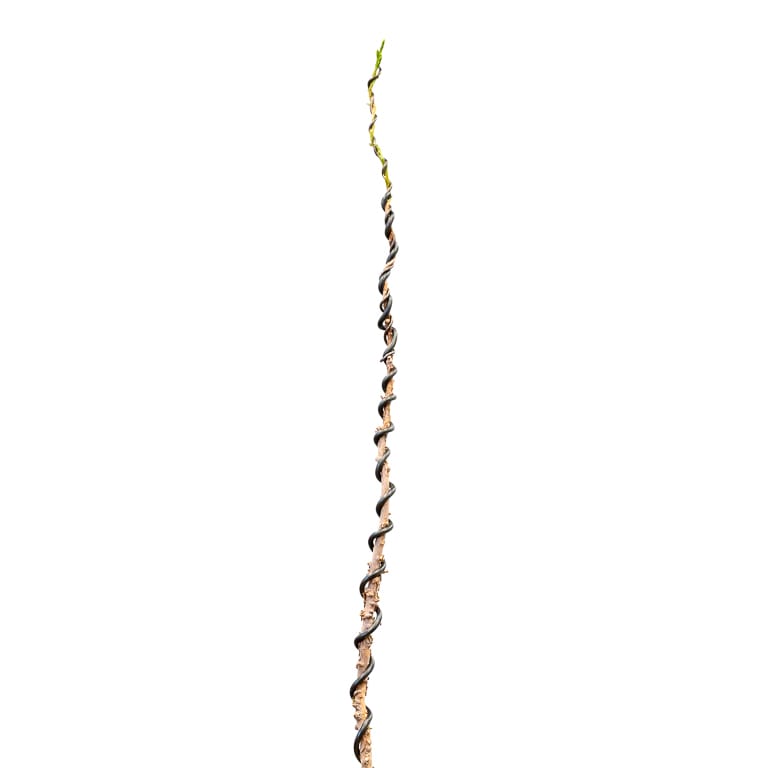
Wired juniper branch – 18″
From there, I mocked up some common wiring patterns to avoid. The most familiar is the S-curve.

An S-curve
There are actually a few problems with this pattern that do not have to do with the resemblance of the trunk to the letter “S”. The first is that the radius of each bend in the trunk is similar – it’s as if the curves were created with a protractor. To avoid this, try varying the radius of the curves you create.
The next problem is that each curve is about the same length, about 180 degrees, which makes the trunk look like a series of semi-circles (and in this case, like the letter “S”).
The biggest problem is that while the trunk clearly has movement from left to right, there is little movement from front to back. Here’s a photo of the same curves from the side.
Two-dimensional curves viewed from the side
This pattern is easy to fix. When wiring young trunks, make sure there is just as much movement from front to back as there is from side to side. Put another way, make sure the trunk looks interesting from all sides.
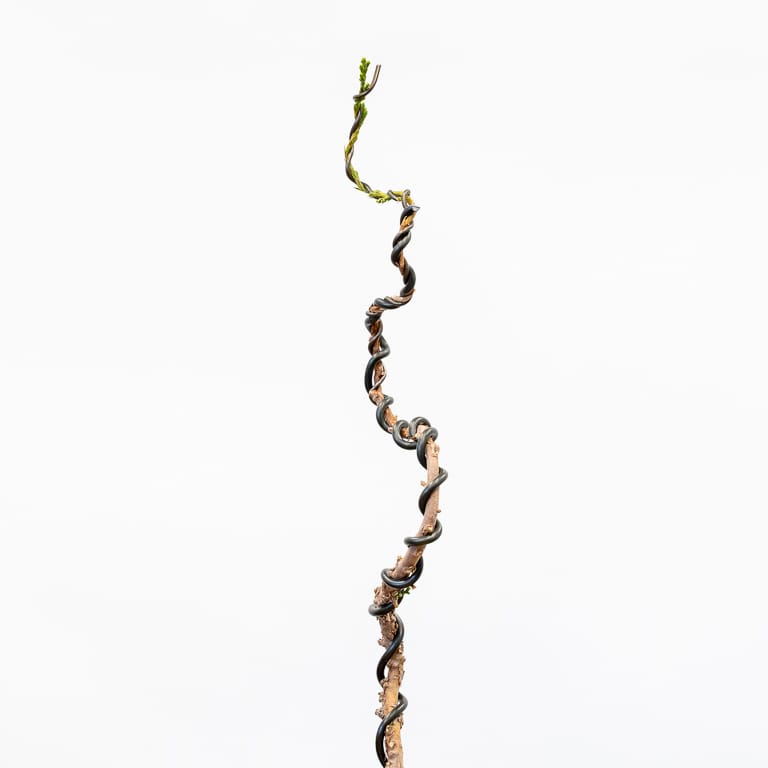
In some cases, the trunk may have lots of twists and turns but it mostly travels in a single direction.

Twisty trunk that moves up and to the right
A variation of this pattern is when a trunk starts out in one direction, takes a detour, but then continues in the same direction in which it started.

The trunk starts up and to the left, makes a detour, and then continues up and to the left
Evaluating the curves you create from all sides is the best way to avoid these patterns.
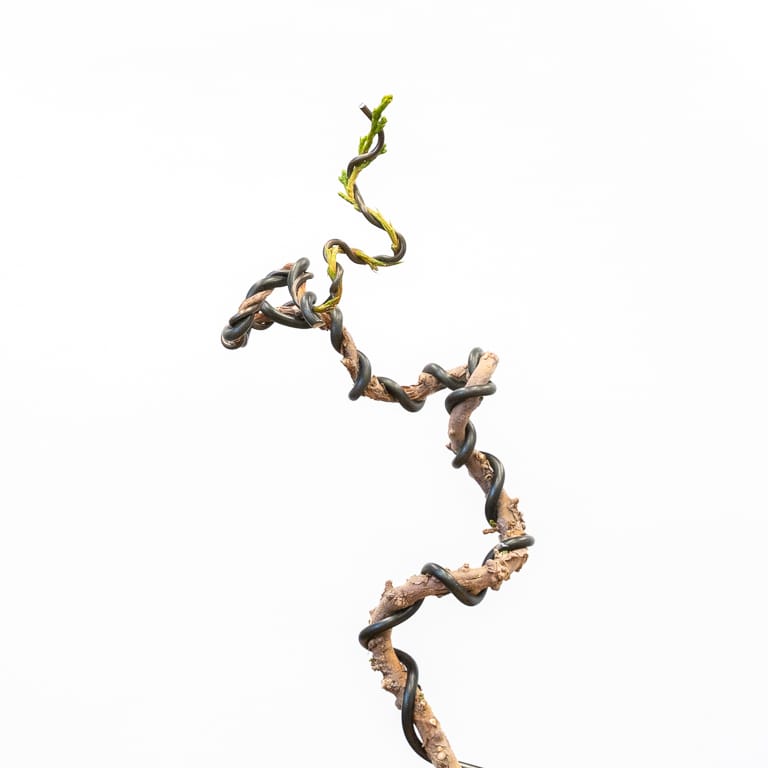
Another pattern to avoid is the loop-the-loop. It’s OK to use on occasion, but it’s not appropriate for every tree.

Loop-the-loop
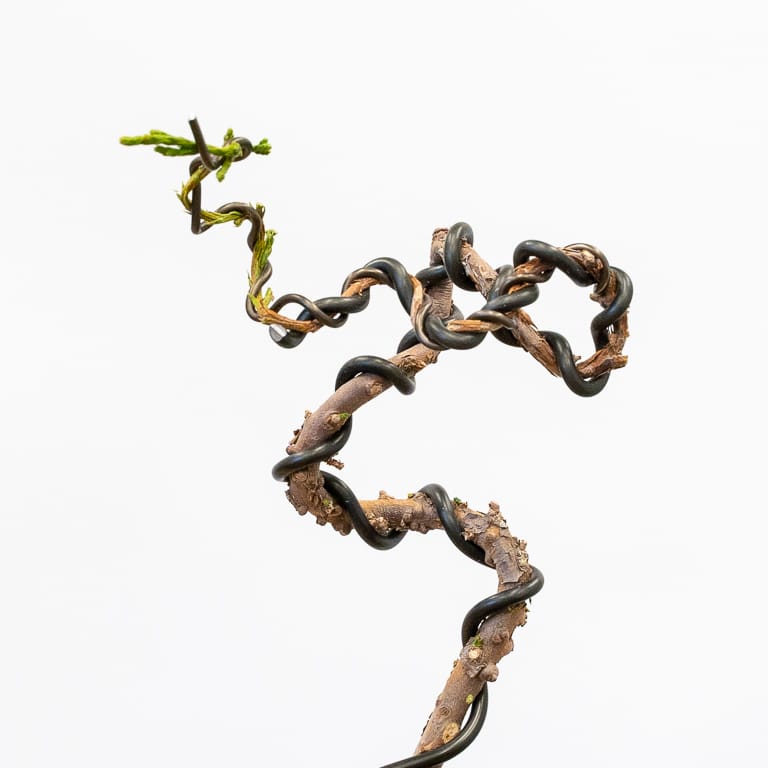
The trick, then, is to mix up the direction, the radius, and the length of the curves. Here are a few samples that exemplify both good and bad points.
Sample #1
Sample #2
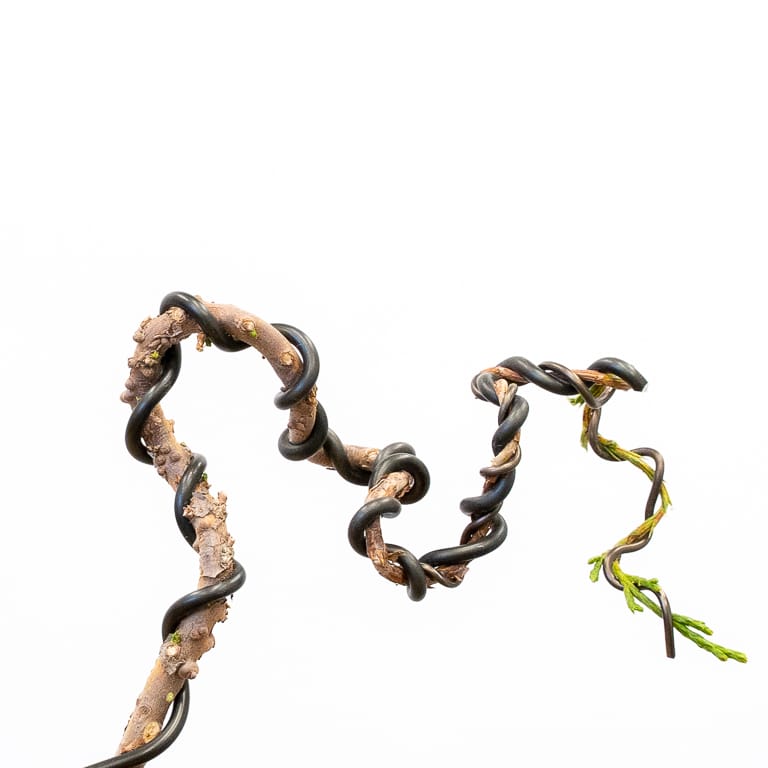
Sample #3
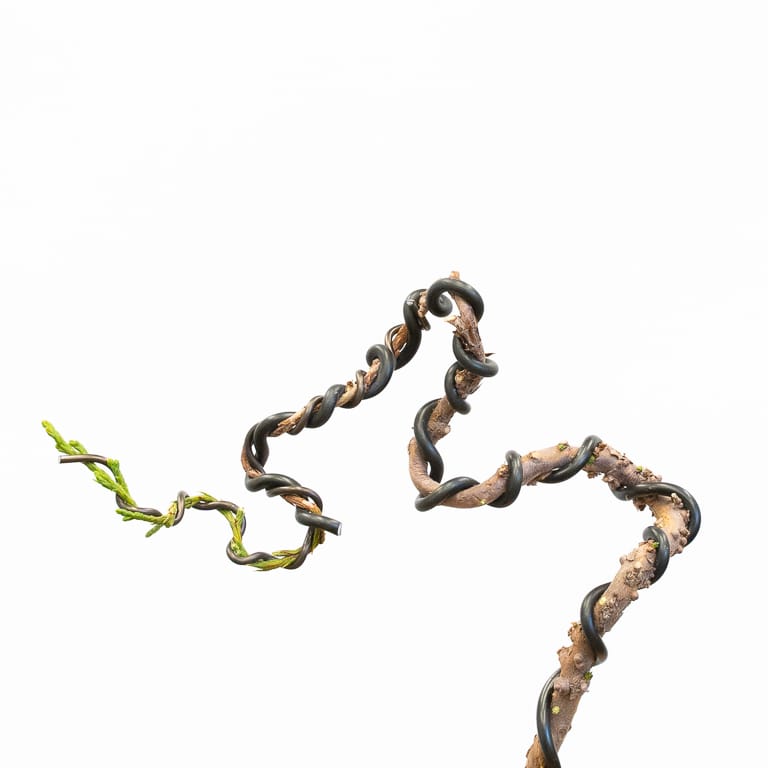
Sample #4
Sample #5

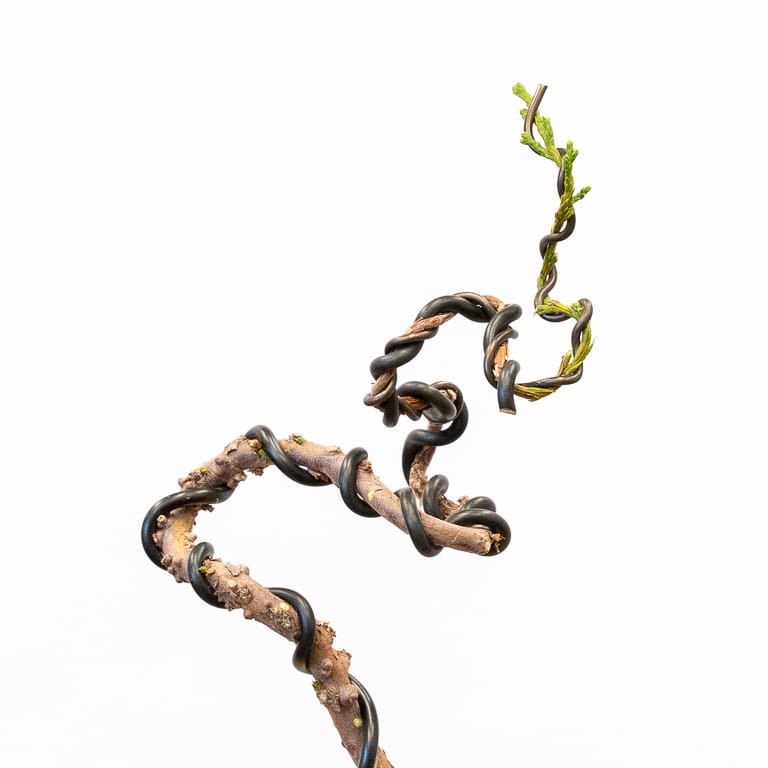
Sample #6
For a reminder about what a wired tree looks like with foliage, here’s sample #6 with its branches intact.

Sample #6 with foliage
There’s a lot more to say about creating young junipers so I’ll plan updates in future posts. In the meantime, let me know if you have questions or if you like or dislike the samples above.
Subscribe to Bonsai Tonight
New Posts Delivered Every Tuesday and Friday
Memy says
What is this? Some baroque style? I think it’s a work of a genius: Japanese baroque. Wow!!!
Jonas Dupuich says
Ha, thanks, Memy!
Jesús Martínez Romero says
Las muestras son muy esclarecedoras, extraordinario reportaje: como todos los suyos.
Felicidades y gracias.
Jonas Dupuich says
Muchas gracias Jesús!
Edward Stanton says
Jonas, Thank you for another fine post. Your advice for wiring young junipers would also serve for branches on any number of species: “mix up the direction, the radius, and the length of the curves.”
All best, Ed
P.S. Enjoying the podcast.
Jonas Dupuich says
Exactly, thanks for noting that Ed. And thanks about the podcast!
carlos says
Thanks for the article
Is it important to keep the foliage up?
Jonas Dupuich says
Thanks, Carlos. It’s not important for the smaller branches, but it can be good to wire the larger branches so the foliage receives adequate light.
Michael Jensen-Akula says
great stuff. I invariably end up with an S-curve, and then have to redo it.
What about rotation on the axis of the stem? I see the beauty of a juniper life line that twists around the trunk (compared with just going straight up). Do you make plans to do this?
And at what age/trunk size would this be best done, as big trunks don’t rotate on their axis easily.
Thanks again for all that you do
Jonas Dupuich says
Thanks, Michael! You’re exactly right about the twists – I try to get as many in there as possible. For the current examples, I got between two and four complete rotations, not always in the same direction.
As for what age is best for making the curves, It’s very young for small trees and not much bigger for larger trees. As you noted, it’s hard to get twists or compelling curves as the trunks get bigger so the process can begin at this stage or earlier.
José Pereira says
Jonas. Very instrcutive this kind of posts.
I’m follow your blog about two years and i’m not dissapointed with that.
Congratulations!
Jonas Dupuich says
Thanks, José – I appreciate it!
Jorge Montero says
I’m new in this and your exposition was very helpful. Thank you!
Jonas Dupuich says
Thanks, Jorge!
Charlie Mosse says
This is great having all of these different examples in one post for easy comparison and learning. Thanks!!
Jonas Dupuich says
Thanks, Charlie!
Michael Corbin says
Jonas,
What year cuttings do you suggest for this? I have some cuttings I took last summer. I am thinking they need a year of solid growth before I try this.
Mike
Jonas Dupuich says
Hi Mike – you can wire cuttings as soon as the roots are good enough to sustain the trees after the work. This could be one, two, or three years depending on the size of the cuttings, the number of roots, and the speed at which the plants grow.
Paul Dominic says
Awesome and timely post Jonas. I’ve got some Oak whips that I’d like to put some curves.
I know that Junipers are quite flexible. Any thoughts on curves on a tan oak ? Should I have lesser more gradual curves ?
Jonas Dupuich says
Thanks, Paul! Oak shoots are only flexible when they’re young so the window for wiring them is narrow. That said, clip and grow techniques work well with oaks so that’s a good option for trees that have thickened past the point where they can be bent.
As for the size or character of the curves, oaks typically have undulating movement so we often try to reproduce that feeling in oak bonsai. The size of the curves relates to the size of the trees we’re making. Smaller curves can be compelling for smaller trees and larger curves work for larger trees.
Jose Zamorano Moreno says
Thanks!!
David J Starman says
but how did you put the foliage back on after sample #6?
this is the technique that must be shared – remove foliage, wire, bend, replace foliage.
another awesome post!
Jonas Dupuich says
Ha, thanks, Dave! Foliage replacement is an advanced technique – I’ll have to share the details someday.