• Skip to main content
  • Skip to footer

Bonsai Tonight

An educational website about bonsai development

  • Blog
    • How-to Guides
  • Podcast
  • Shop
    • Bonsai
    • Books
    • Soil
    • Soil (wholesale)
    • Supplies
    • Tools
    • Video Consulting
    • Northern California Bonsai Resources
  • About
    • Workshops

Repotting a red pine forest

March 19, 2013 by Jonas Dupuich

Late last year, I brought my red pine forest in to a workshop with Daisaku Nomoto to see about preparing it for show. To my surprise, Nomoto was more concerned with the way the group was planted than he was with the branches. A repotting was in order.

Nomoto’s chief comment was that he didn’t like that the trees were all planted on the same level. The tallest tree, he thought, should be planted about an inch higher. The rest of the trees were in roughly the right places. To raise the main tree, I disassembled the forest.
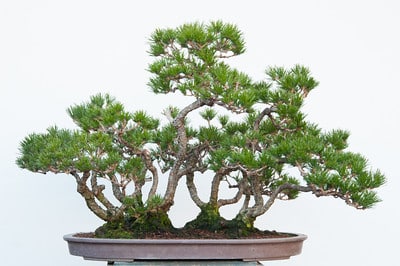
Red pine forest

Red pine forest

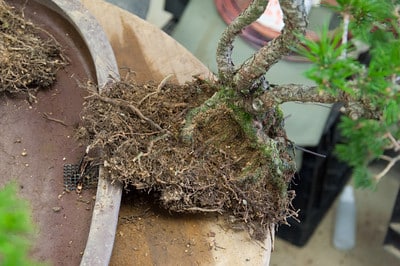
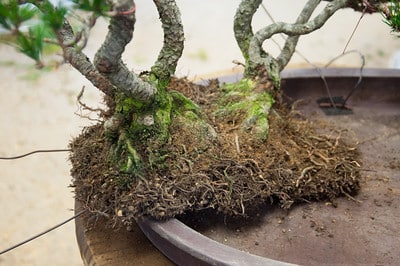
I hadn’t repotted the group since I’d first assembled it. In the intervening years, the roots had grown into a solid block.
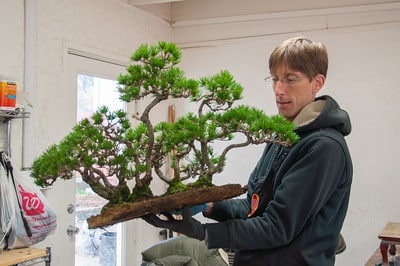
Out of the pot

Like one big tree

I next sawed out each of the trees, trying, as I worked, to preserve as many roots on each as possible.
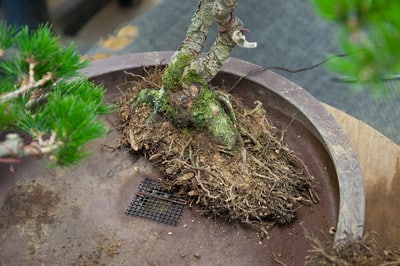
Sections of forest

The first tree separated

Sections of forest

Another tree on its own

Sections of forest

This block was left as a unit

Sections of forest

The forest components ready for reassembly

We used the same pot as it was a good size for the group. After cleaning it and adding screen and wire, Nomoto added a drainage layer of medium-sized pumice.
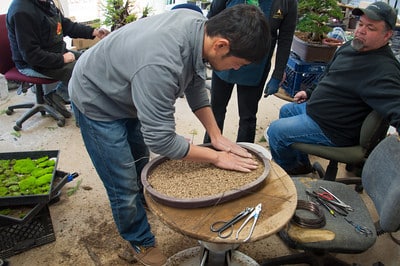
Patting down the drainage layer

Patting down the drainage layer

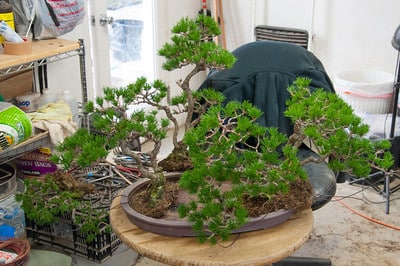
The assembly process involved a number of hands and wires as the tall trees were tippy.
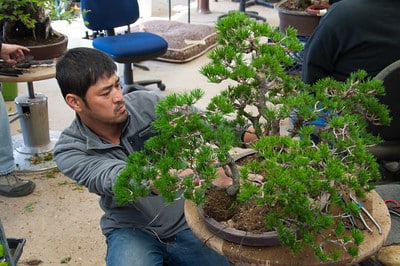
Lining up the trunks

Nomoto lining up the trunks

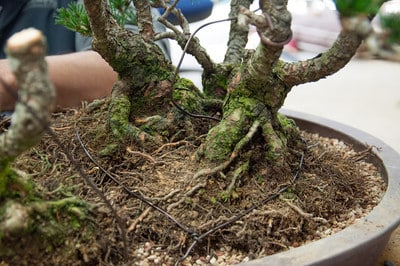
Tying the trees into place

Beginning to wire the clumps in place

Along the way, one of the trunks lost its place in the group. Right at the center of the composition, this trunk pointed in the wrong direction. We removed the top and jinned the rest.
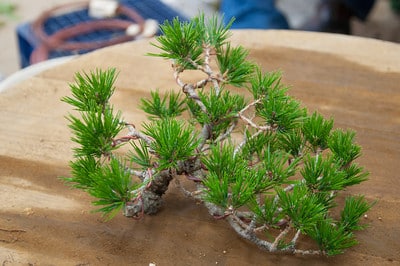
One major branch removed

One less trunk

Once the trees were in place, I watered and added moss.
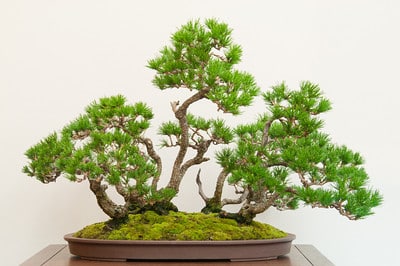
Red pine - 19 years old

As exhibited at BIB’s 14th annual exhibit

The final composition turned out remarkably similar to the starting point.
Red pine forest

Front – before

Red pine - 19 years old

Front – after

Each trunk sits at a slightly different height and angle and the main tree is now raised up a bit. The trunk we removed is now a prominent jin at the center of the group, but this will be less apparent as the foliage continues to develop – the main task for the next few years.

Subscribe to Bonsai Tonight

New Posts Delivered Every Tuesday and Friday

Success! Now check your email to confirm your subscription.

There was an error submitting your subscription. Please try again.

We won't send you spam. Unsubscribe at any time. Powered by Kit

Filed Under: Bonsai Development Tagged With: forest, Red Pine

Previous Post: « Bonsai displays from BABA’s 32nd Annual Exhibit
Next Post: Repotting a shohin azalea »

Reader Interactions

Comments

  1. adamaskwhy says

    March 19, 2013 at 4:27 am

    Sometimes it’s just the subtle things that make the difference. Nice job

  2. Zack Clayton says

    March 19, 2013 at 4:52 am

    Even tho there is now a break in the foliage compared to the original grouping, it seems more unified and natural. Very nice job and kudos for taking Nomoto’s coaching on a seemingly radical step just prior to the show.

  3. Mac says

    March 19, 2013 at 6:14 am

    A good lesson in forest design here. Thank you.

  4. yenling29 says

    March 19, 2013 at 7:39 am

    Really like the adjustments, looks great!

  5. Juan says

    March 19, 2013 at 8:22 am

    Omoshiroi still

  6. AlexV says

    March 19, 2013 at 11:34 am

    I have enjoyed watching this planting develop over the years. Raising up the trees really made a difference. I am looking forward to seeing it as it develops. Great job Jonas!

  7. LSBonsai says

    March 19, 2013 at 7:21 pm

    Bonsai is about the details, and I think this small detail made a significant difference. I love how this group is progressing.

Footer

Follow Bonsai Tonight

Subscribe

Instagram ● Facebook ● Twitter
  • Blog
  • Podcast
  • Shop
  • About

P.O. Box 6560, Alameda, CA 94501 · 510-915-2025 · jonas (at) bonsaitonight (dot) com

© Copyright 2009-2025 Bonsai Tonight · All rights reserved · Privacy · Log in

This website uses cookies to improve your experience. You can opt-out if you wish. Accept Decline Read More
Privacy & Cookies Policy

Privacy Overview

This website uses cookies to improve your experience while you navigate through the website. Out of these, the cookies that are categorized as necessary are stored on your browser as they are essential for the working of basic functionalities of the website. We also use third-party cookies that help us analyze and understand how you use this website. These cookies will be stored in your browser only with your consent. You also have the option to opt-out of these cookies. But opting out of some of these cookies may affect your browsing experience.
Necessary
Always Enabled
Necessary cookies are absolutely essential for the website to function properly. This category only includes cookies that ensures basic functionalities and security features of the website. These cookies do not store any personal information.
Non-necessary
Any cookies that may not be particularly necessary for the website to function and is used specifically to collect user personal data via analytics, ads, other embedded contents are termed as non-necessary cookies. It is mandatory to procure user consent prior to running these cookies on your website.
SAVE & ACCEPT