At the outset of this series, I mentioned that nine of the ten items we’d cover are easy and that one is difficult. Number nine is difficult: learning what it means to properly anchor your wire.
This is different from learning how to anchor your wire. Mastering wiring requires good instruction and lots of practice. Learning to recognize when wiring is effective is a first step in this direction.
I’ll provide a few tips related to anchoring your wire. From there you’re on your own.
Anchoring Your Wire
A simple way to characterize well-anchored wire is to say that when you bend a wired branch that is well-anchored, it stays put. If the branch doesn’t stay put, it’s likely that either the wire isn’t strong enough to do the job, or the wire is poorly anchored.
In general, there are several options for anchoring wire. Wires can be anchored to or by:
- other wires
- other branches or the trunk
- jin or deadwood features
- the soil near the base of the trunk
- the pot the tree is planted in
An example of anchoring wire came up in the previous post, How to wire a Y branch intersection. In that post, note the place where two wires run next to each other. In this spot, the heavier wire provides an anchor for the thinner wire.
A common symptom of poorly-anchored wire is the teeter-totter effect. If you bend a wired branch and another branch connected with the same wire moves, the wire is not properly anchored.
One of the more common sources of teeter-totter wiring occurs when two branches that emerge from the same spot on the trunk are connected with a single wire.
Bar branches emerging from the same spot on the trunk
The wire on these branches is poorly anchored
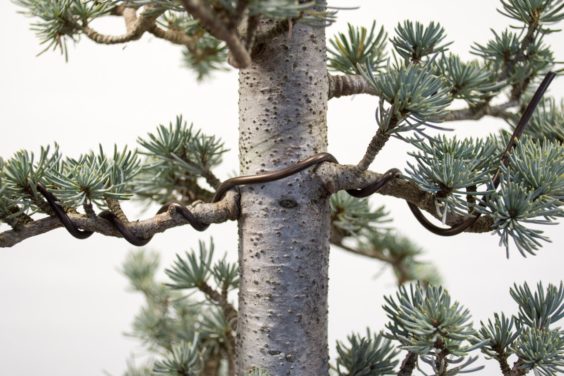
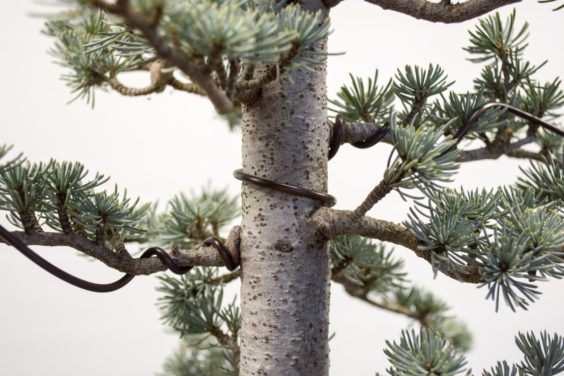
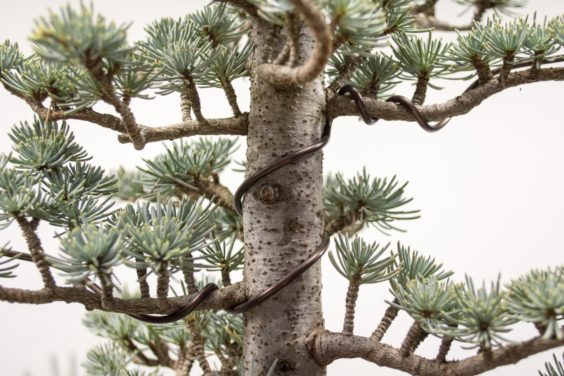
When possible, try to get at least 1 1/2 spirals around the trunk between branches.
One and a half spirals around the trunk between the wired branches
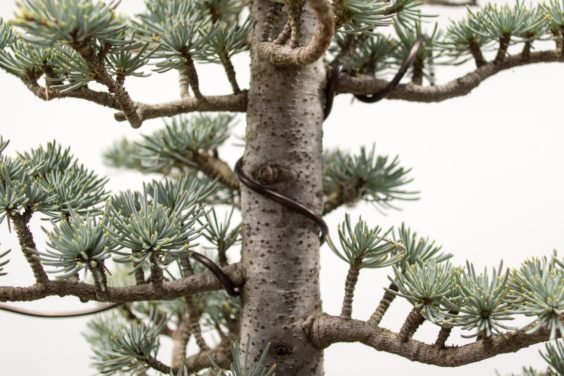
The 1 1/2 spirals approach is good when branches are on opposite sides of the trunk. When the branches are more spaced out and located on the same side of the trunk, making two full spirals can be a good approach.
Two full spirals around the trunk
Sometimes you’ll find you have more than one option for how you connect branches with a single wire.
Option one
Option 2
You’ll notice that in the first option, only one spiral is visible, whereas two spirals are visible in the second option. When possible, opt for the option that yields the least number of spirals when looking at the front of the tree.
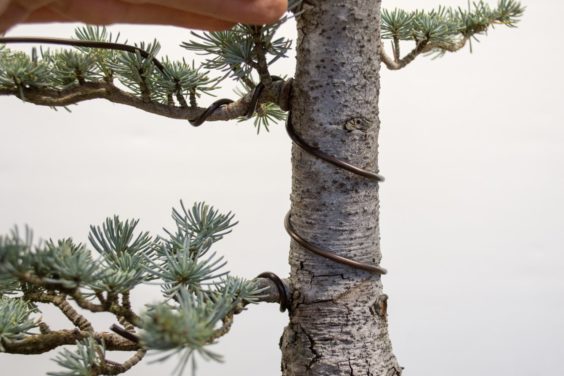
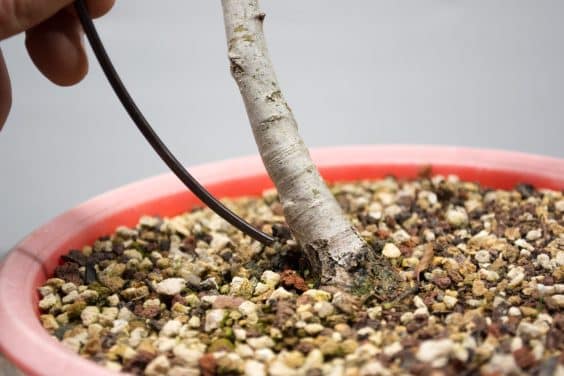
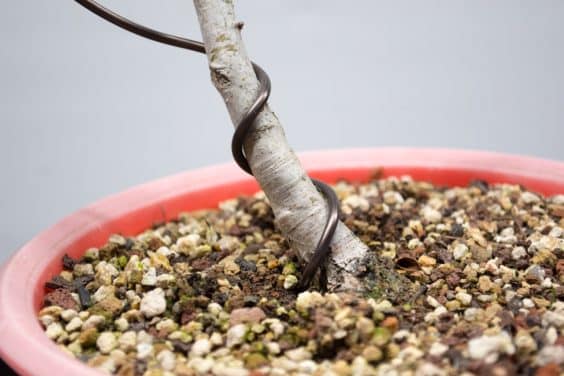
When wiring younger trees, you may find it useful to wire the trunk. Rather than starting the wire near the surface of the soil, you can insert the wire into the soil near the base of the trunk and start wiring from there.
Inserting the wire near the base of the trunk
Well-secured wire
If the tree is young and the soil at the base of the trunk is loose, you can try anchoring the wire to the pot (see Wiring 3 year-old black pines for details).
The above tips are but a starting point – there are many strategies for anchoring your wire. Don’t worry about learning them all right away. It’s the process of studying and practicing these techniques that defines a beginning bonsai enthusiast.
What to do when you get stuck? More on that in the next post: Finding a go-to resource when you need to learn more.
Subscribe to Bonsai Tonight
New Posts Delivered Every Tuesday and Friday

Jenna Williams says
Very simple to read and understand. I love this!
Keep them coming…..
sylvia says
Hi … Happy New Year!
I subscribed recently and love your posts. I received them until the last one in December, I don’t know why I did not get this one. Please make sure you don’t leave me out 🙂
thank you!!!