Repotting recently grafted young pines is just like repotting non-grafted pines, only additional care is taken to avoid damaging the union.
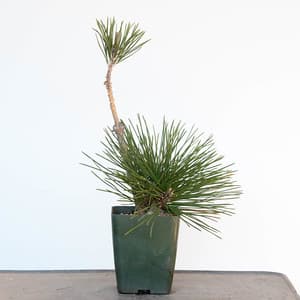
Grafted cork bark black pine
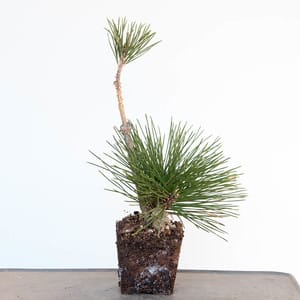
After removing the pot
Note the white spot – there are signs of root adelgid infestation. For those curious to see how mycorrhiza differs in appearance from adelgid infestation, see below.
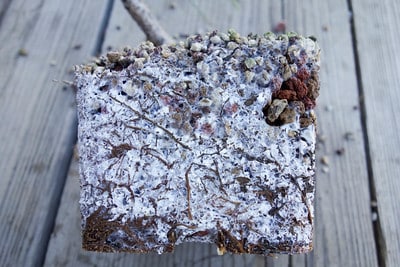
Mycorrhiza – and lots of it
Simply coming out the roots cleared away most of the affected area so I didn’t spray pesticides to address the adelgids.
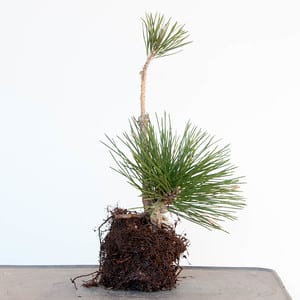
After combing out the roots
I planted the pine in a colander.
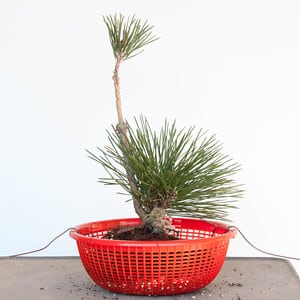
Nestling the tree onto a mound of soil.
Once the tree was in place, I tied it in and added more soil. Using chopsticks, I worked the new soil in between the roots.
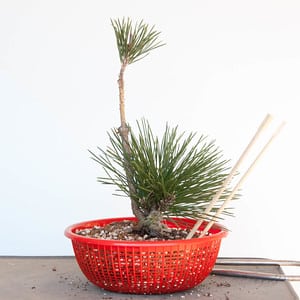
Before chopstick work
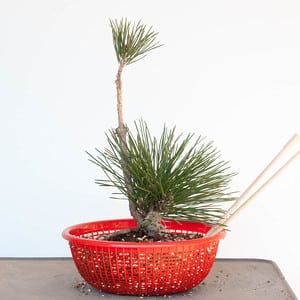
After chopstick work – notice the level of the soil has dropped
I then added soil to fill the pot and tamped it into place.
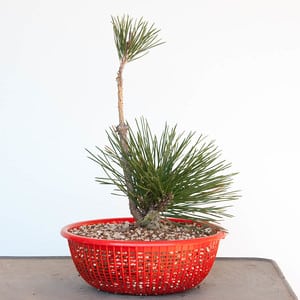
Repotting complete
Subscribe to Bonsai Tonight
New Posts Delivered Every Tuesday and Friday
Alex V says
Jonas – I have been enjoying the development postings! I am curious about how much work was done on the roots when you repotted. I know cork bark pines aren’t quite as dependent on a good nebari as other pines, but it still seems like a good time to examine the roots. However, from the pictures, it isn’t clear if you left the roots mostly as a ball or combed them out.
Thanks again for the great posts!
Jonas Dupuich says
Hi Alex! Corkbarks are more sensitive to root work than black pines, though at this early stage I don’t know whether the trees behave more like cork bark or non-cork bark pines. I didn’t do much root work to encourage as much growth as possible. I’ll look to do more root work the next time I repot.
If I had more of these I’d do more root work on half to see how each group does.
Alex V says
I had suspected there was a reason, thanks!