Last year I tried two different approaches to planting black pine seedling cuttings – planting them in individual containers, the approach I’d most often taken in the past, and planting groups of them together in terra cotta pots (see “How to pot seedling-cuttings“). While the seedling-cuttings planted in 3” pots did well, the ones planted in larger terra cotta pots did much better. I don’t have a good photo of what they looked like this winter, but you can see what they looked like last spring below.

Newly planted seedling-cuttings – May, 2012
This winter I separated the seedlings and planted them in their own containers. One of Nomoto’s cohorts in Japan has grown black pines from seed for many years and recommends developing them slowly in the early years and encouraging stronger growth once the basic shape of the trunk has been established. Nomoto and I rooted around looking for appropriate pots and found tall 4″ containers that struck me as a bit large and tippy. Nomoto thought they were perfect – as long as we cut them down a bit.
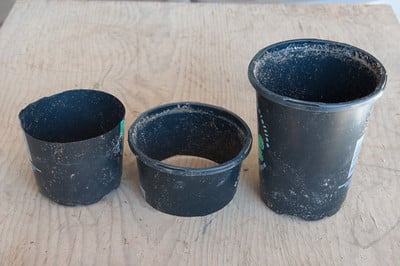
The bottom half, the top half, a complete pot
The drainage holes were huge and required a large piece of screen to cover the entire bottom of the pot, but as this sounded like a lot of work, I used large drainage soil instead.
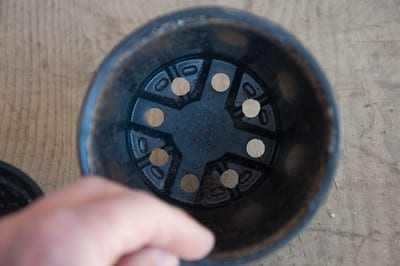
Large drainage holes
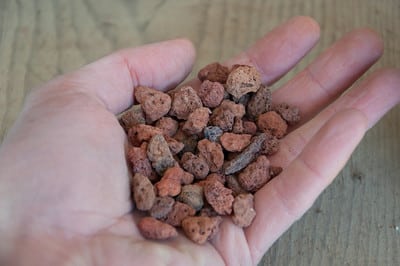
3/8″ lava
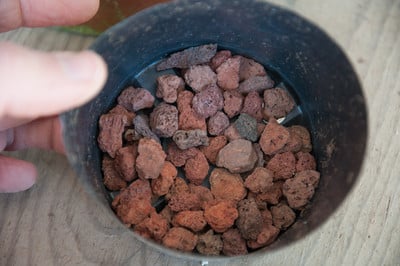
Lava covering the drainage holes
The seedlings themselves ranged from 1 inch tall with an inch of stem below the surface to almost 4 inches tall. Even the smaller seedlings had lots of roots.
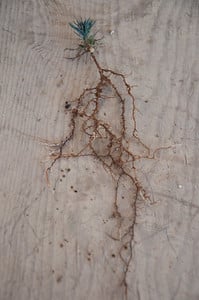
One of the smaller seedlings (a red pine)
To plant them, I held the seedlings in place and slowly added soil.
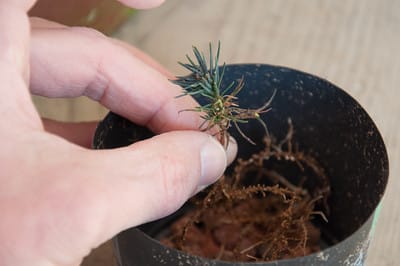
Ready for soil
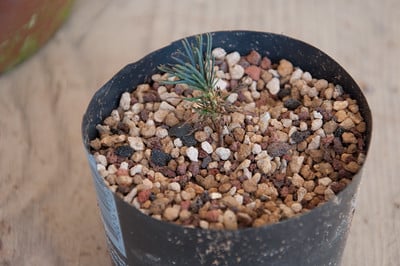
Repotting complete
It took a while to plant them all. Each time I finished a flat, I placed them on a bench and watered.
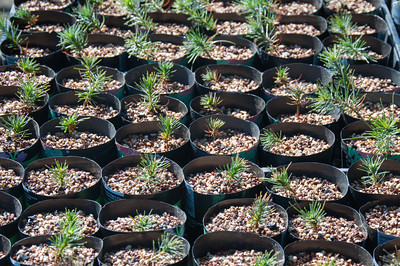
1 year-old seedlings
Toward the end, I found that I had a small number of young trees and a large number of pot scraps. I also remembered that I wanted to make a few exposed root pines. What to do?
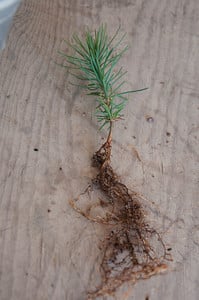
Healthy seedling
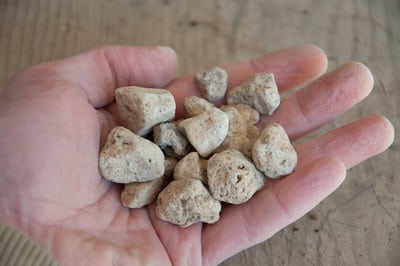
Large pumice
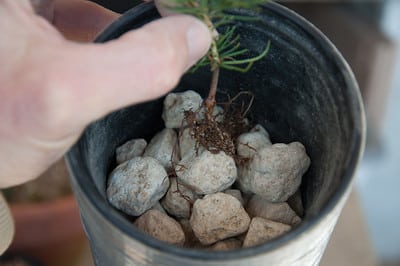
Pumice in a stack of pot scraps held together with duck tape

Ready for soil
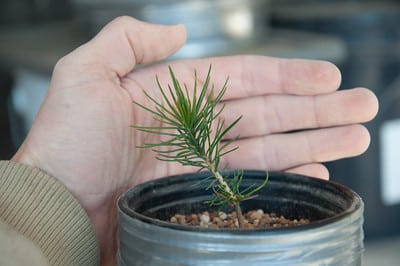
Seedling planted
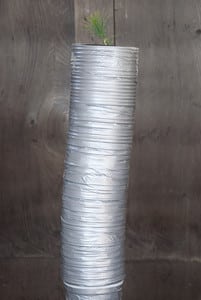
Lots of room for future roots
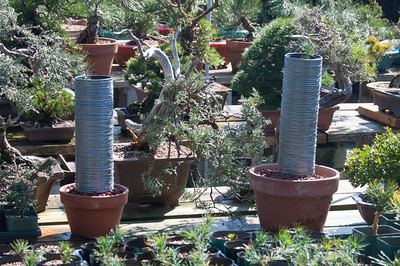
Larger pots with lava keep the cylinders from tipping over
I’ll water and feed these 1 year-old trees for another year or two before it’s time to start wiring. I’ll show the work for 3 year-old seedlings Friday.
Subscribe to Bonsai Tonight
New Posts Delivered Every Tuesday and Friday
Alex says
Hey, I’ve really wanted to put seedlings in tall cylinders like that, but I keep reading about soil erosion and I’m currently under the impression that if I want to do that, I’ll have to gradually increase the height of the cylinder instead of start it off tall. I’m using Turface as substrate. Do you think I can skip the graduation process if there’s no organic substrate in the mixture?
myfoodandflowers says
It is fun to grow tree seedlings!
dirk says
Jonas, Thanks for the update. Looking forward to friday. I have a question, last year you mentioned you used both sand and small akadama particles to make the small pockets of soil for making the seedling cuttings. Have you noticed a difference in succes rate or root development?
Jonas Dupuich says
Hi Alex – interesting, we’ve always started tall and removed soil as time passed. The trick is to let the roots grow down through coarse, inorganic soil that forces them to develop curves and continue downward. As soon as the roots hit more fine particles, they begin to divide which creates fine roots that are good for the tree but are less interesting when exposed (unless you want a tree with lots of very small exposed roots). If you could figure out a way to add height to the bottom of the cylinder without the contents falling out, that approach could also work. You could keep adding sections of cylinder with course particles and hold off on using fine particles until you’ve reached the desired height.
Hi Dirk – good question. Surprisingly, I didn’t notice much of a difference in the overall height or health of the seedlings. I’m planning to use small akadama exclusively this year as I know it drains better (the particles are larger) but I don’t know that it will make a big difference. I think I only lost one seedling-cutting last year and that was thanks to a creature for pulling it out of the soil. What made the biggest difference was time – the earlier I made the cuttings, the longer they had to grow and the larger they became.
Patrick says
Looking forward to the next post on pine development. My oldest seedling cuttings are 4 years entering their fifth, so I can most likely learn something from your 3 year olds! I also plant seeds each year, and its been wildly entertaining to watch them develop.
Mac says
Good stuff!
Tun says
Jones, if you curve your cylinders, I guess you’ll have very interesting root exposed.
Jonas Dupuich says
Hi Tun – that’s exactly right. What I’ve done in the past is bend the cluster of roots all together to similar effect. Thanks for the tip!